Progress Map
Progress Map
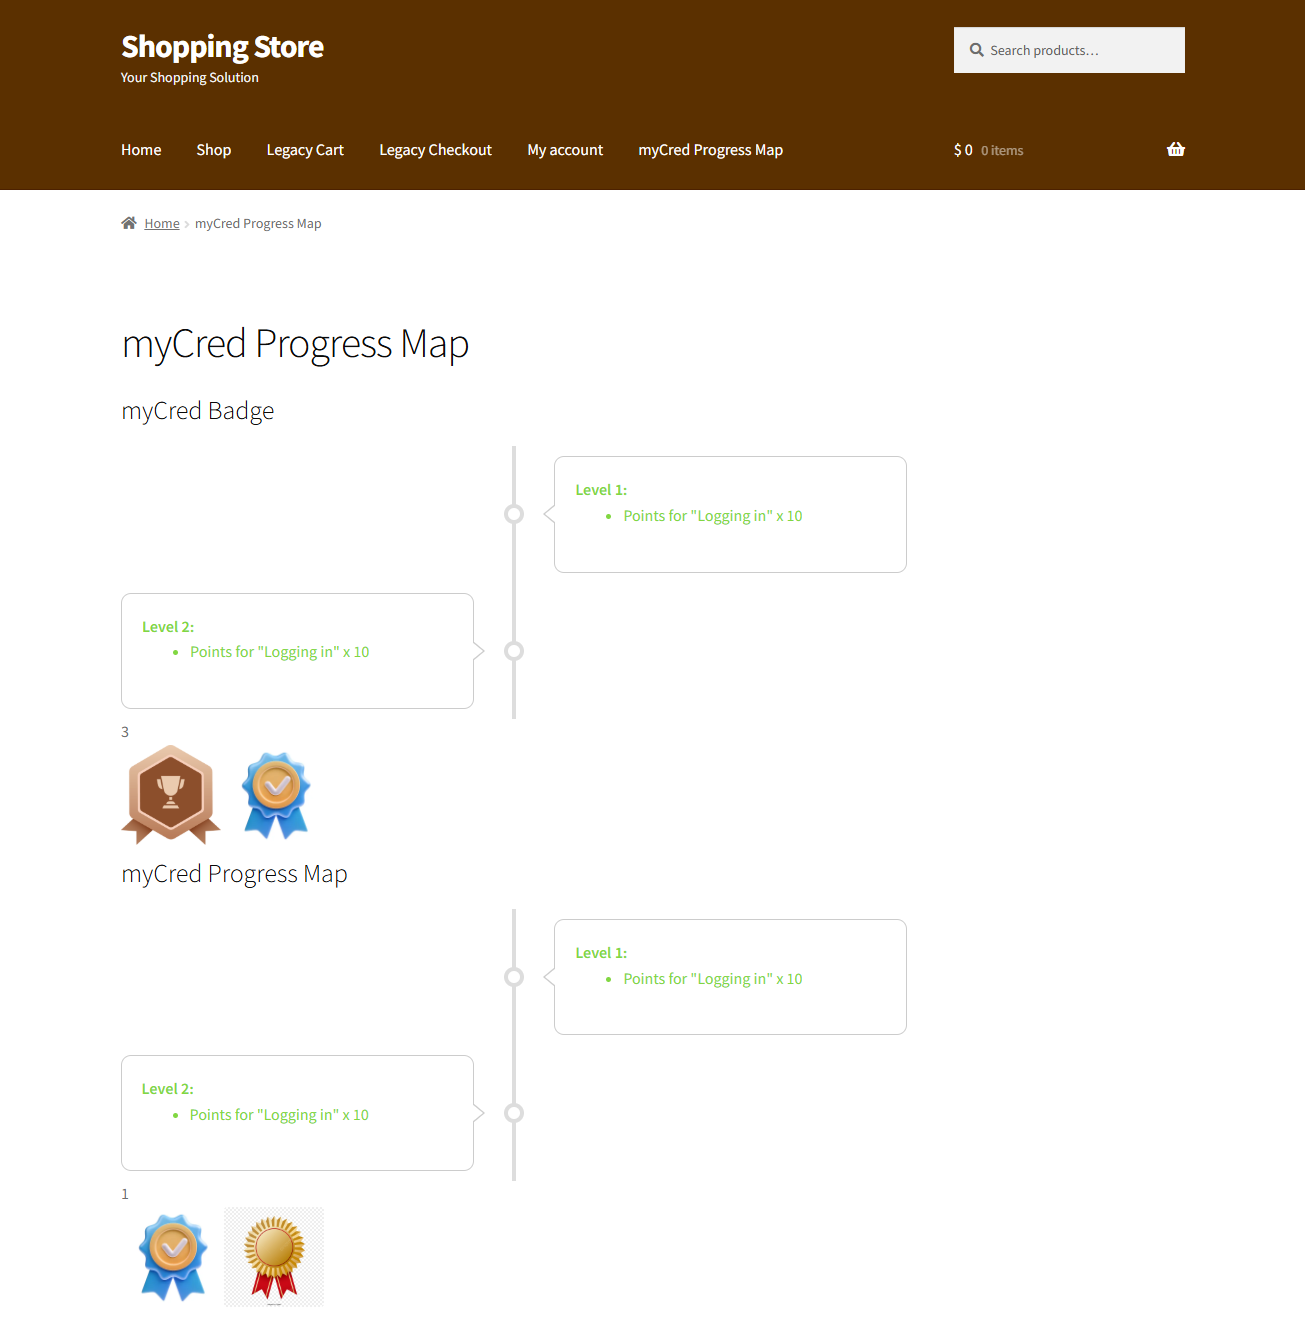
The myCred Progress Map enables users to track their progress and view the steps necessary to earn a specific badge. It enhances user engagement by visually representing progress across multiple levels. Admins can design maps with customizable color schemes to indicate completed and incomplete levels, and display the map either vertically or horizontally with various alignment options.
Note: Ensure that the Badges add-on is activated from Admin Dashboard > myCred > Add-ons.
Back-End Settings
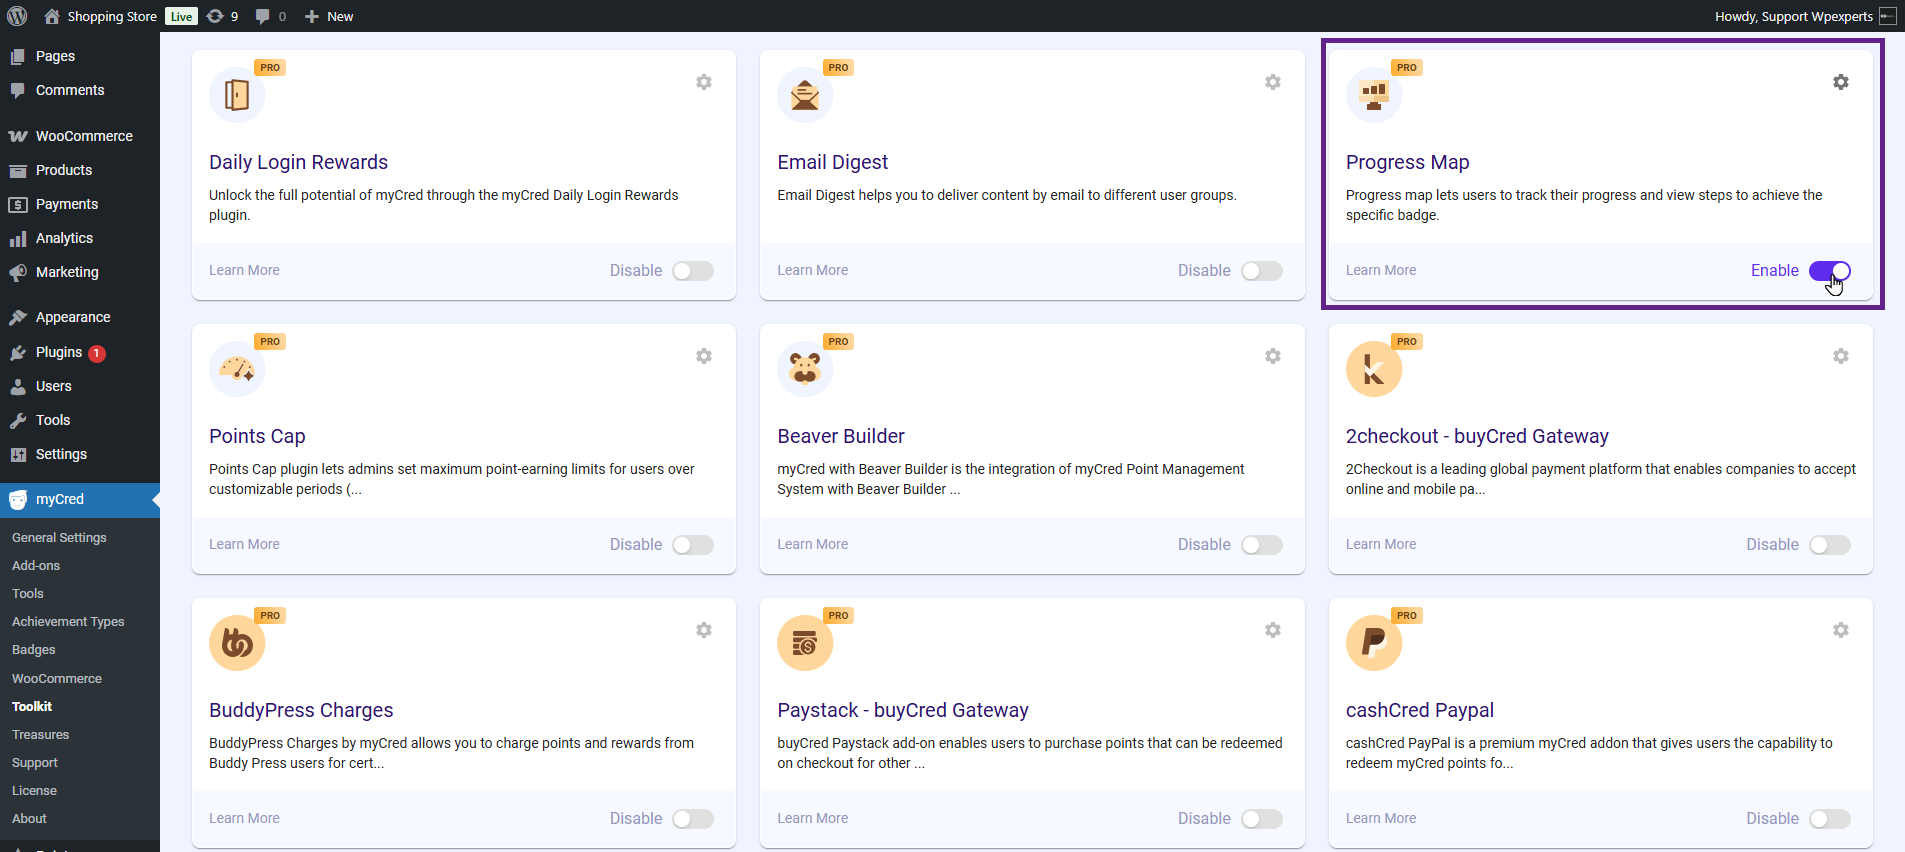
- Go to the Admin Dashboard > myCred > Toolkit.
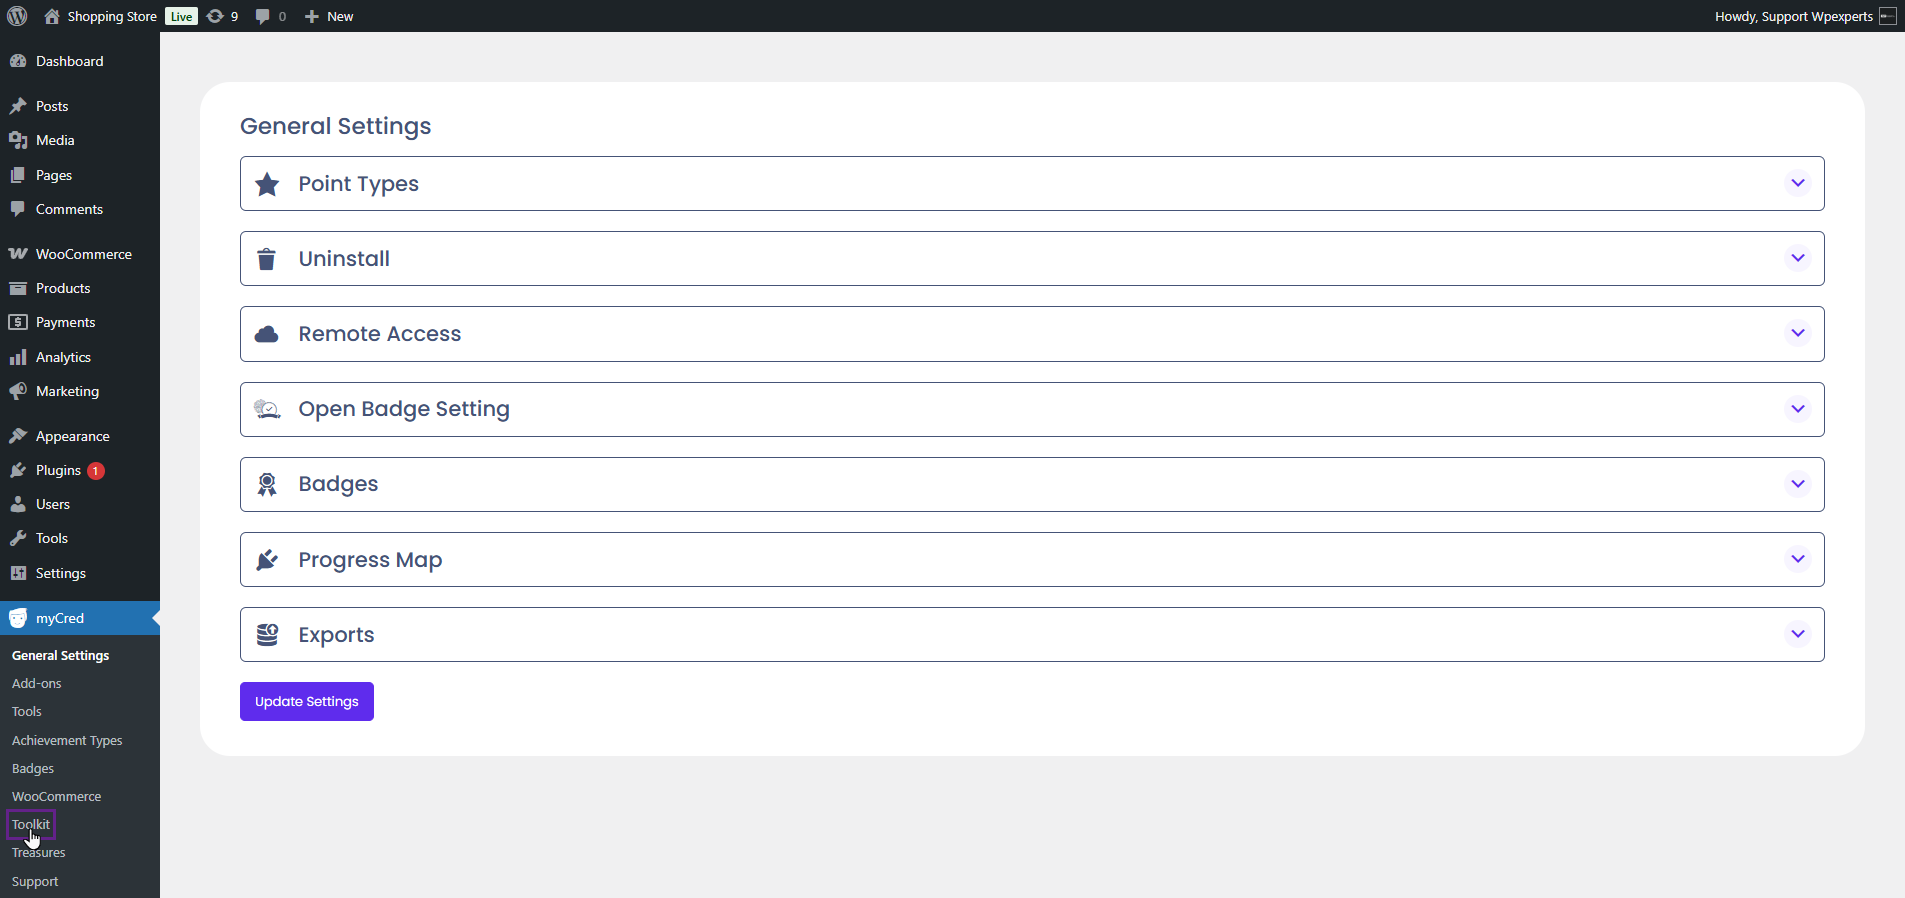
- Activate the Progress Map toggle button.
- Now, navigate to the Admin Dashboard > myCred > General Settings.

- Go to the Progress Map section.
Note: Place [mycred_badges] shortcode to display badges along with progress map on any page.

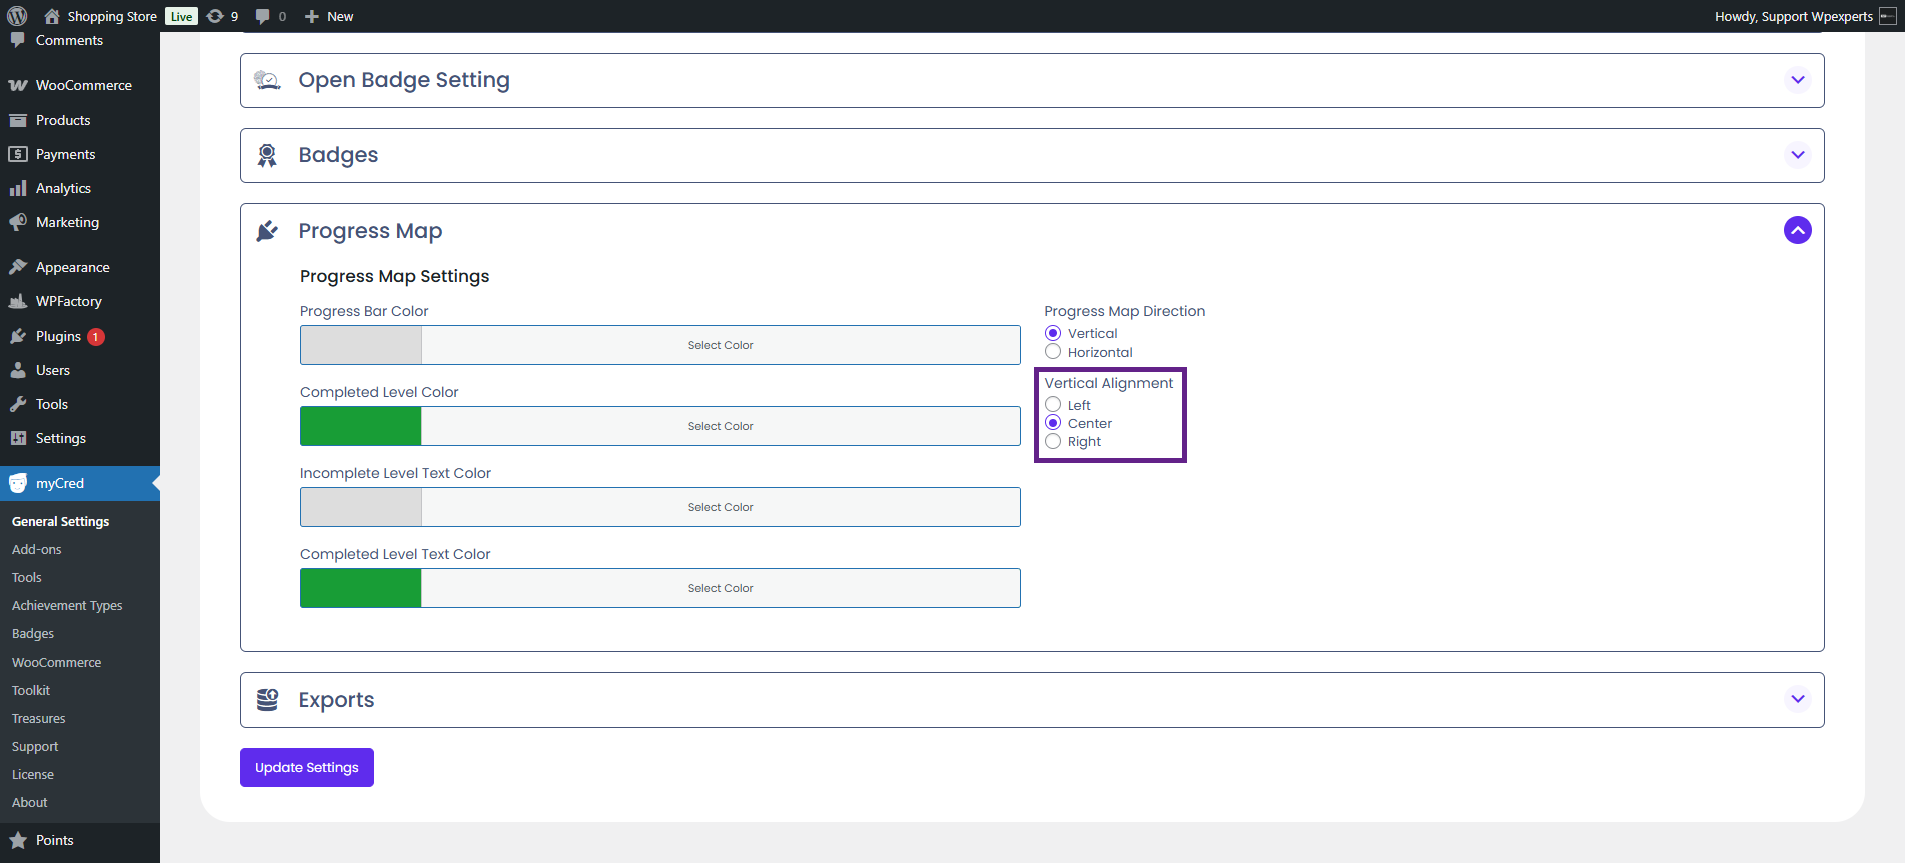
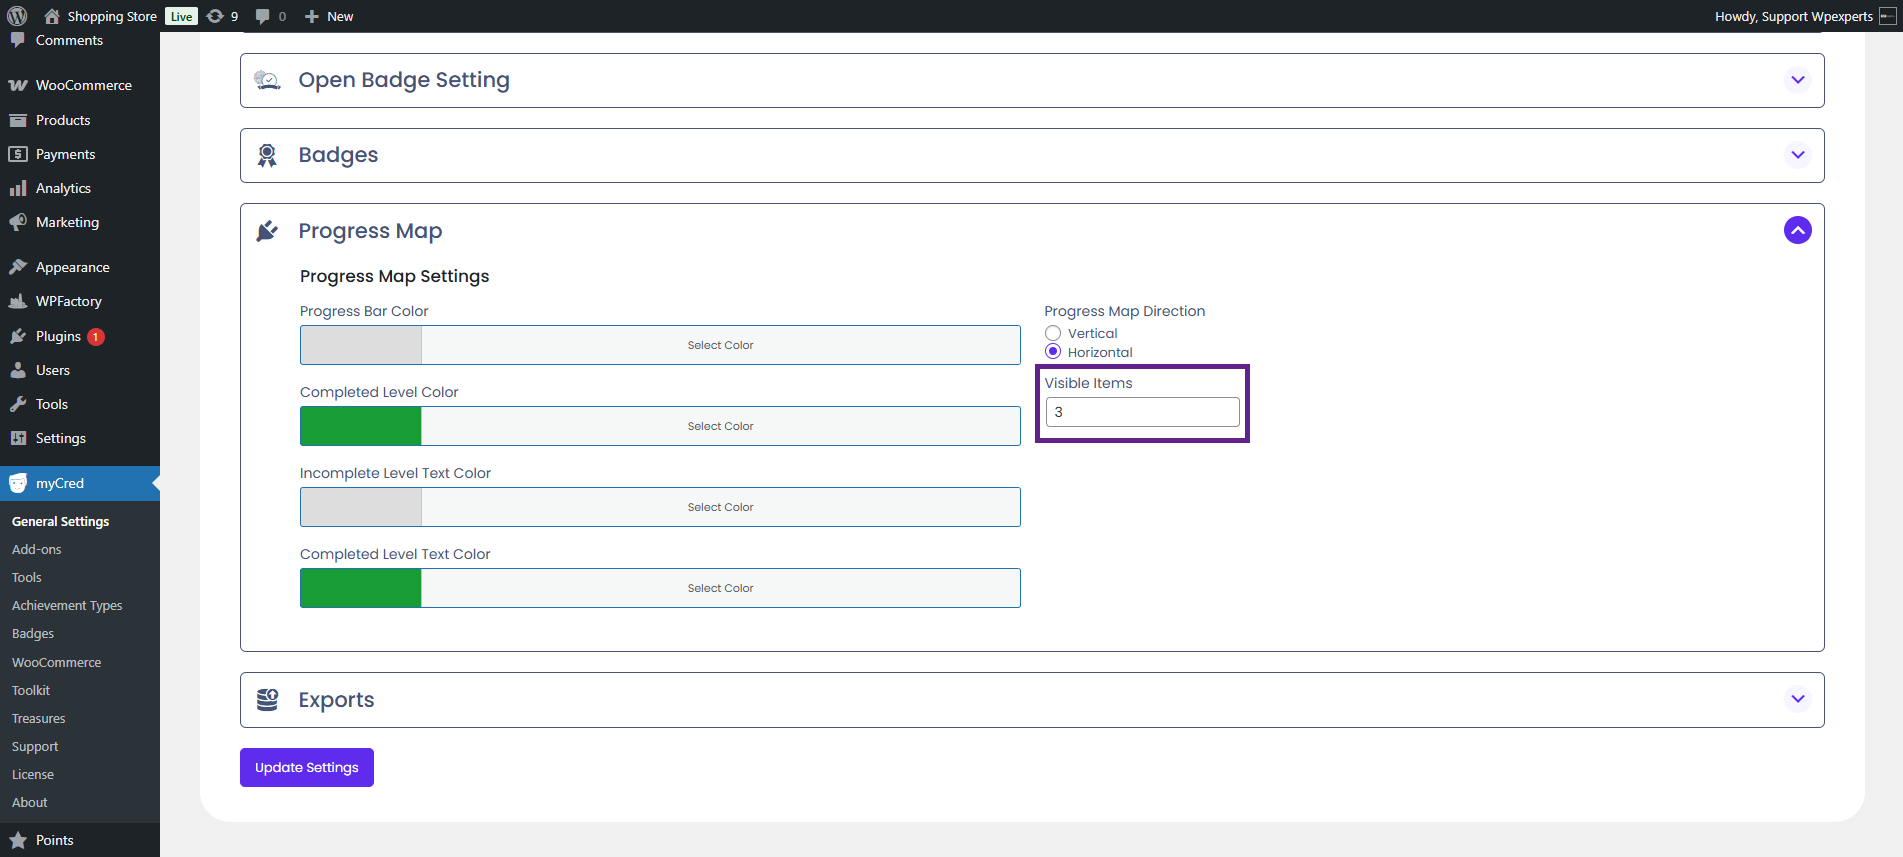
- Under the Progress Map section, the admin can configure the map’s colors, direction, and alignment.

- Set the colors for the progress bar, completed level, incomplete level text, and completed level text colors.
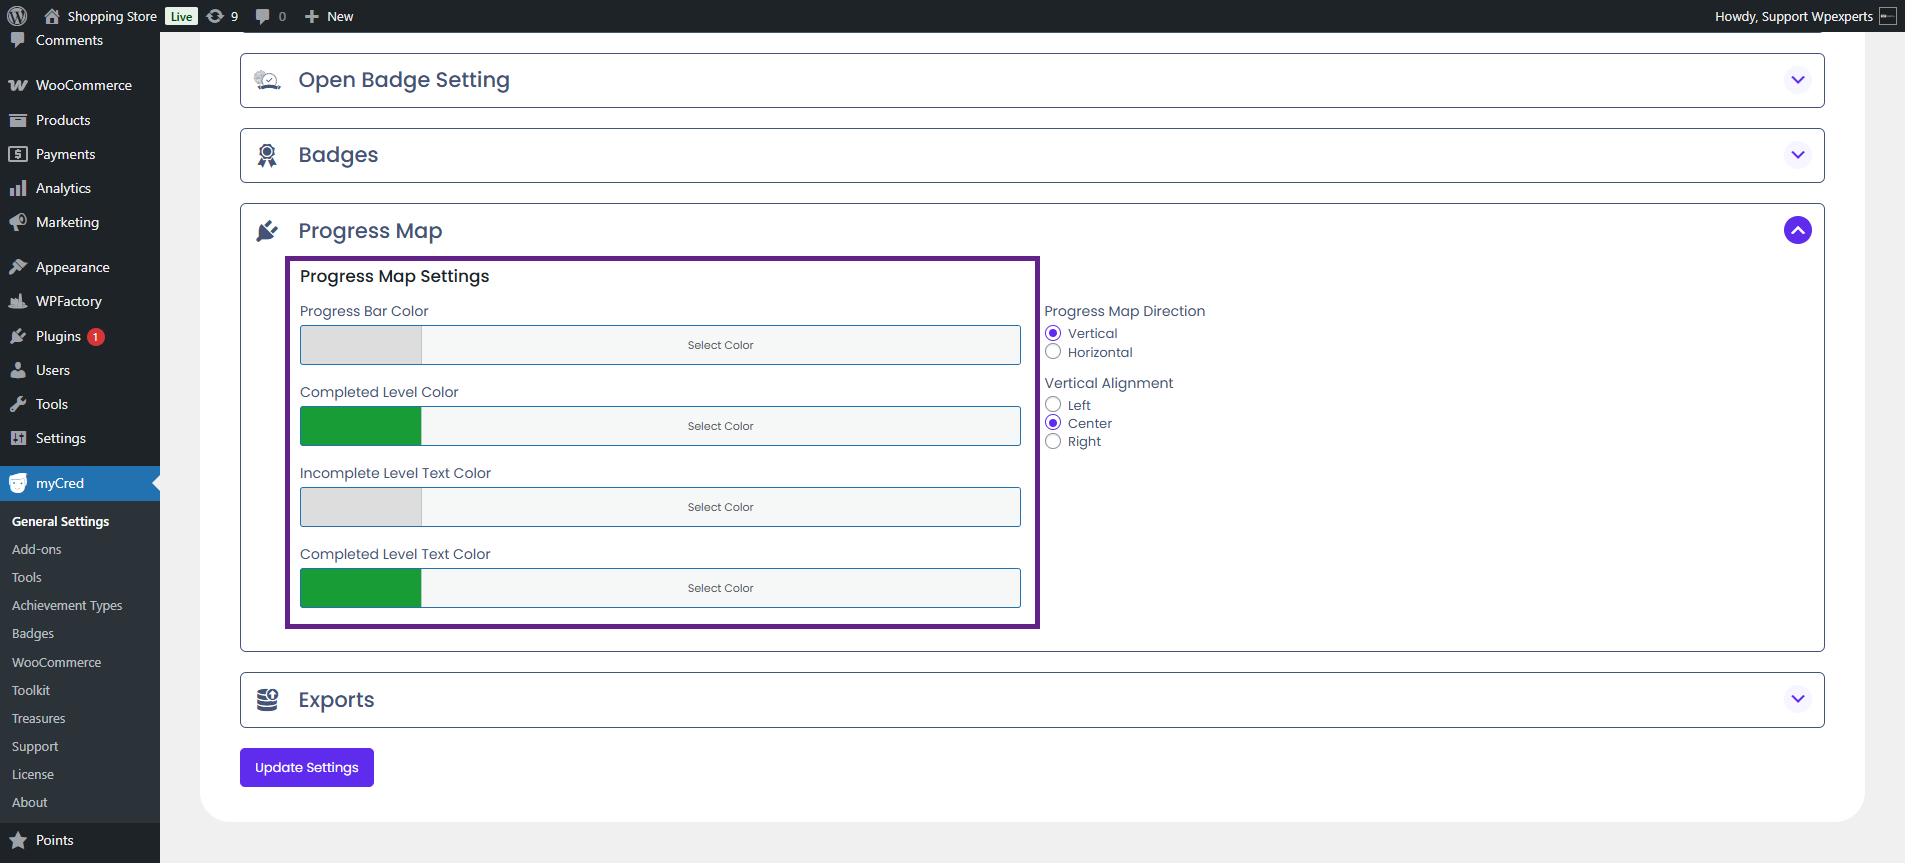
- The admin can set the Progress Map direction in two ways: Vertical or Horizontal.

- If the direction is set to Vertical, the admin can further adjust its alignment. The available alignment options are: Left, Center, and Right.
- If the Progress Map direction is set to Horizontal, the admin must specify the number of levels to be visible in the visible items box.
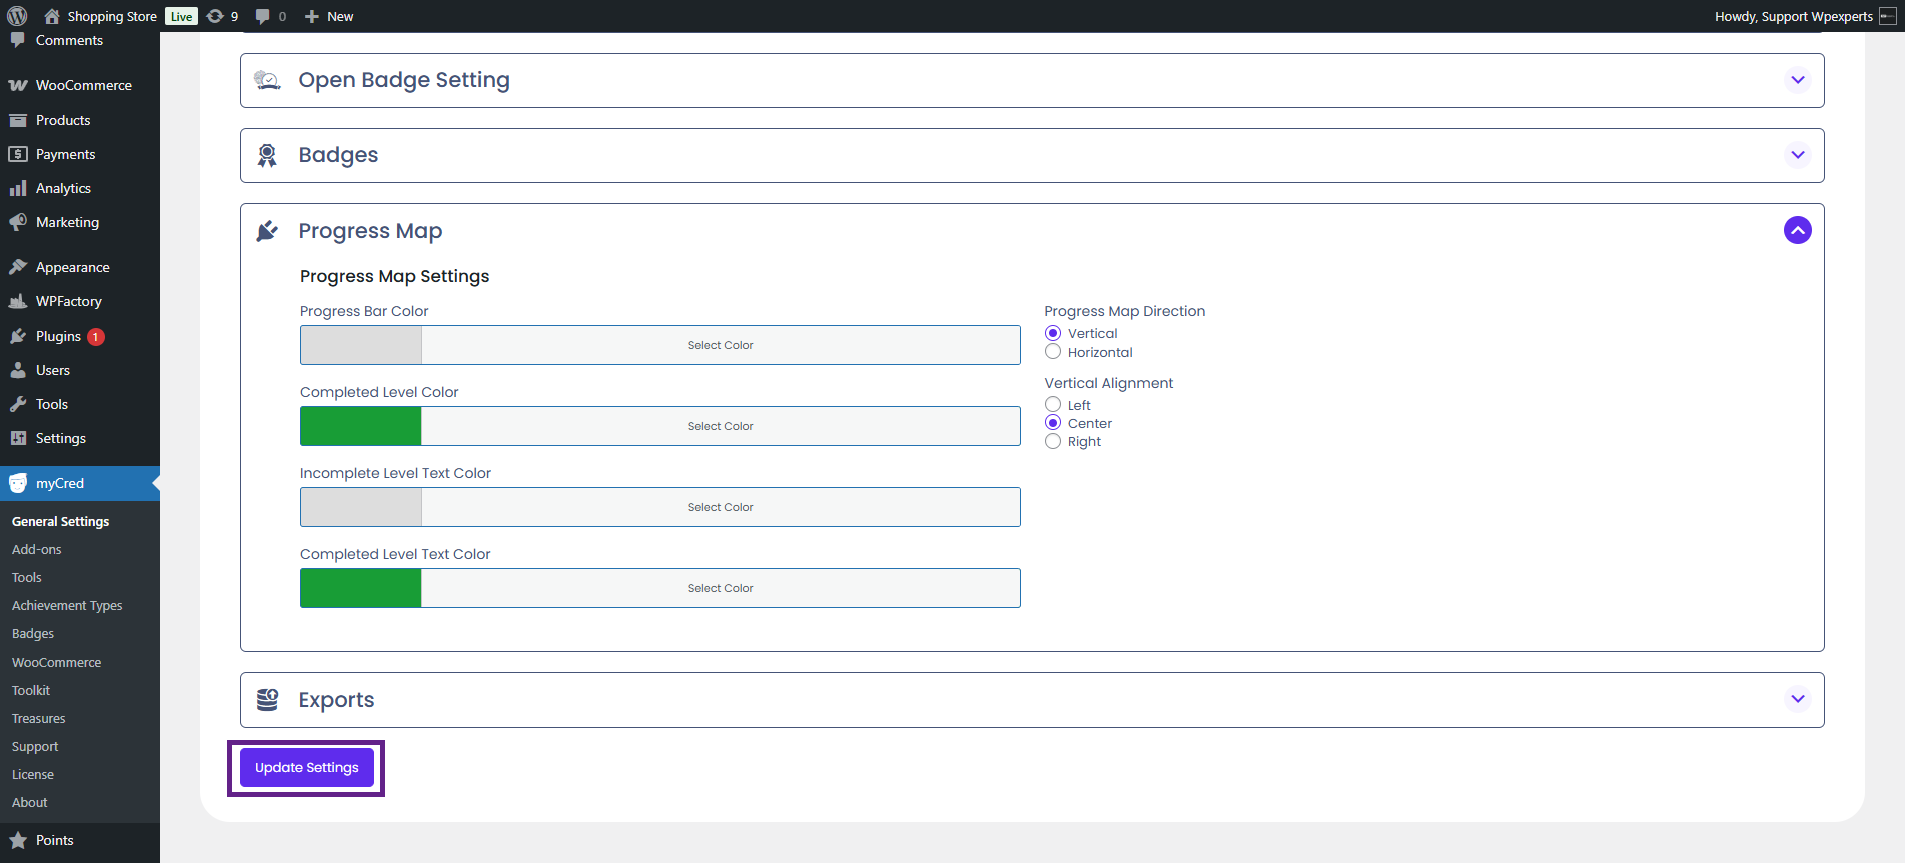
- Once done, click the Update Settings button.
Front-End Impact
- Go to the website.
- Navigate to the page where the [mycred_badges] shortcode is placed.
- As you can see, the progress map is visible on the front end.