Partial payments allow users to pay for parts of the order using points. The remaining amount is paid using one of your active gateways.
Back-End Settings
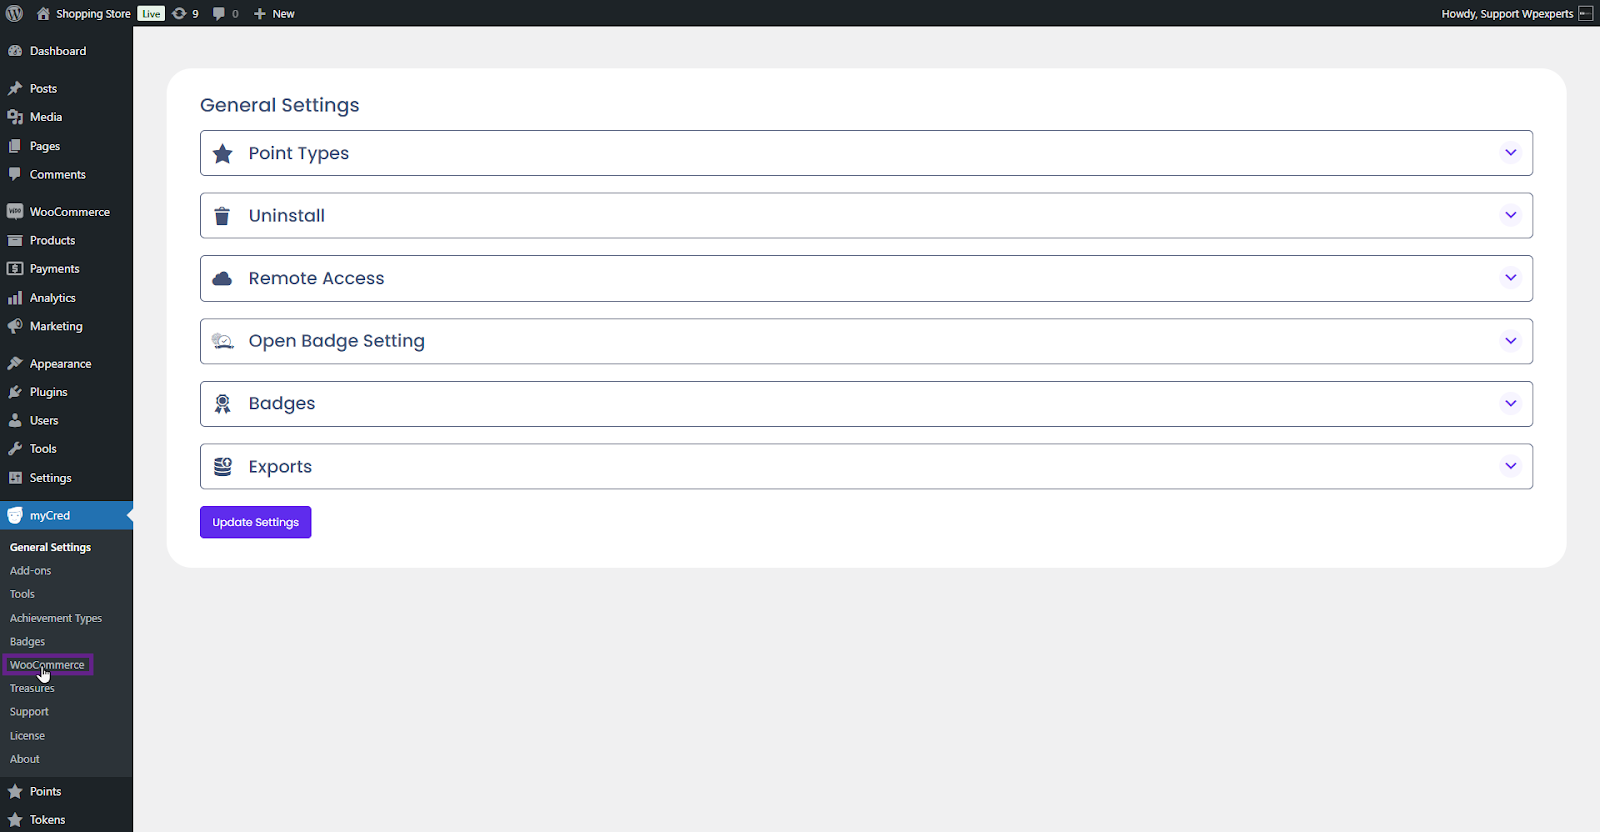
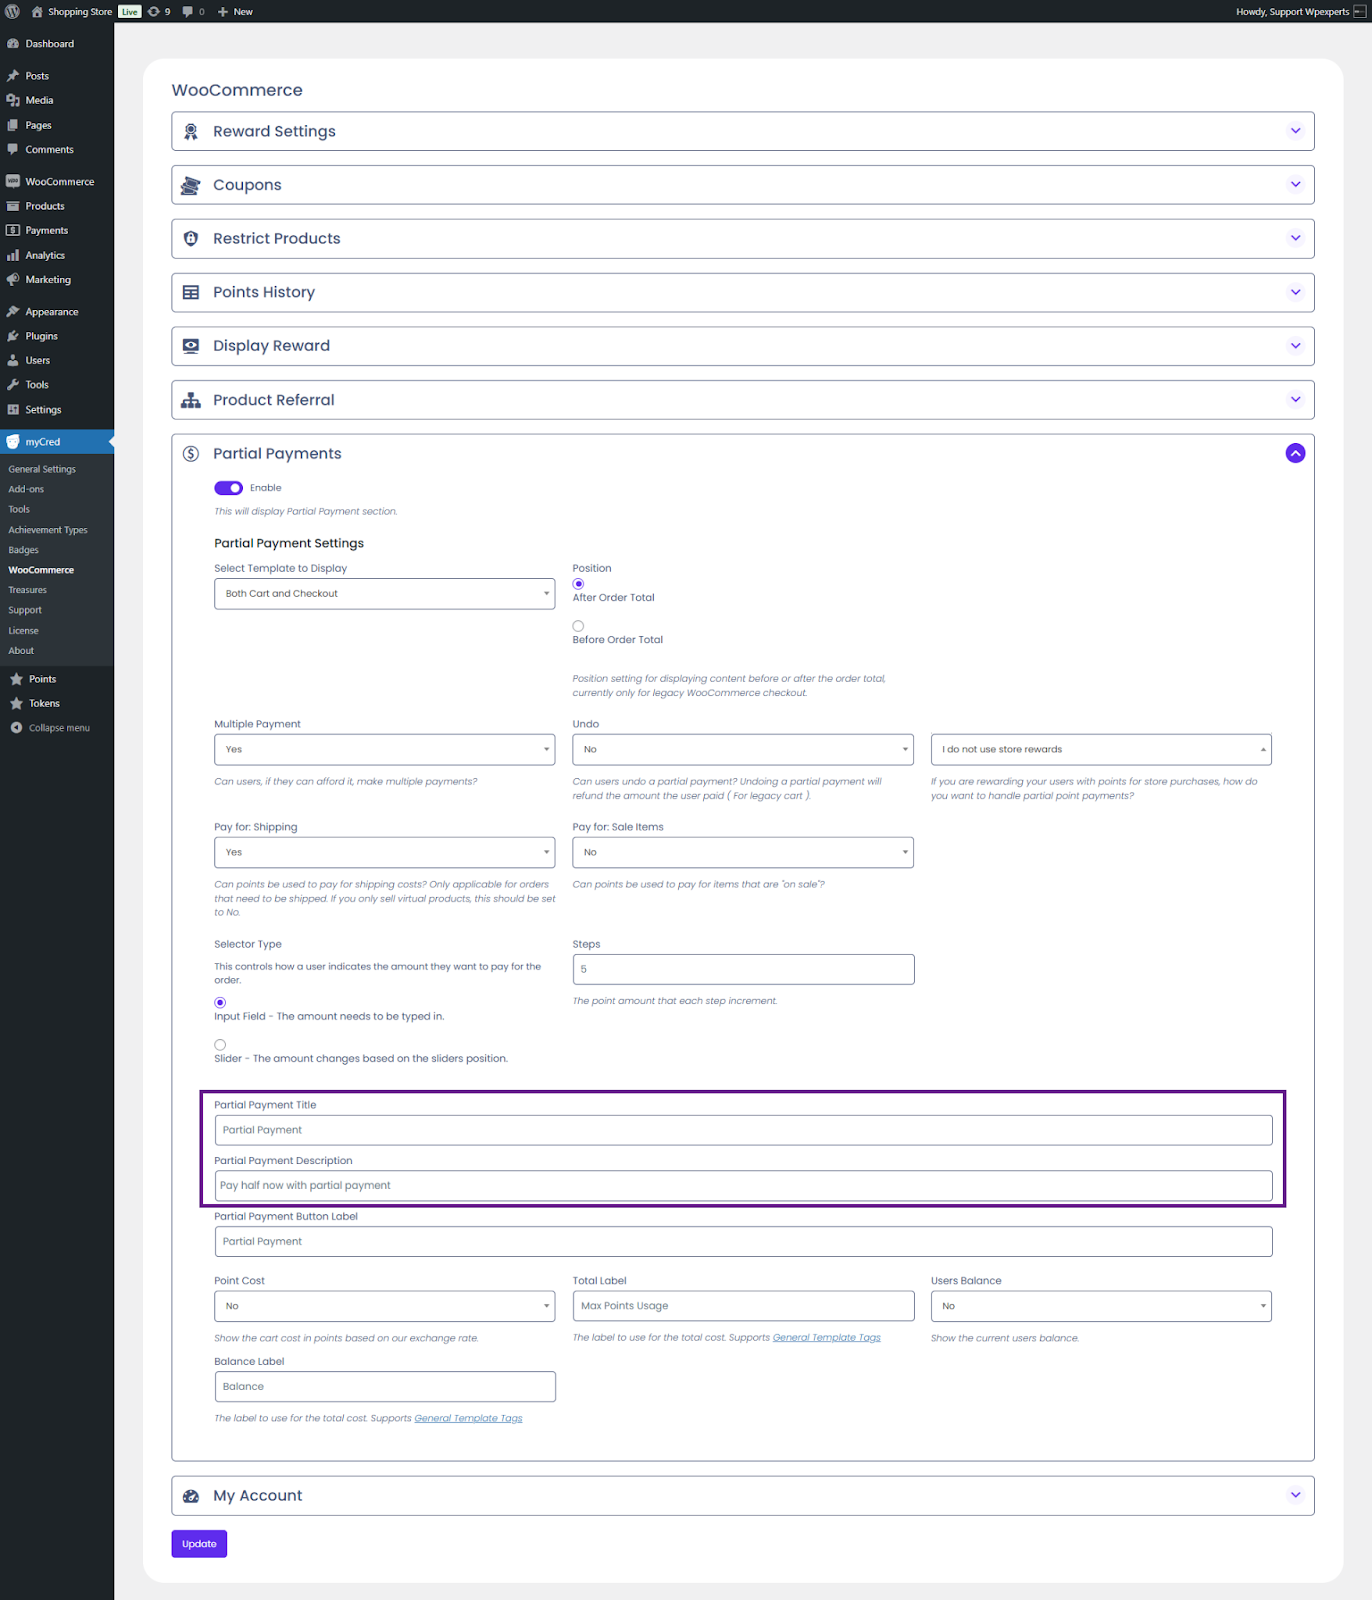
Go to the Admin Dashboard > myCred > WooCommerce.
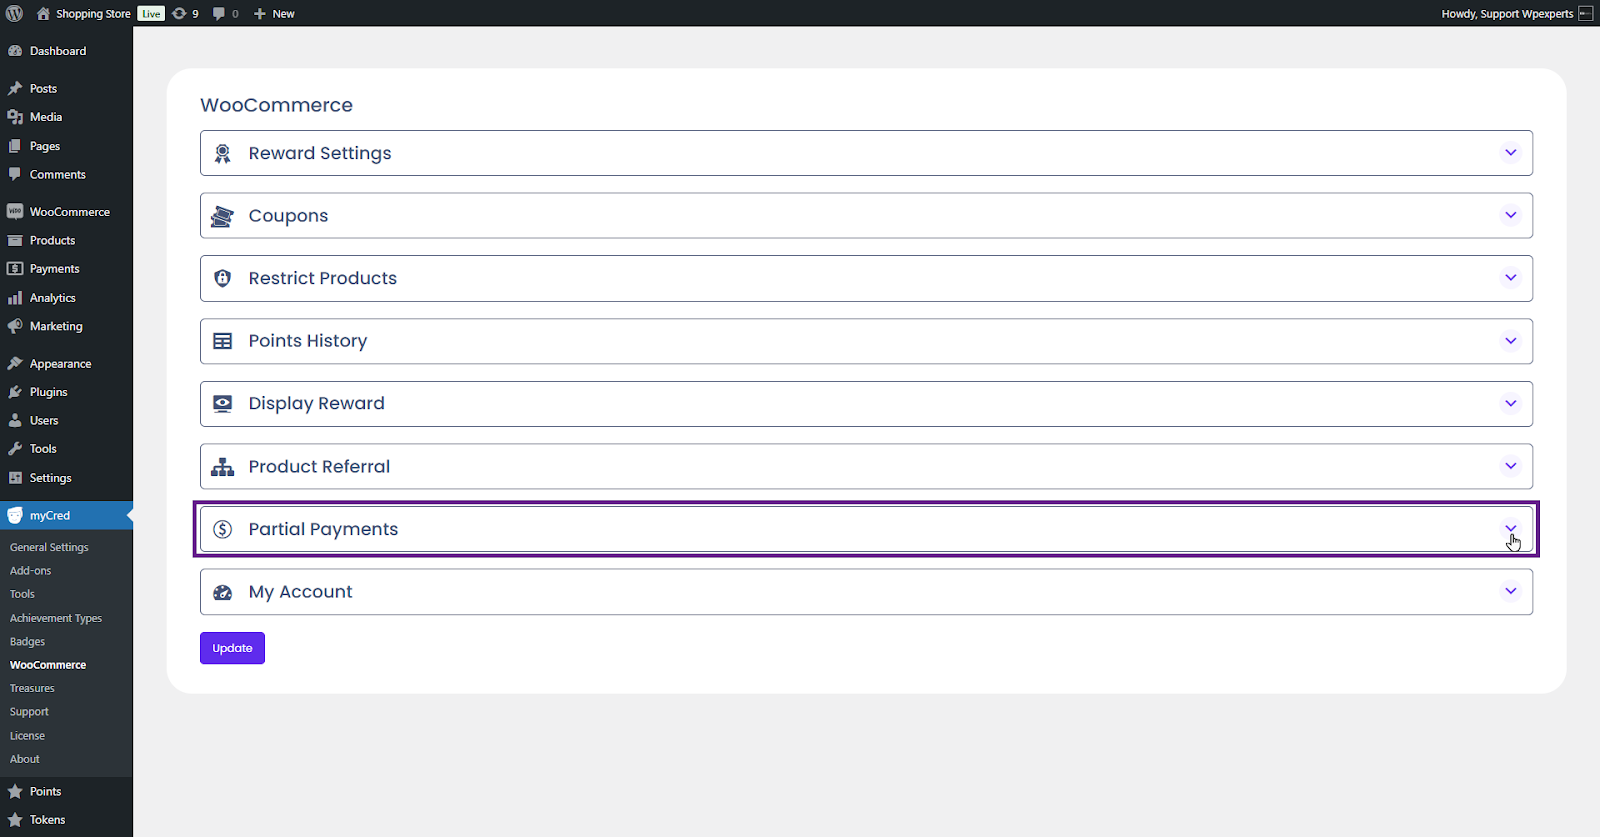
Navigate to the Partial Payments section.
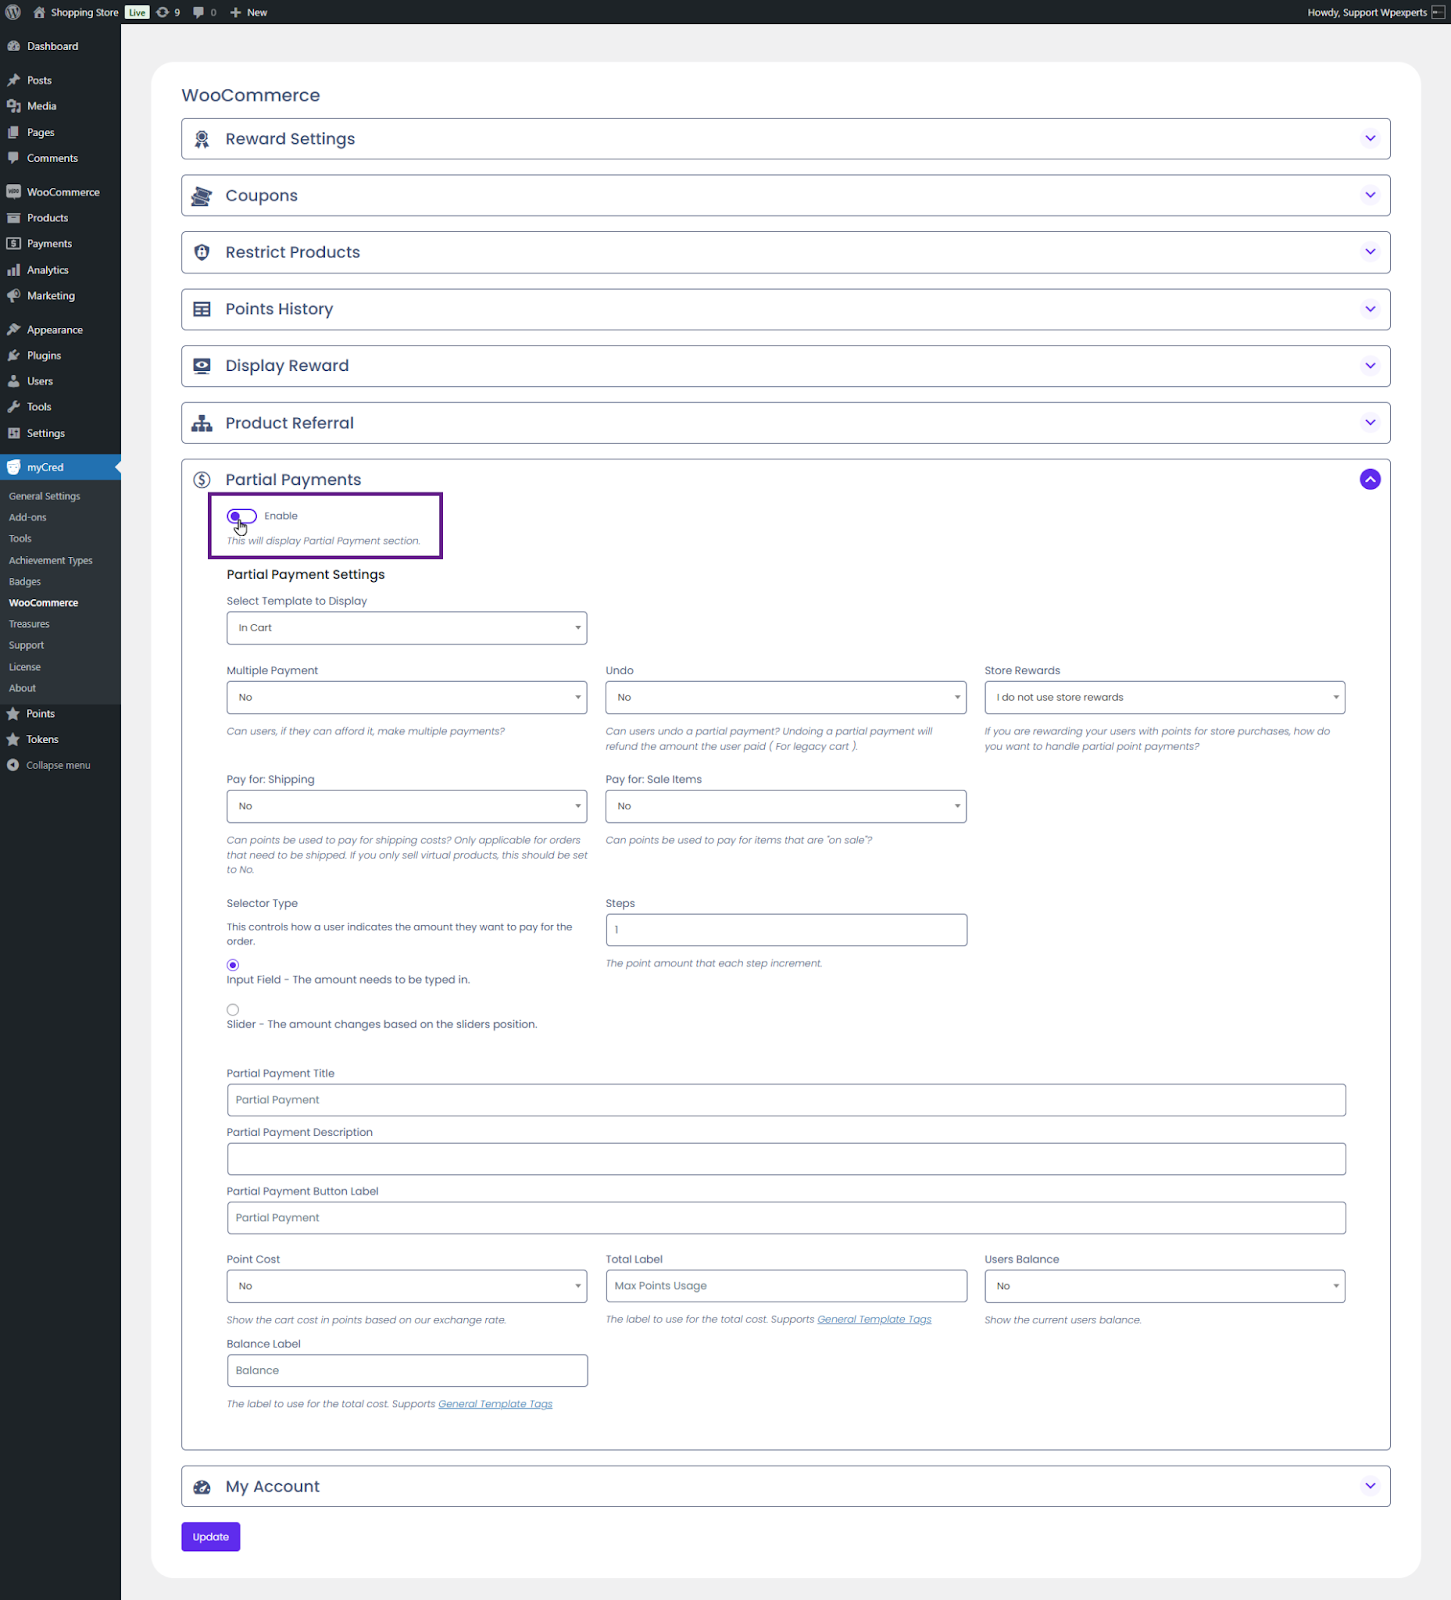
Activate the Enable toggle button.
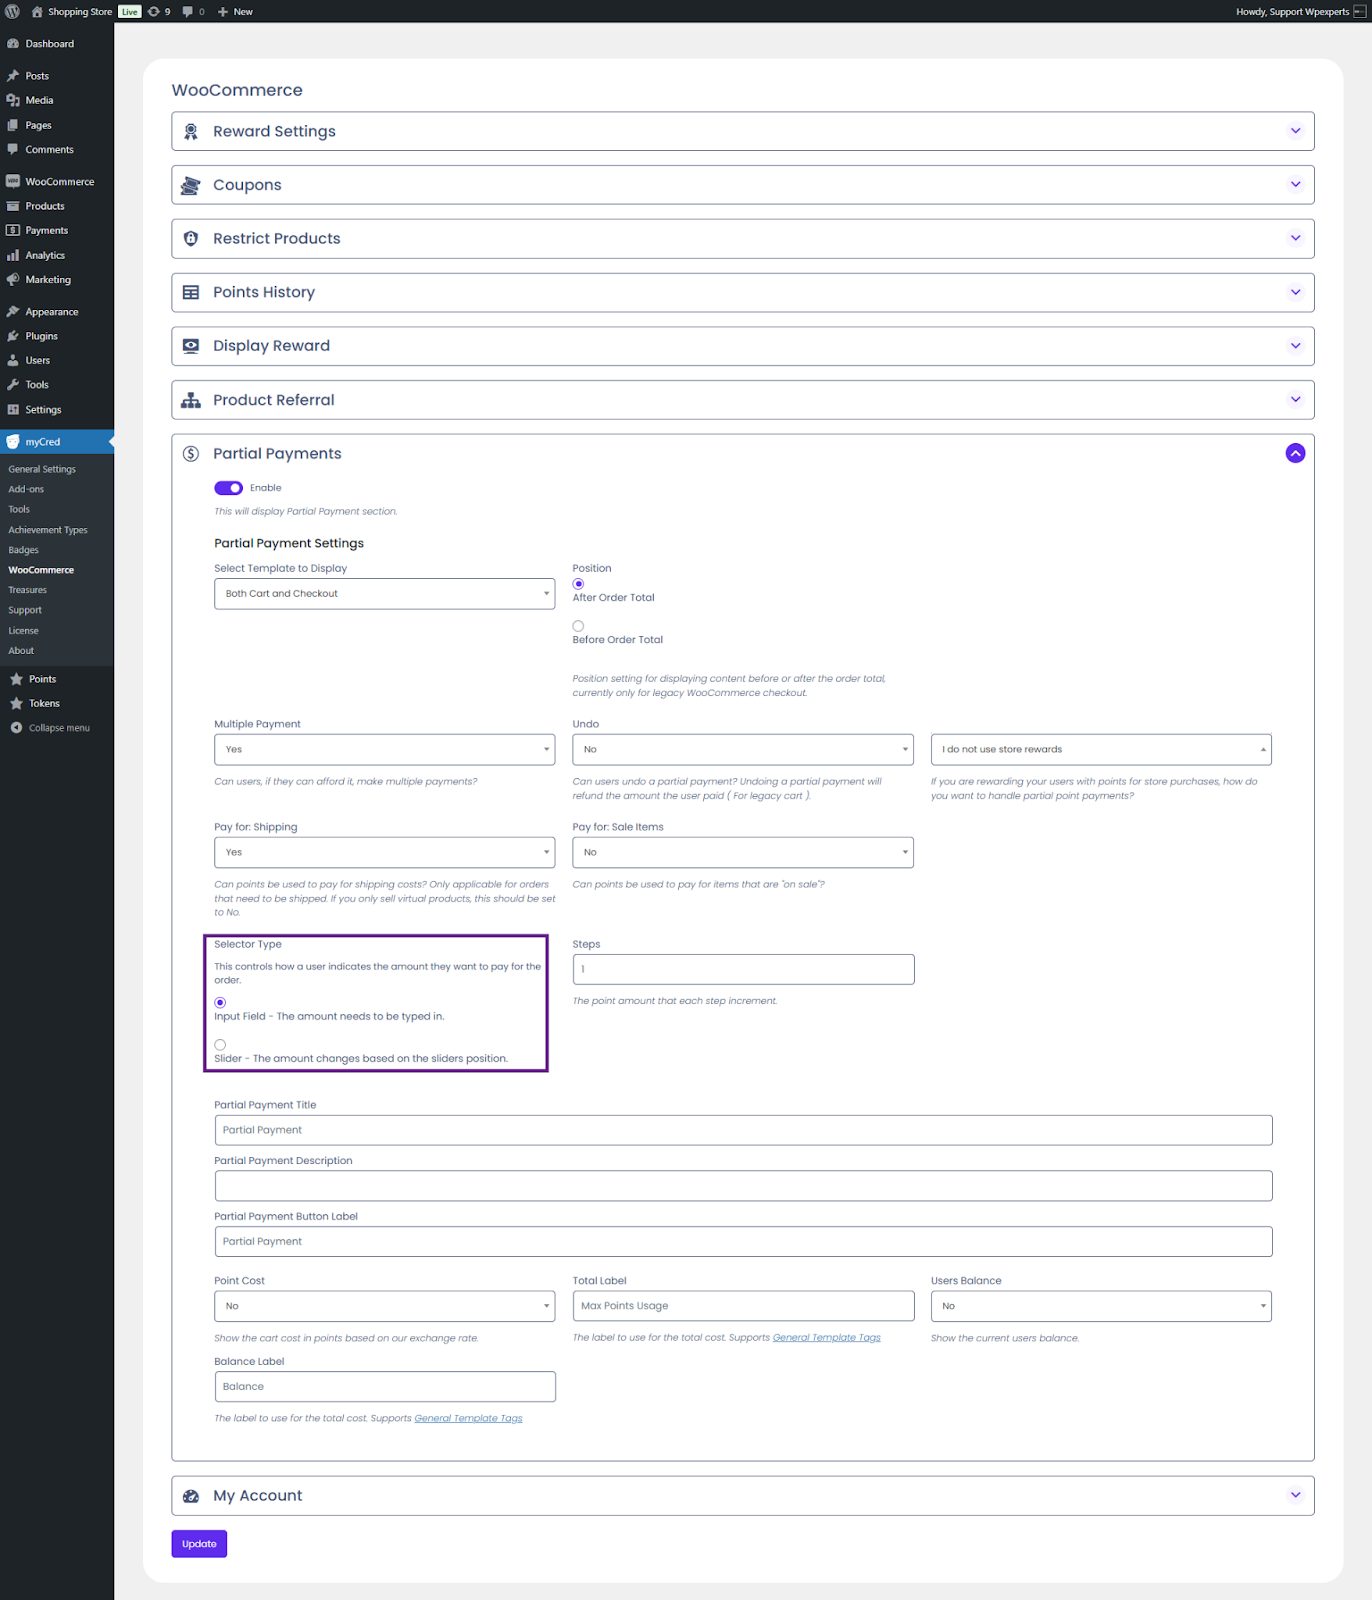
Next, select the partial payment template from the Select Template to Display dropdown menu. Suppose the Checkout or Both Cart and Checkout options are selected. In that case, a Position field will appear, enabling the admin to specify the placement of the partial payment option on the Checkout page.
Note: The position setting for displaying content before or after the order total is currently only for Legacy WooCommerce checkout.
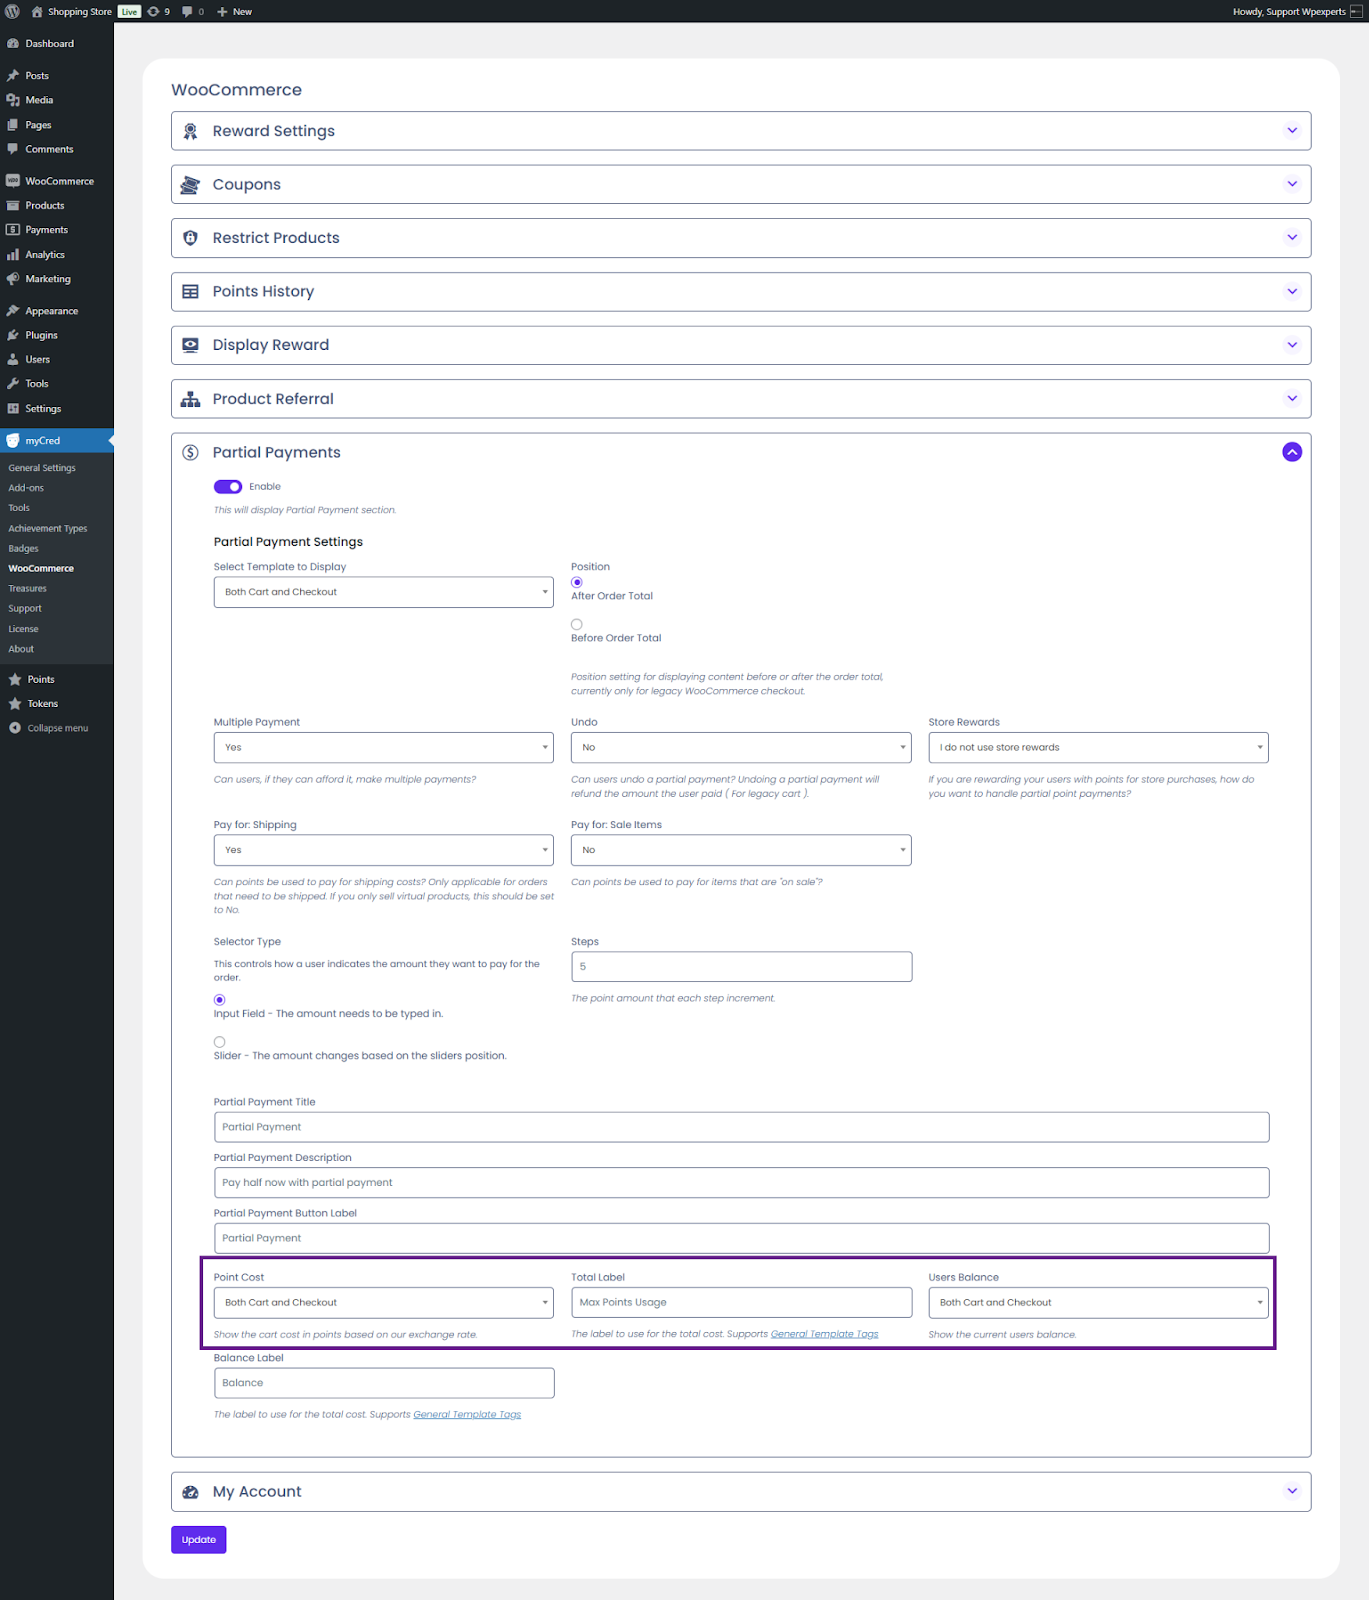
The admin must decide whether users are allowed to make multiple payments and whether they can reverse them. Reversing a payment fully refunds the points back to the user’s account.
Next, choose how store rewards will be handled for partial payments.
Now, decide whether points can be used to cover shipping costs (this is only applicable for shippable orders; set to No if you only sell virtual products) and whether points can be applied to items on sale.
Continue by selecting the selector type. The user can choose between an input field or a slider, which determines how the user specifies the amount they wish to pay for the order.
Next, enter the step value in the Steps field. On the front end, the amount in the partial payment field will increase by the value you enter. In this case, the increment will be by 5.
Enter the partial payment title and description.
Now, enter the label for the partial payment button.
The admin can choose which point-related details to display on the cart, checkout page, or both, including Point Cost and User balance. The admin can also set the label for the total cost of points that can be used.
Finally, enter the balance label in the Balance Label field.
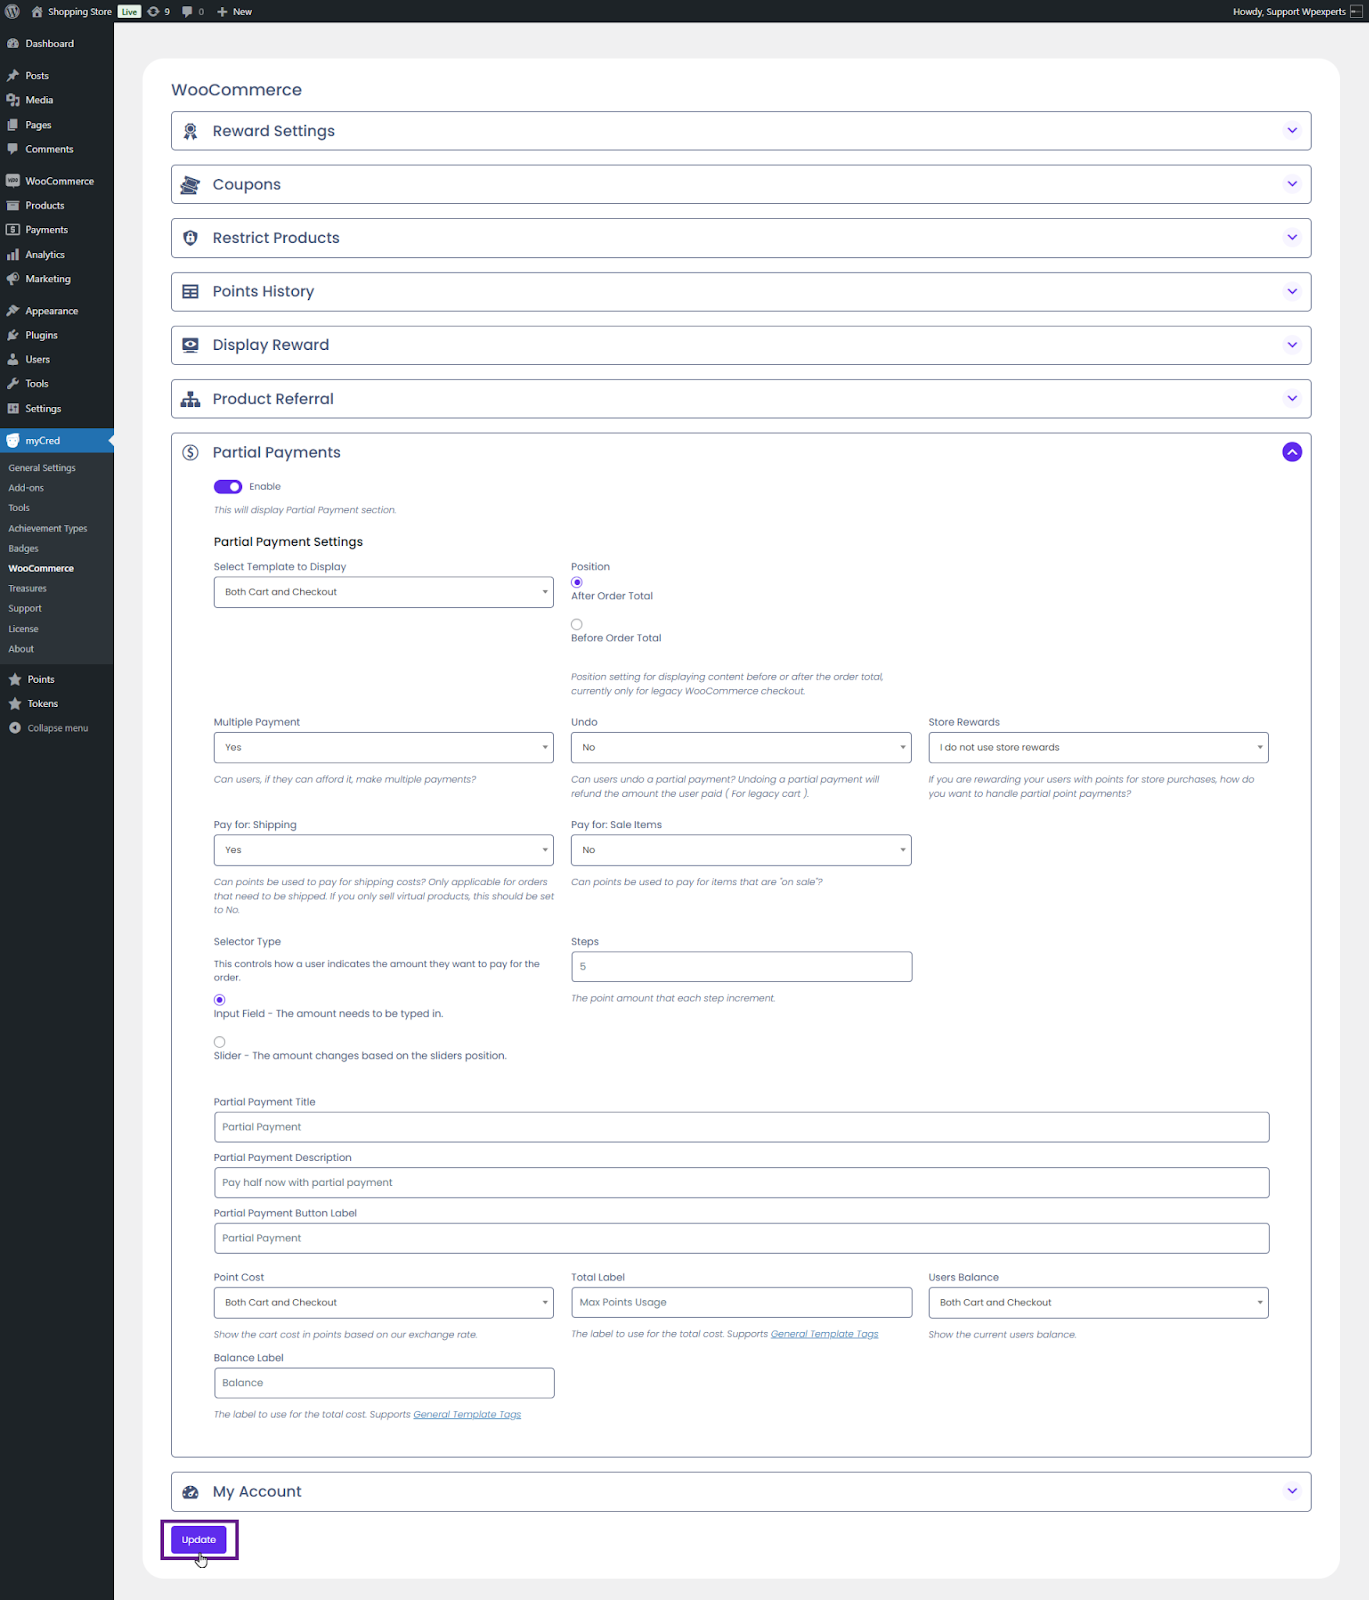
Once done, click the Update button.
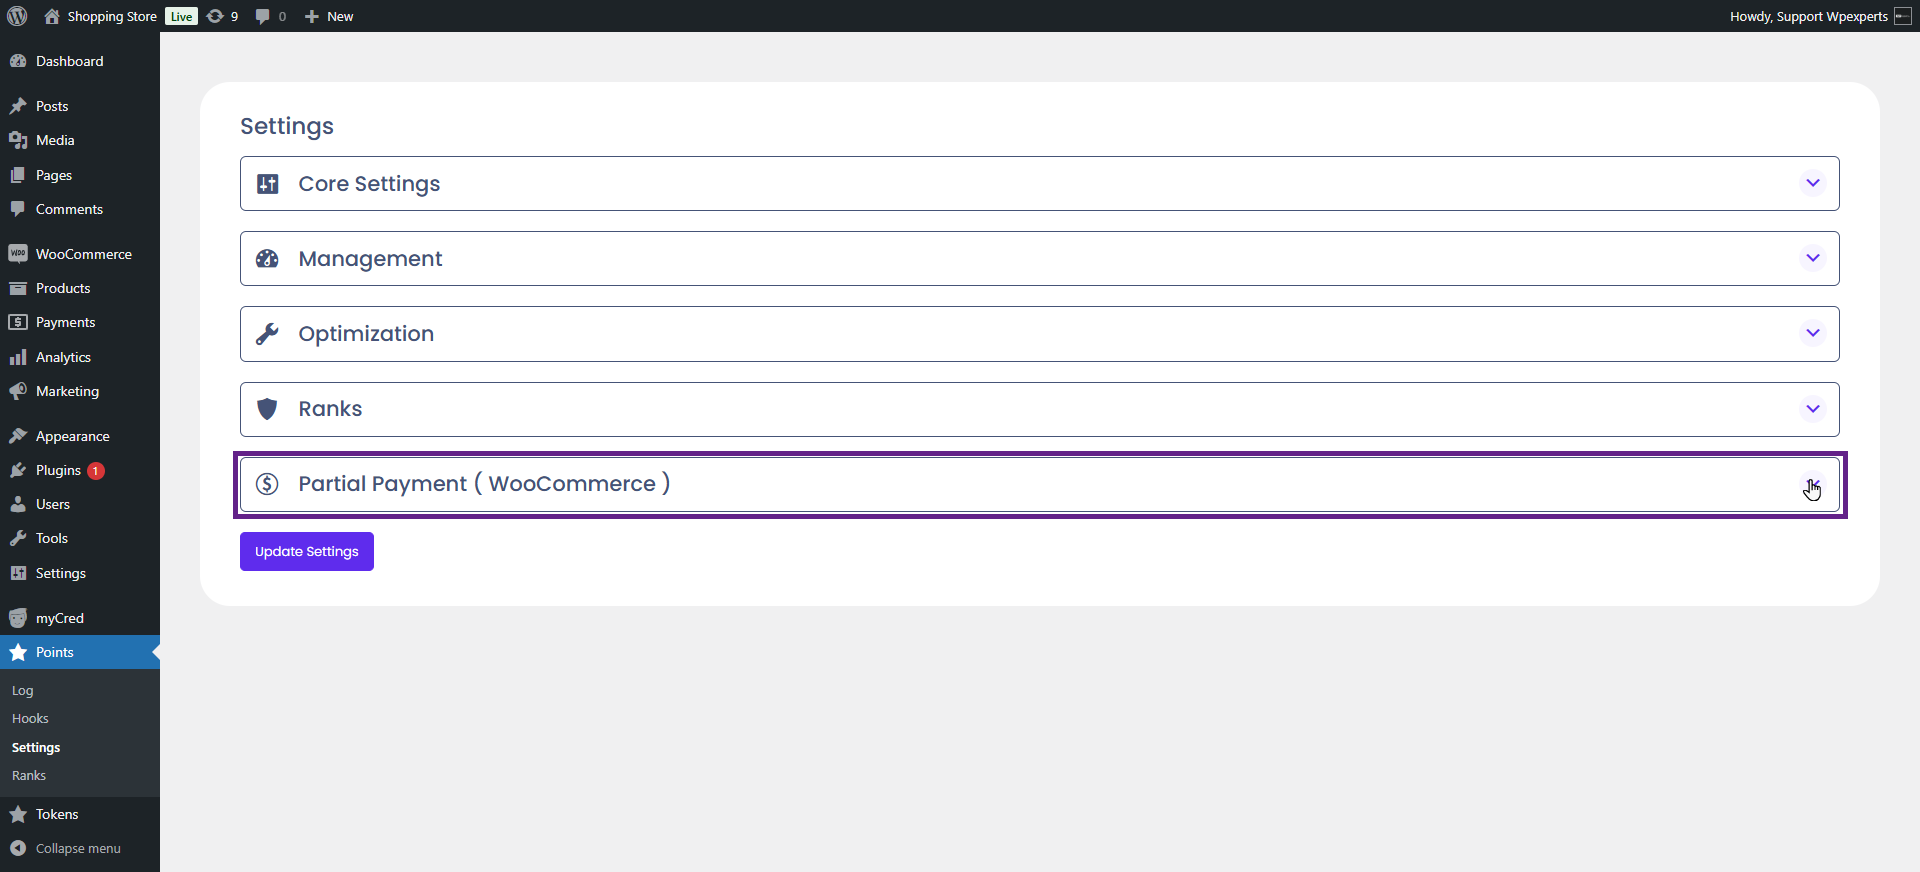
The admin must configure each point type’s exchange rate and other relevant settings to enable the partial payment function. These settings can be applied individually to multiple point types.
Go to the Admin Dashboard > Point Type > Settings.
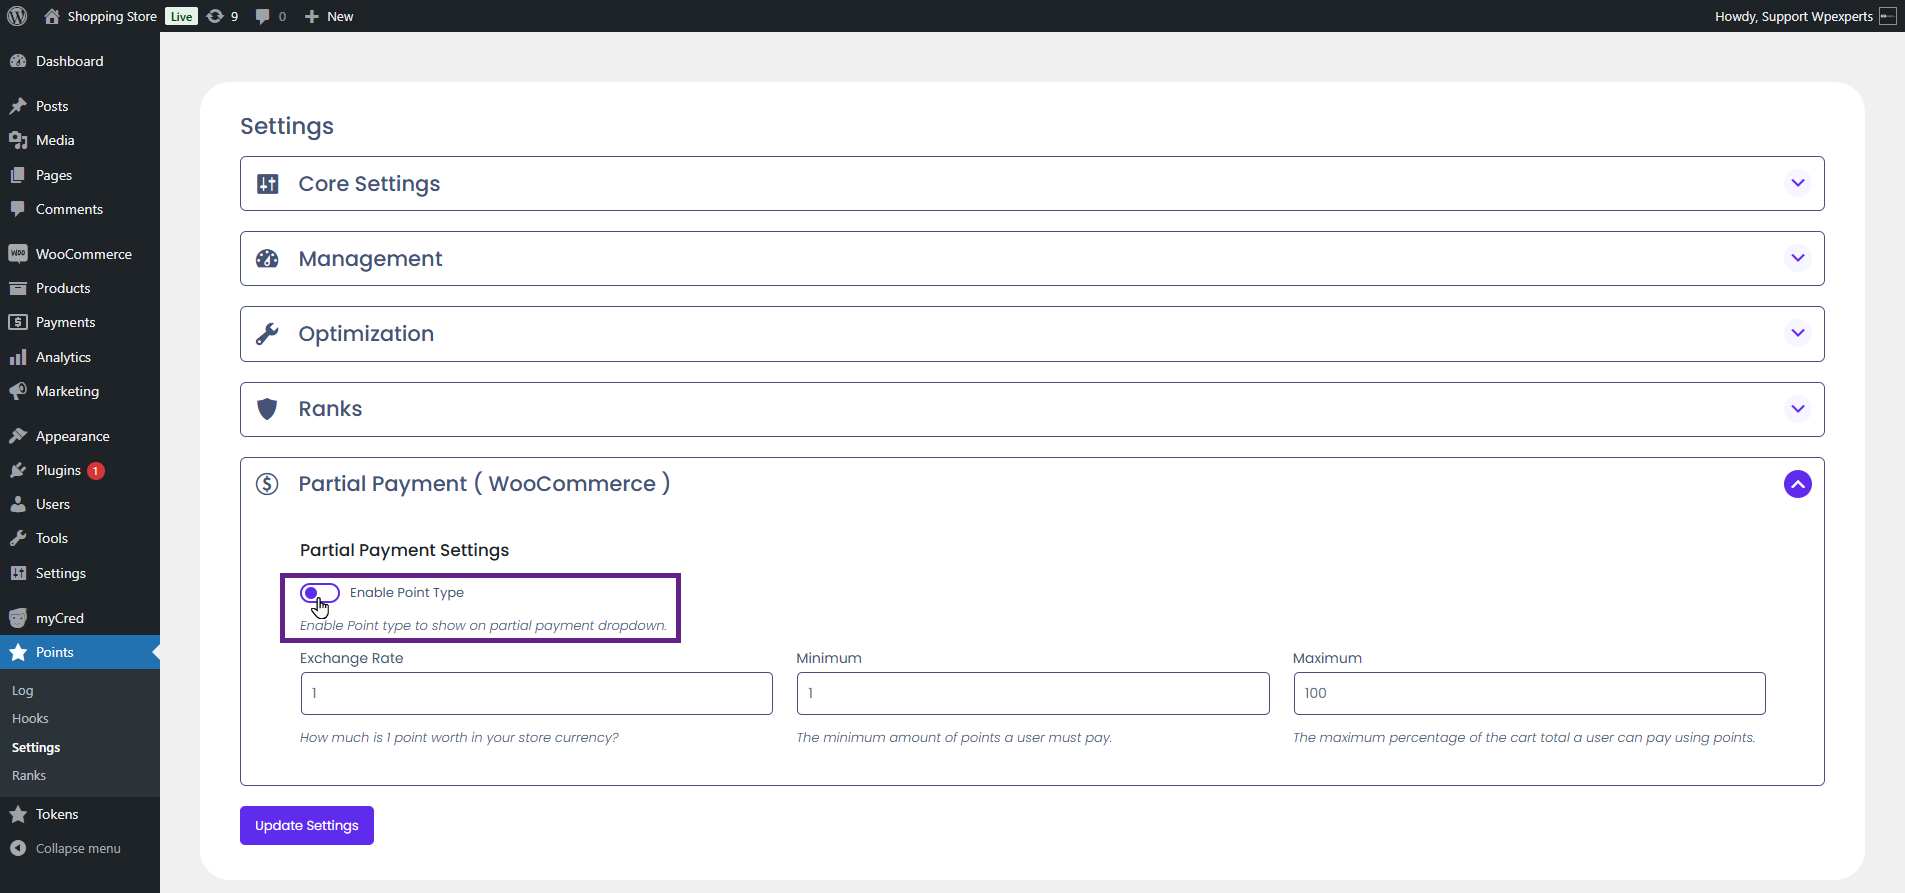
Next, navigate to the Partial Payment ( WooCommerce) section.
Activate the Enable Point Type toggle button.
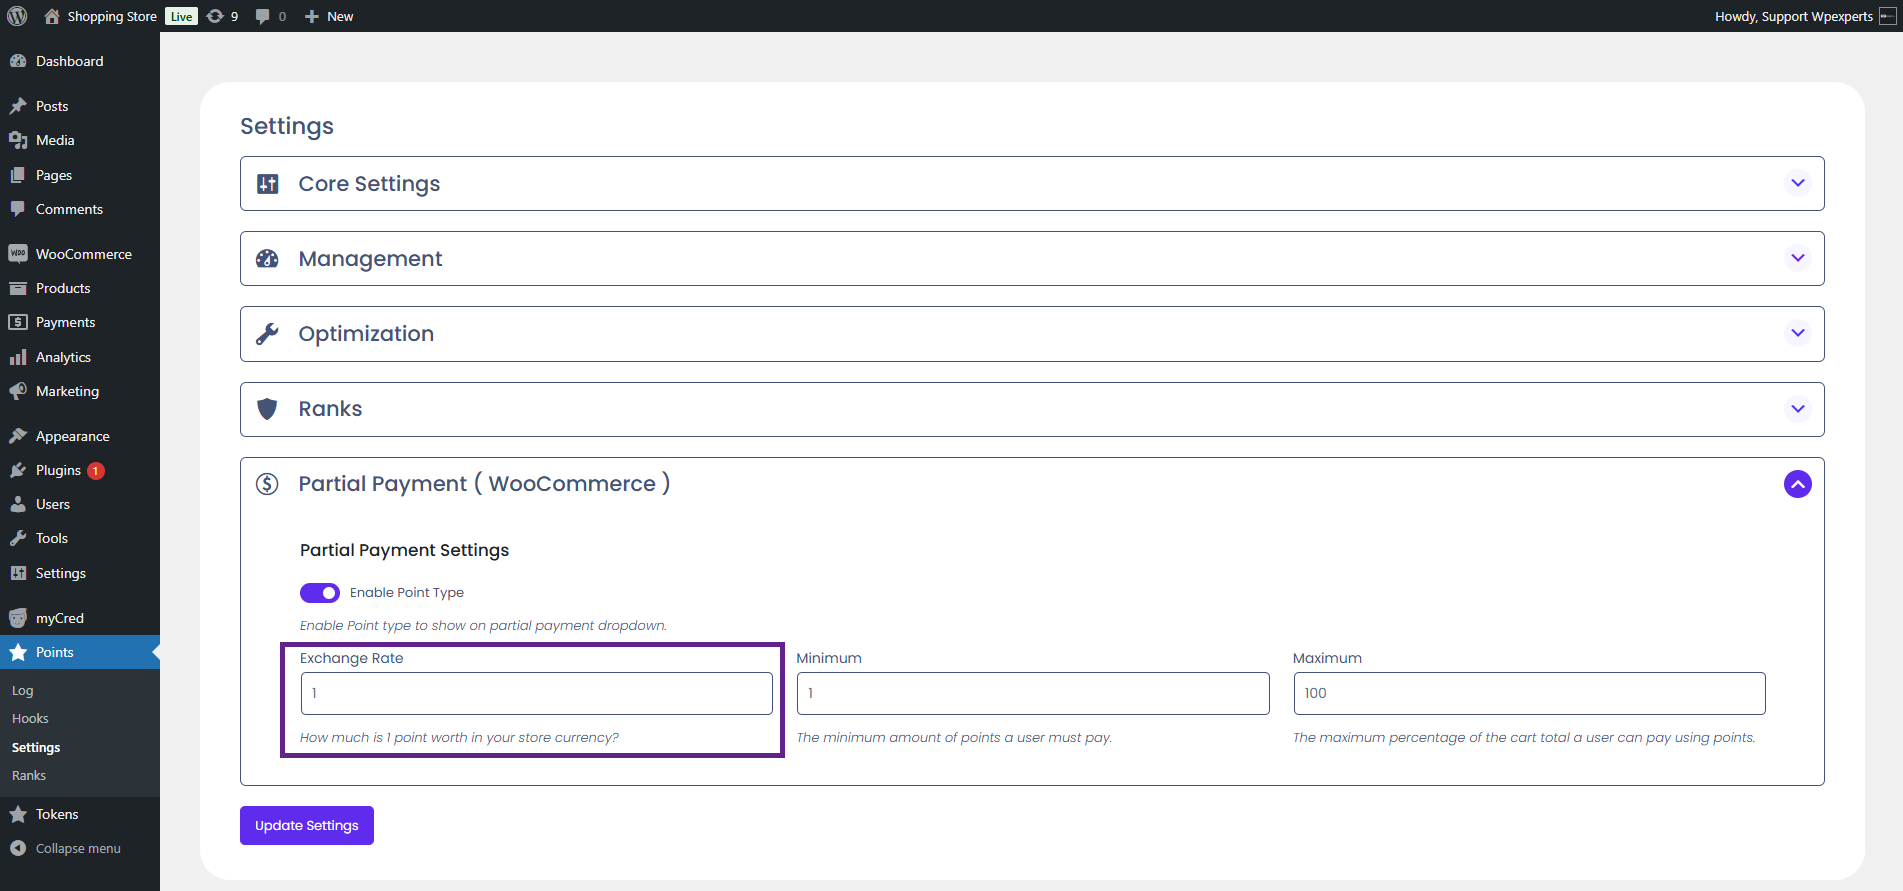
Next, set the exchange rate between the selected point type and your store currency.
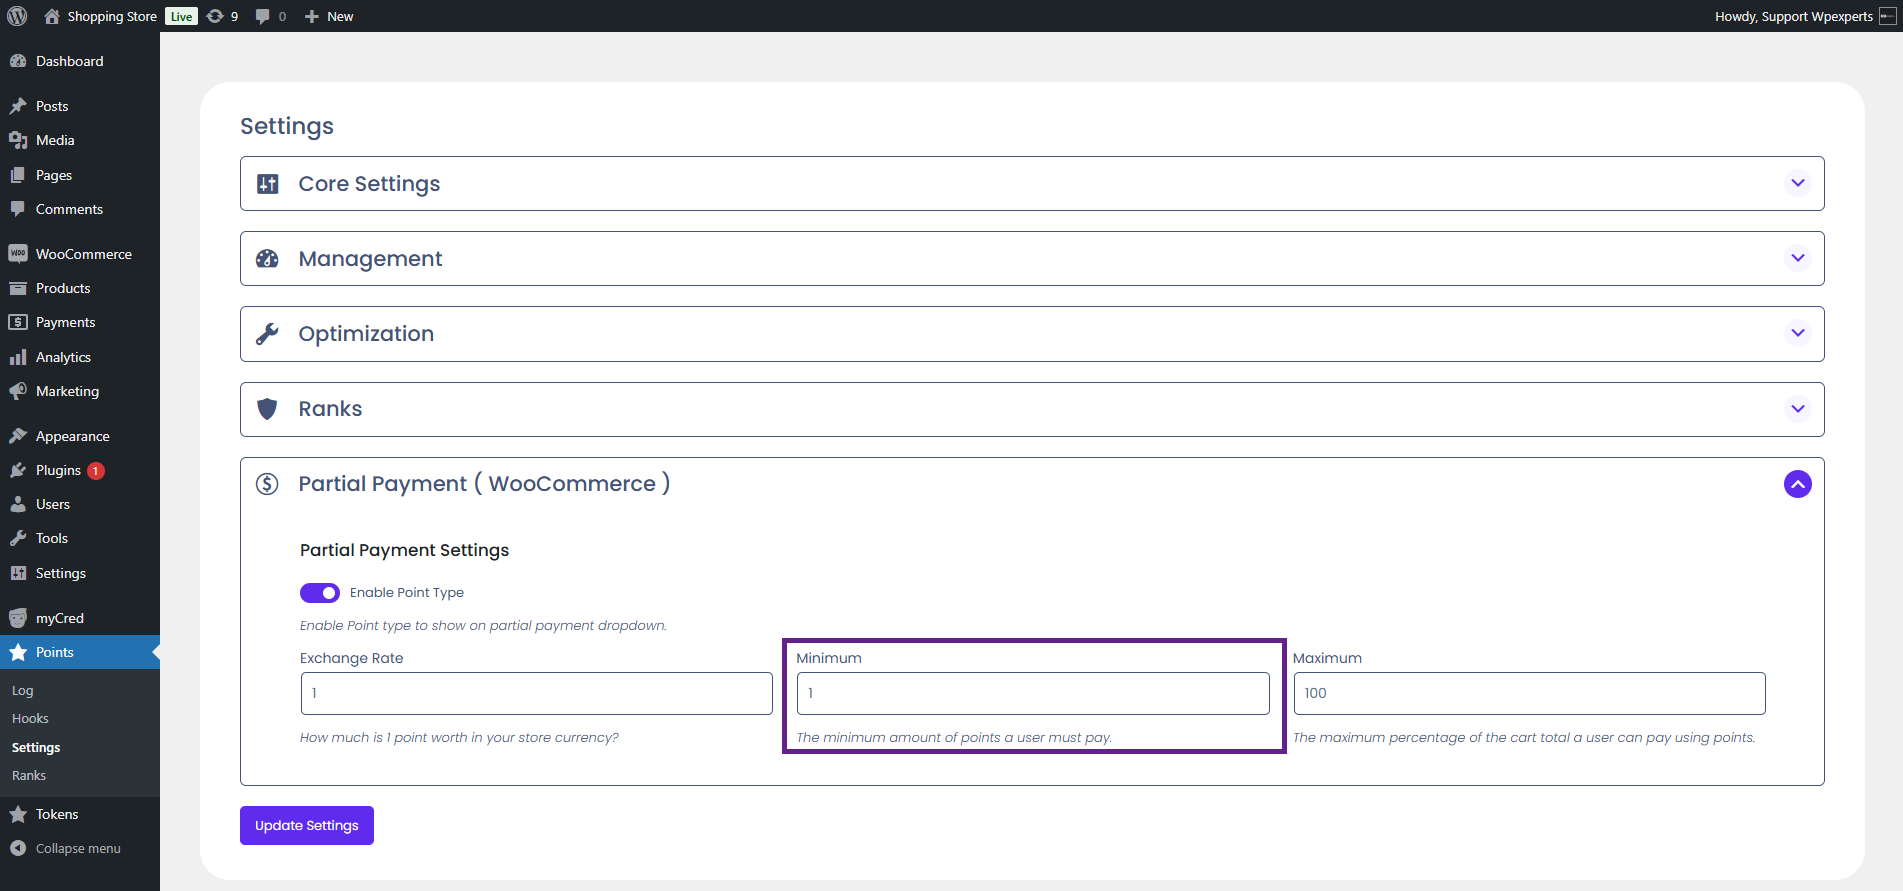
Then, specify the minimum number of points a user is required to pay.
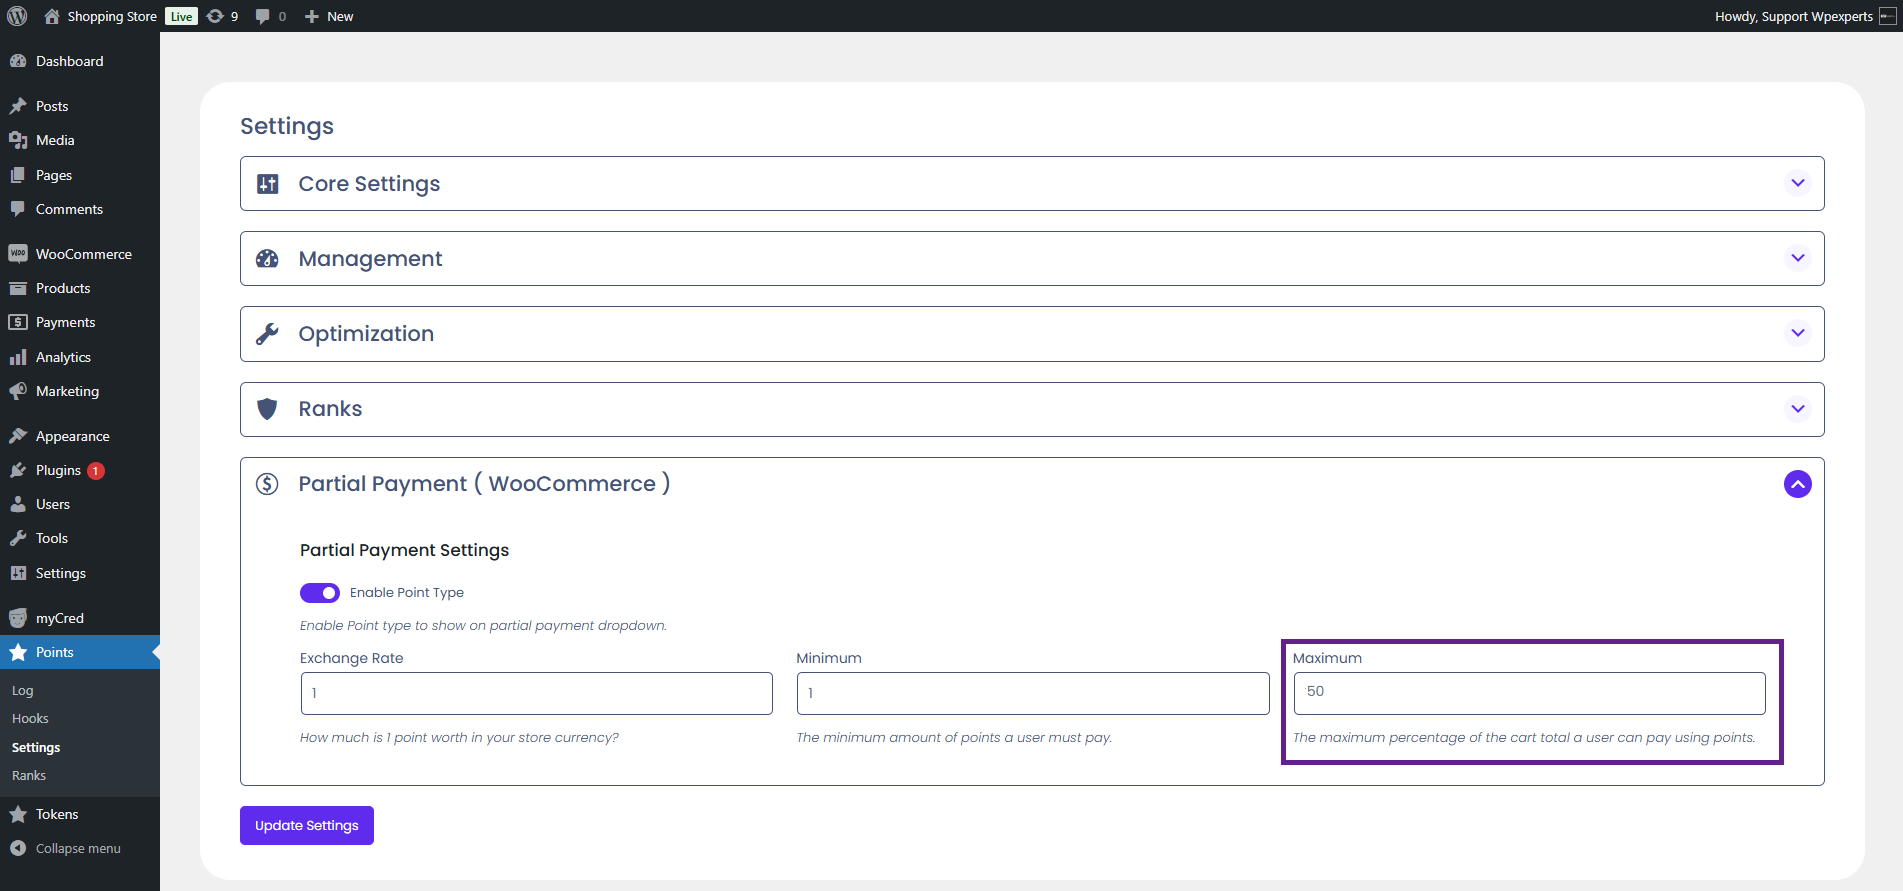
Finally, specify the maximum percentage of the cart’s total amount a user can pay using points.
Once done, click the Update Settings button.
Front-End Impact
Go to the website.
Navigate to the Cart page after adding a product to the cart.
Choose the point type from the Select Point Type dropdown and enter the partial payment amount. Then, click the Partial Payment button.
Note: The user can choose any point type from the Select Point Type dropdown menu. The exchange rate and other settings for each point type must be configured in the backend.
Note: In the partial payment field, the user can enter a minimum of 1 and a maximum of half the total order value in the cart. For example, if the total order is $30, the user can enter a partial payment amount up to $15. This limit is defined in the backend settings—additionally, the value increments by 5 as configured in the backend settings.
The user is allowed to make multiple partial payments.
Note: The user can make multiple payments up to the percentage set on the backend. For example, in this case, the maximum partial payment allowed is $15. If the user makes one payment of $5 and another of $10, the total becomes $15. Beyond this limit, the user cannot make additional payments.
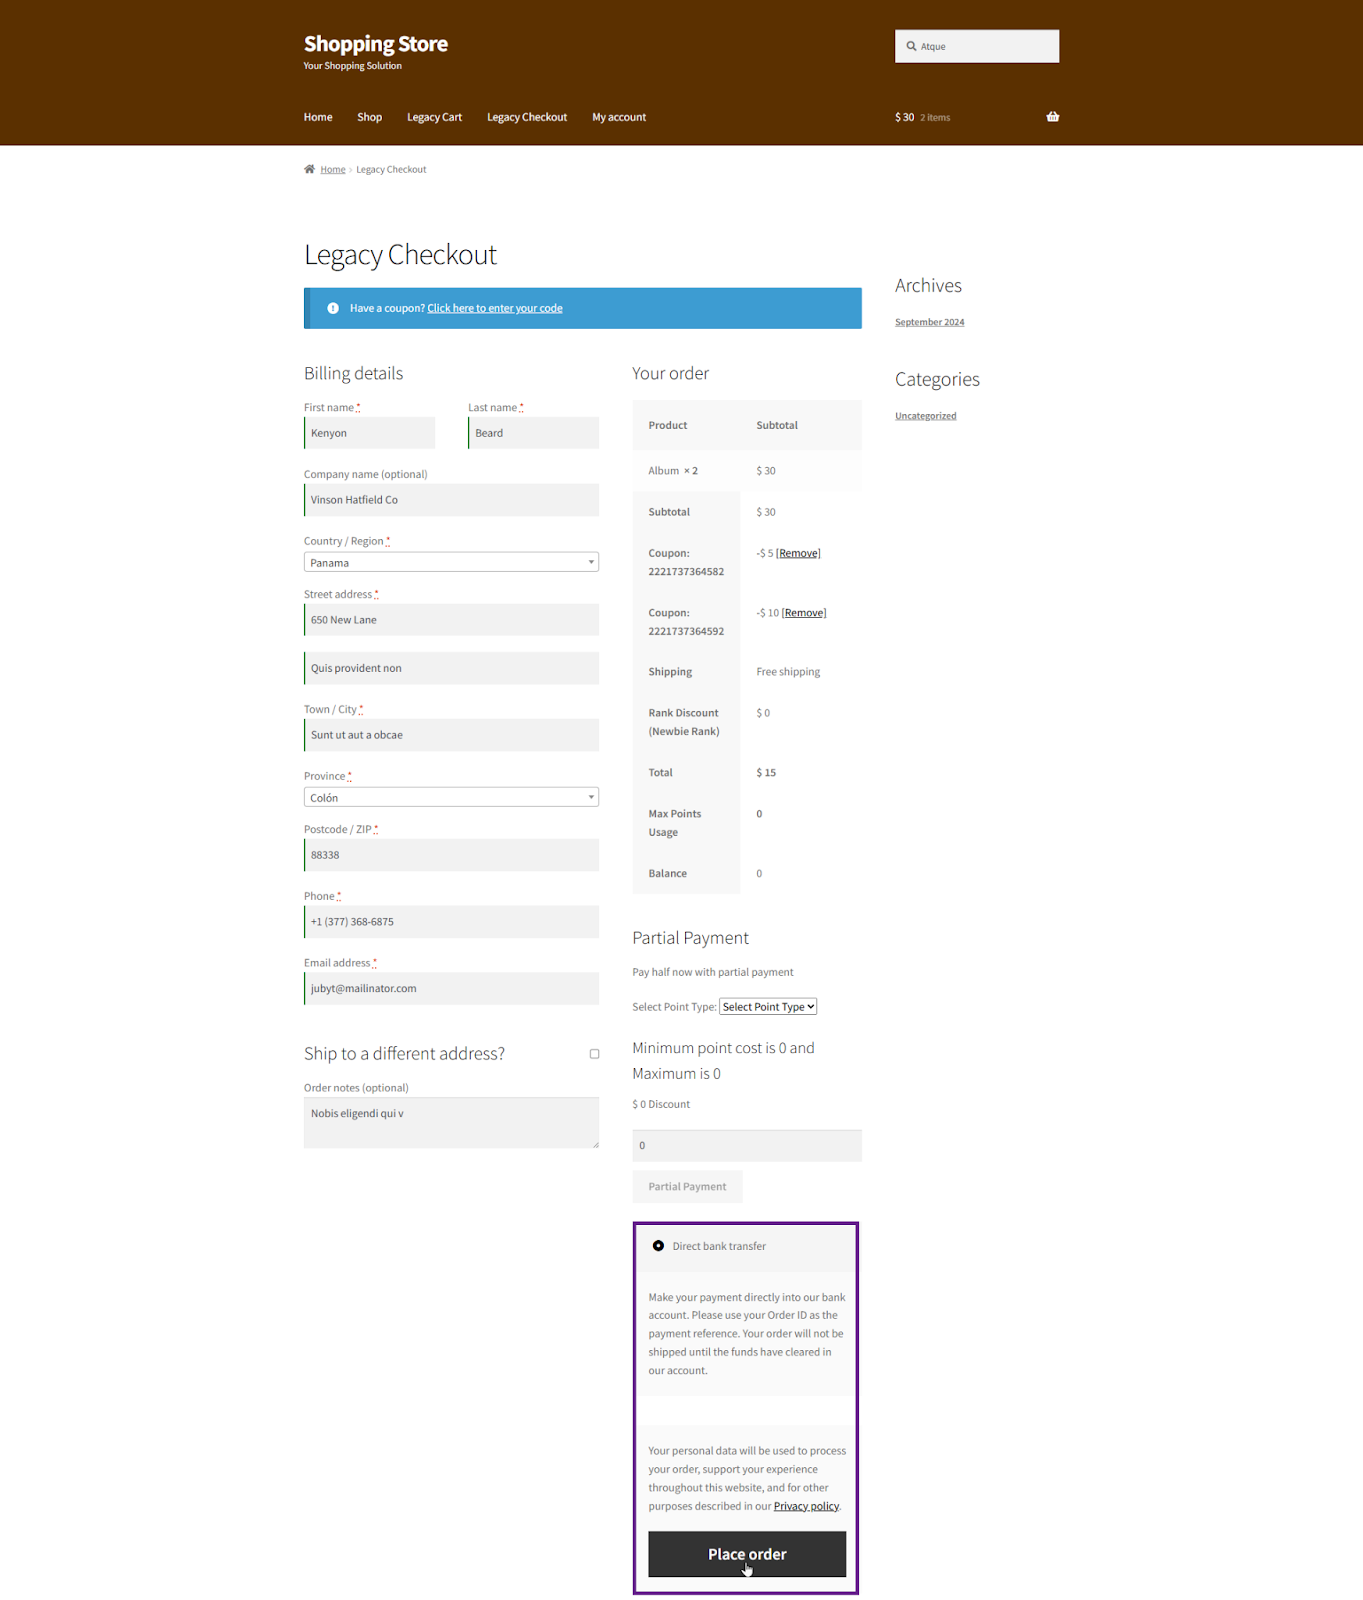
After the user completes a partial payment, the remaining amount will be paid using a different payment gateway.
Note: The position of the partial payment option on the Checkout page is displayed after the order total, as configured in the backend settings.
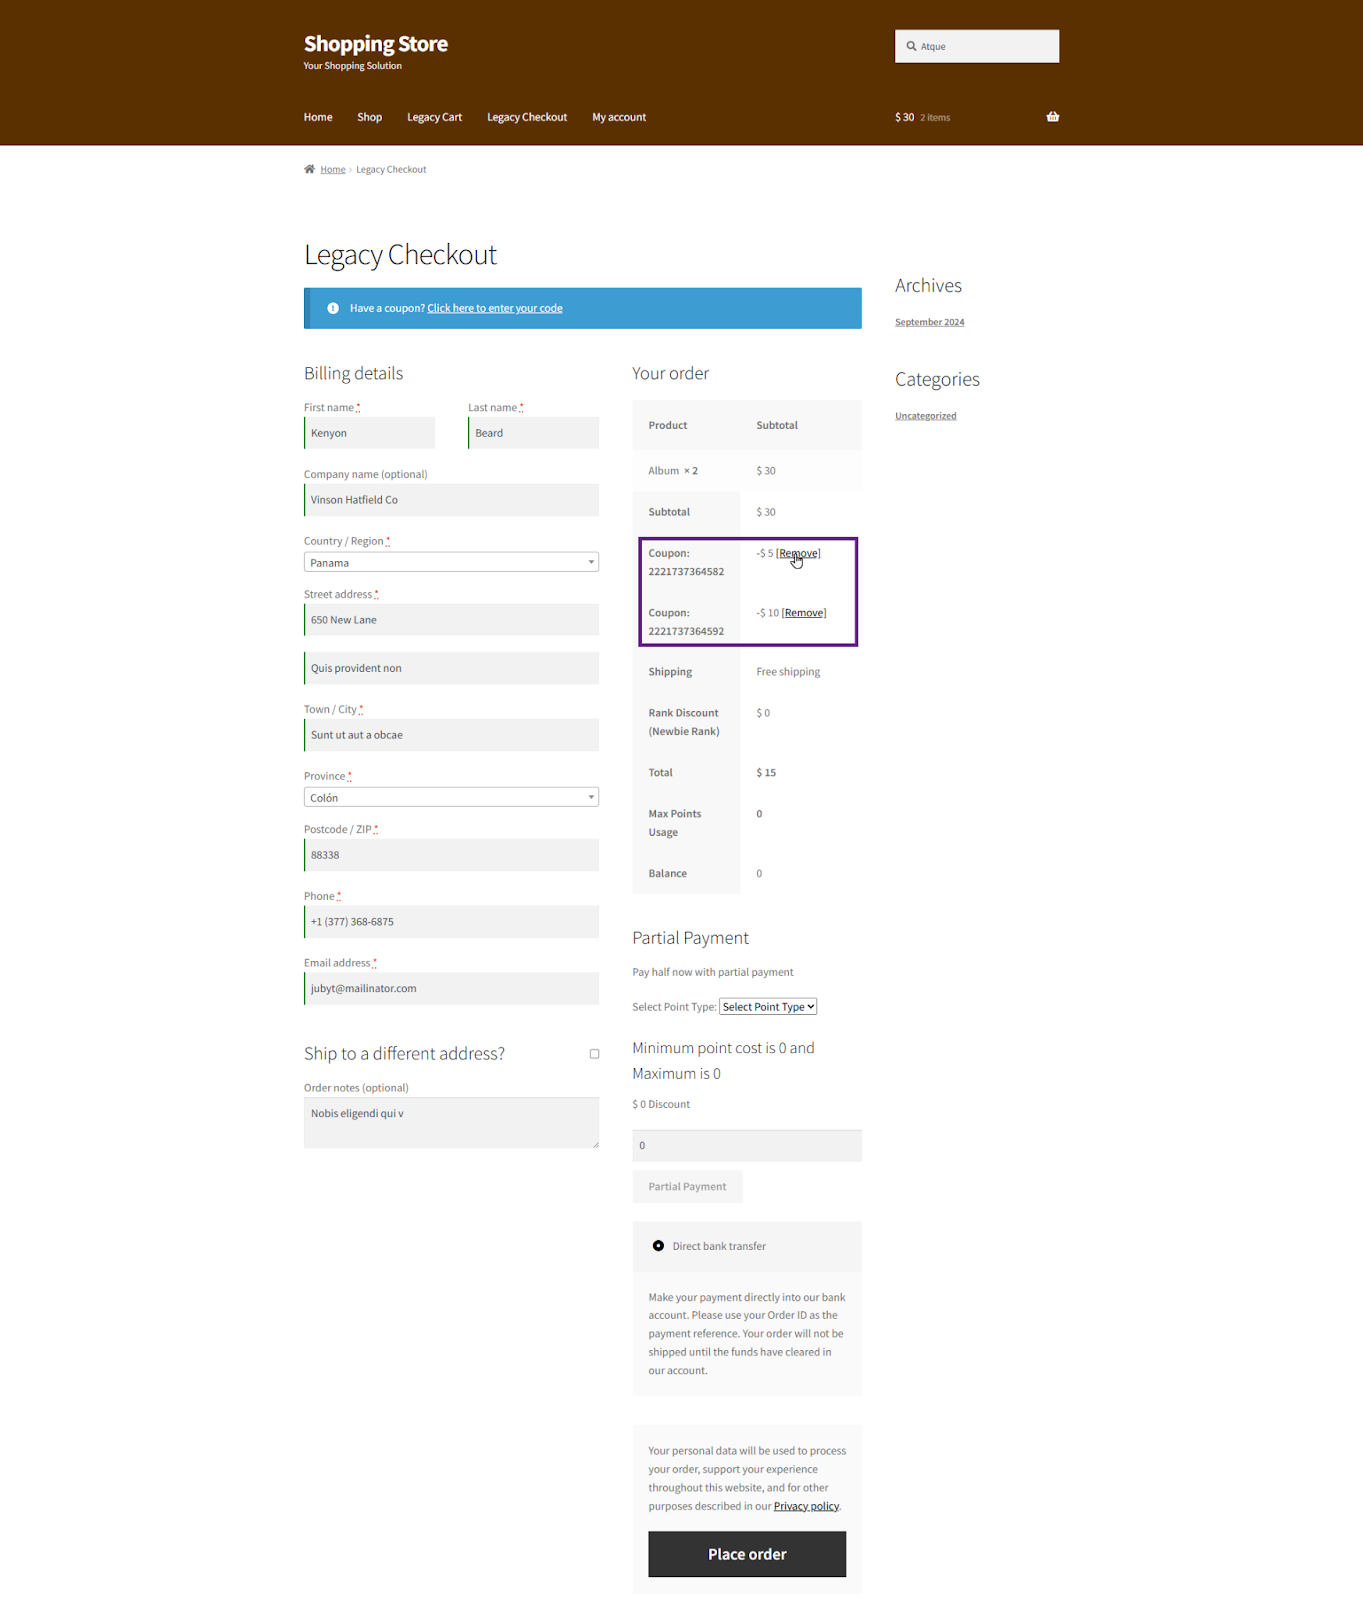
If the Undo option is enabled in the backend, the user can reverse the partial payment by clicking the Remove button.
If the Slider is chosen as a selector type in the backend settings, the user can drag it to adjust the partial payment amount.
Note: The value increments by 5 as configured in the backend settings.