Alignment and Layout – Badges
Back-End Configuration
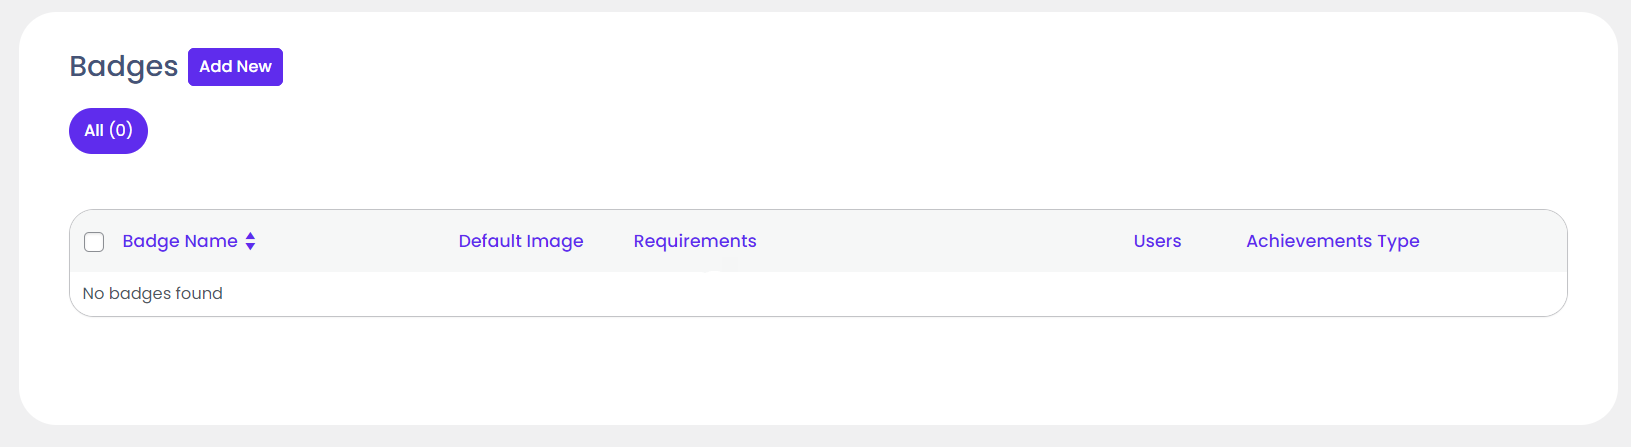
- Once the Badges Add-on is activated, navigate to the Navigate to Admin Dashboard → myCred → Badges.

- Once the Badges Add-on is activated, navigate to the Navigate to Admin Dashboard → myCred → Badges.
- Now you’re on the Badges page.
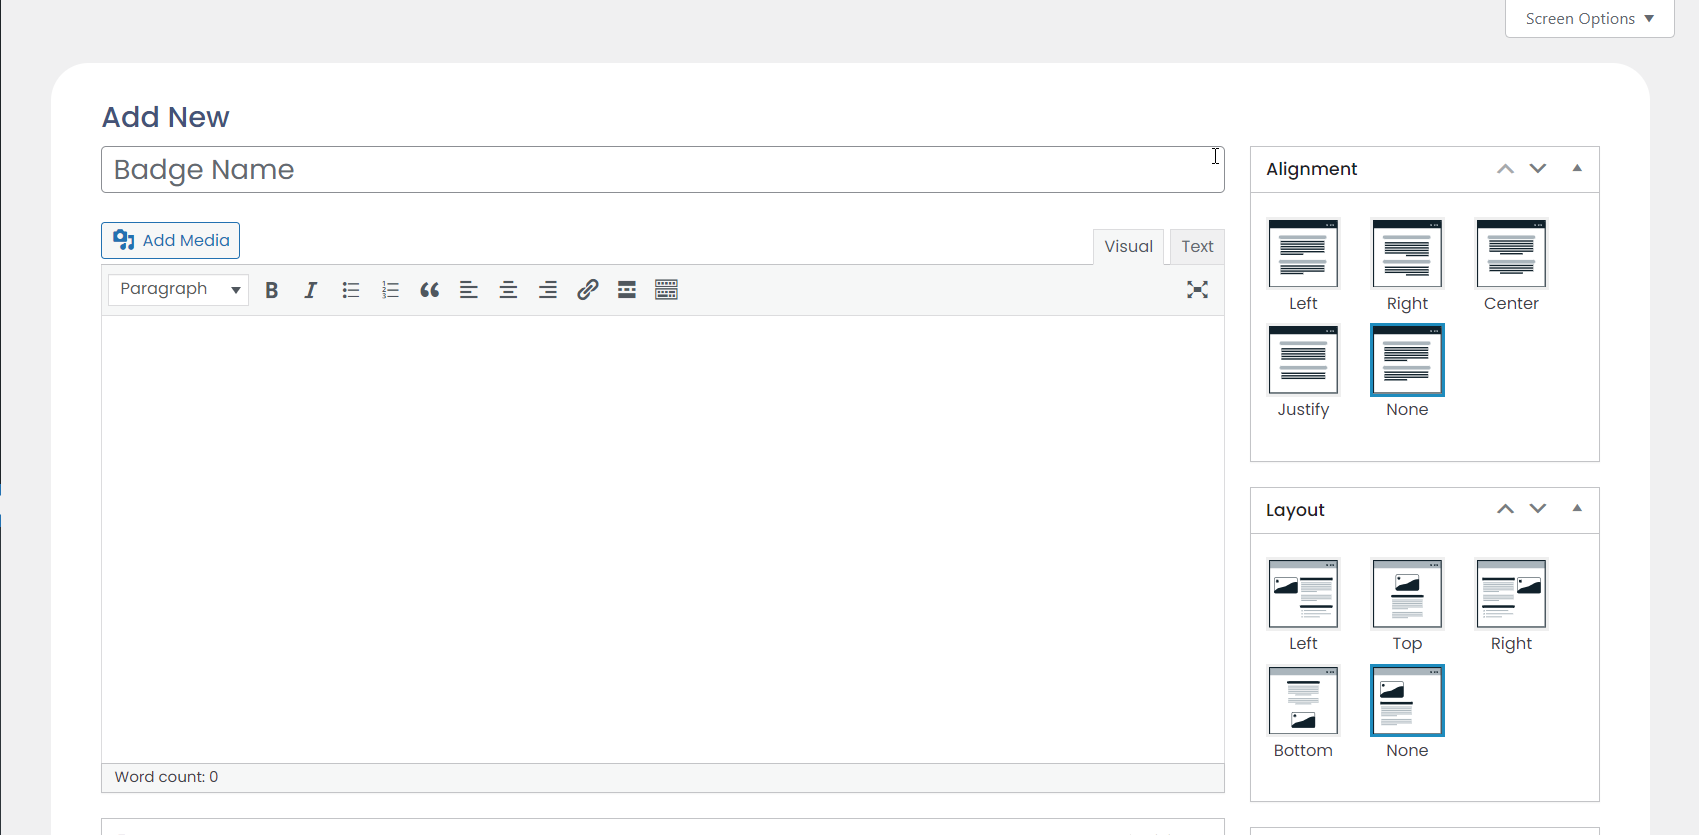
- Click on the Add New button.
- Add the Title of your Badge.
- Enter Description of your Badge.
- Insert Badge Image.
- Select the Alignment and Layout of the badge.
- We have multiple options for Alignment, which are,
- Left
- Right
- Center
- Justify
- None
- Similarly, we have multiple options for Layout, which are,
- Left
- Top
- Right
- Bottom
- None
Front-End Impact
- Navigate to Admin Dashboard → myCred → Badges.

- Now you’re on the Badges page.
- Hover over the badge to view the suboptions.
- Click on the View suboption.
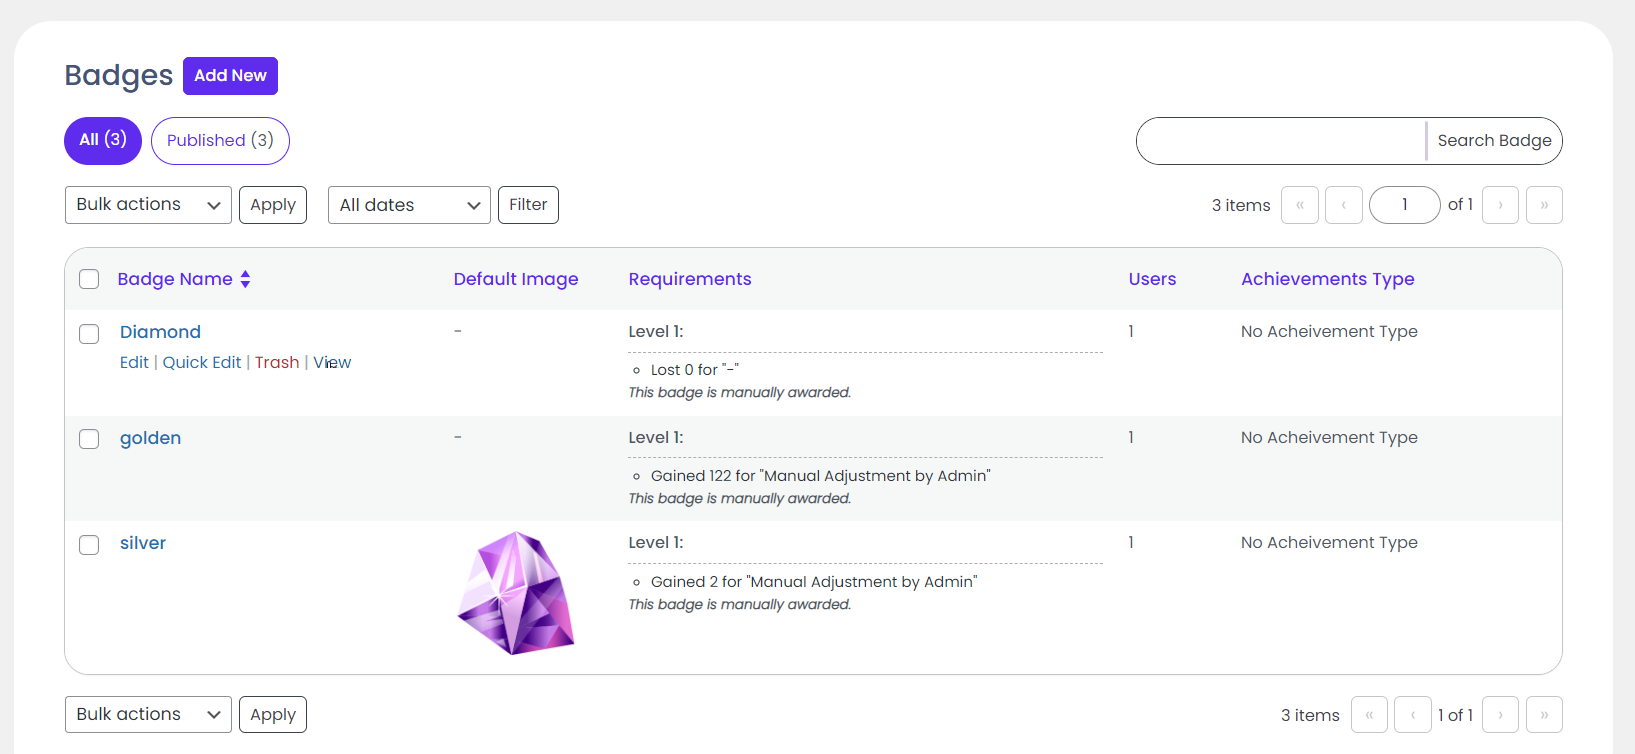
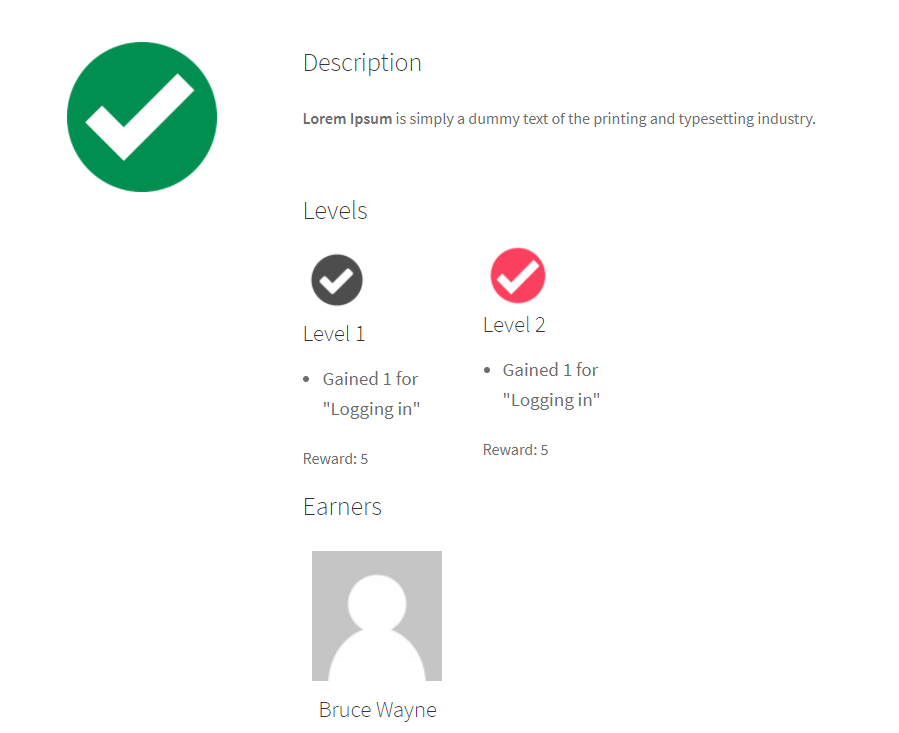
- Now you’ll be able to view your badge on the website according to the Alignment and Layout selected.
- The badge Alignment and Layout would appear on the left since we selected the Left option.
 `
`