Now users can nominate any other user to unlock achievements and ranks through a form. You need to configure nominations on the achievements or ranks of your choice to allow your users to nominate others.
Features
Enable Achievements for ranks and Badges.
Explanation field for nominations.
Admin Screen for approval or rejection.
Shortcode to place submission anywhere.
Admin emails to get notified about any new nominations.
Blocks to place nominations anywhere.
Widget to place any nominations form on the sidebar.
Installation Guide
Log in to your WordPress Admin Panel.
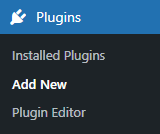
Navigate to the WordPress Admin Dashboard →Plugins →Add New
Click on the Upload Plugin button on the top left corner of your screen.
Next, click the Choose file button in the box that appears below.
Select the zip file that you have downloaded and upload it.
Click on the Activate Plugin button.
Getting Started
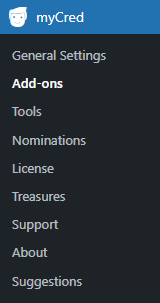
Navigate to WordPress Admin Dashboard → myCred → Add-ons.
Now you’re on the Add-ons page.
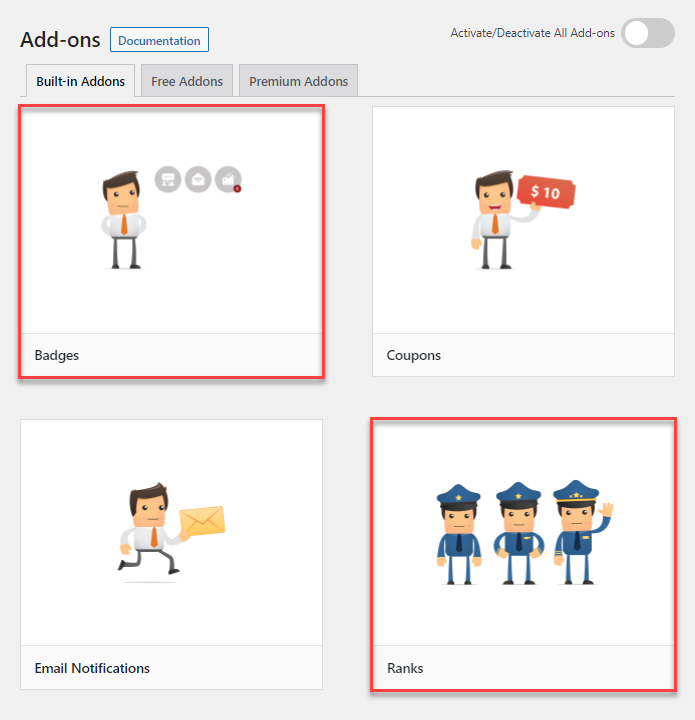
Activate the Badges and Ranks addons.
It is compulsory to activate the Badges and Ranks add-on to perform nomination actions.
Once done, create Badges and Ranks.
Badges
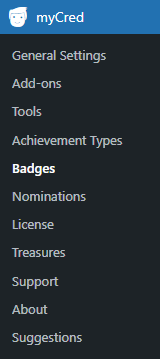
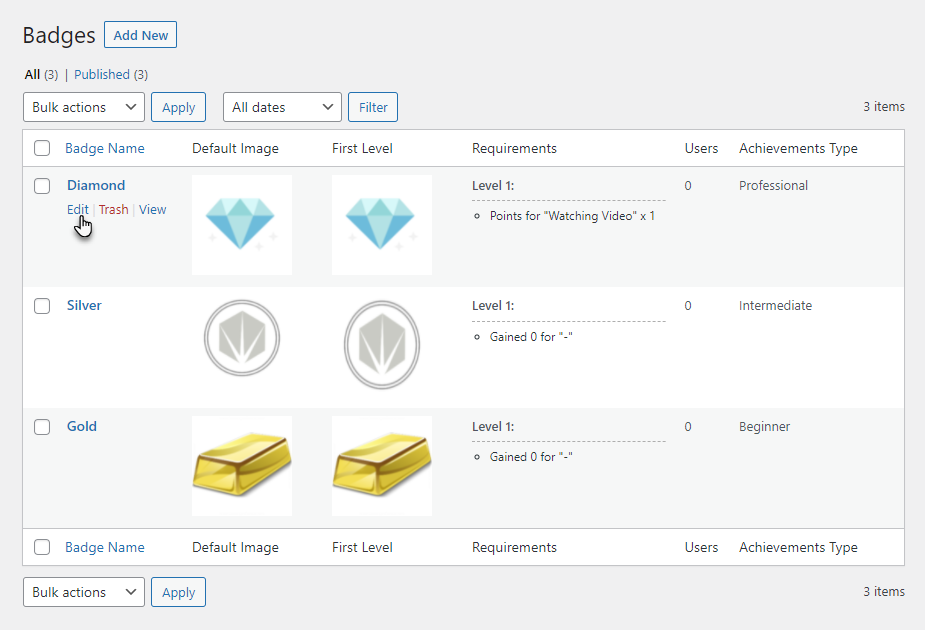
Navigate to WordPress Admin Dashboard → myCred → Badges.
Now you’re on the Badges page.
Hover over any badge to view suboptions.
Click on the Edit suboptions.
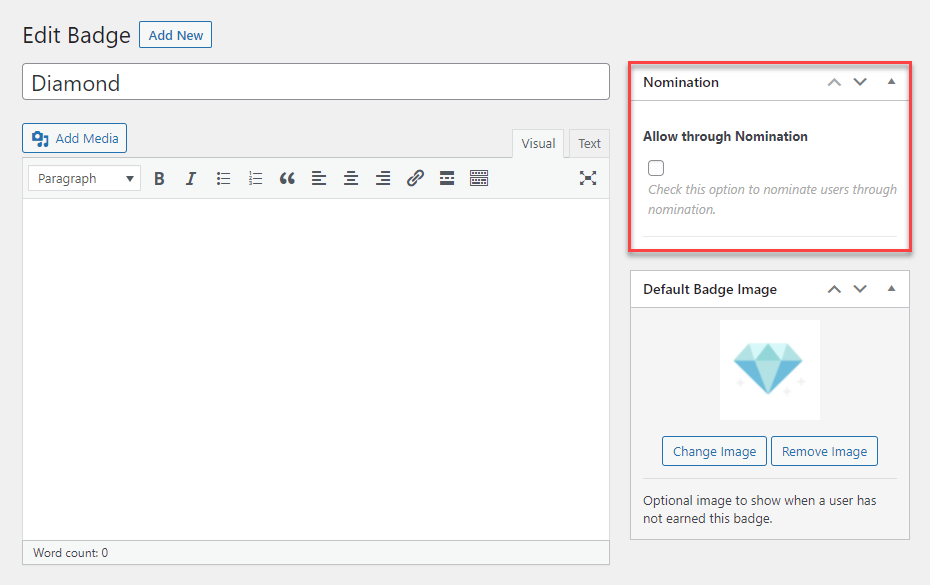
Go to the Nomination section once you’re on the Edit Badge page.
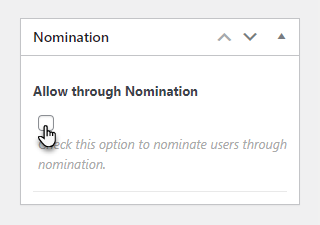
Click on the Allow through Nomination checkbox.
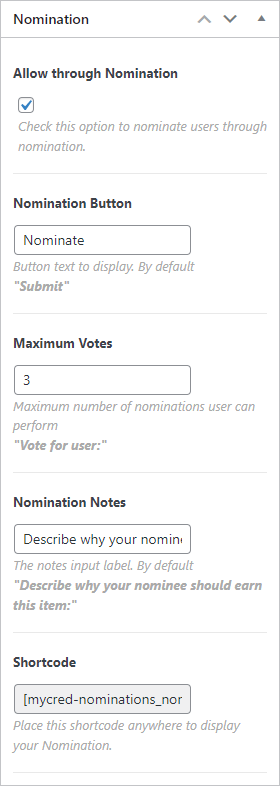
You can edit the Nomination button for this respective badge.
You can set the Maximum Votes for the badge.
You can set the Nomination Notes for this respective badge.
You can copy the shortcode from the Shortcode section.
Click on the Update button to save your changes.
Once you have copied the shortcode of the badge, navigate to WordPress Admin Dashboard → Pages → Add New.
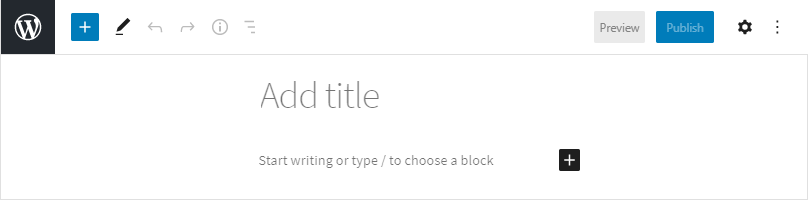
A new page would open.
Add the Title of the page.
Click on the sign ➕ to add blocks.
Select the Shortcode element.
Now paste the shortcode you copied from the Nominations section of the badge.
Click on the Publish button.
Front-End Impact
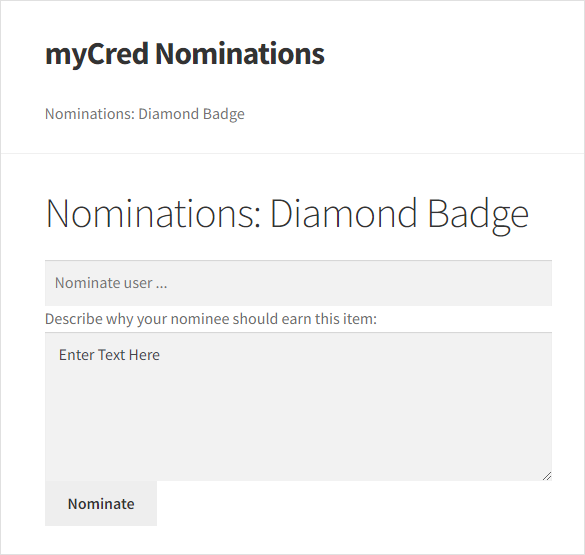
Go to the website and visit the page where the shortcode was pasted.
Select the name of the user you want to nominate for this respective badge or select it from the drop-down menu.
Write the reason for your nomination.
Once done, click on the Nomination button.
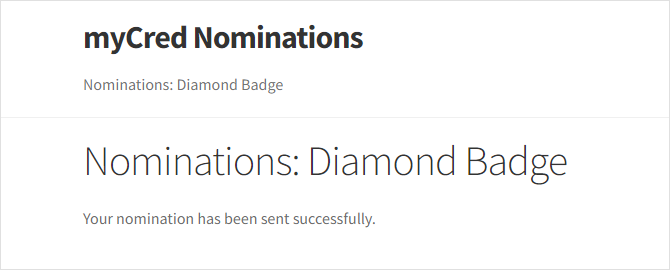
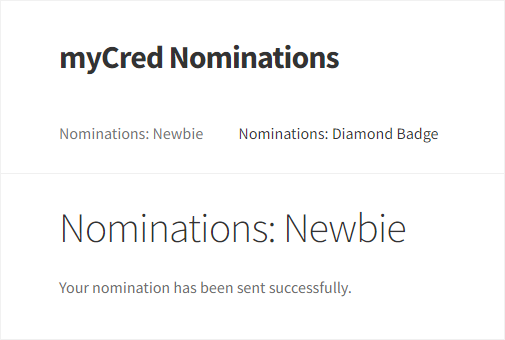
You’ll be notified that your nomination has been sent successfully.
Navigate to WordPress Admin Dashboard → myCred → Nominations.
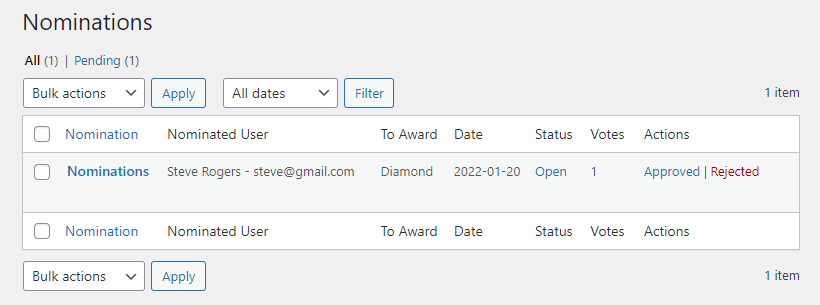
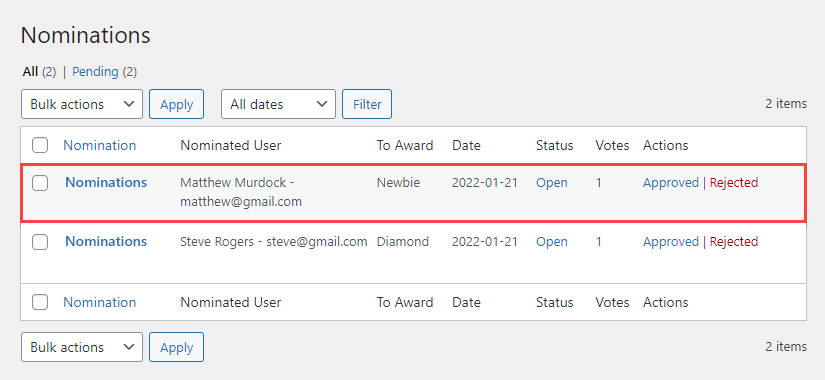
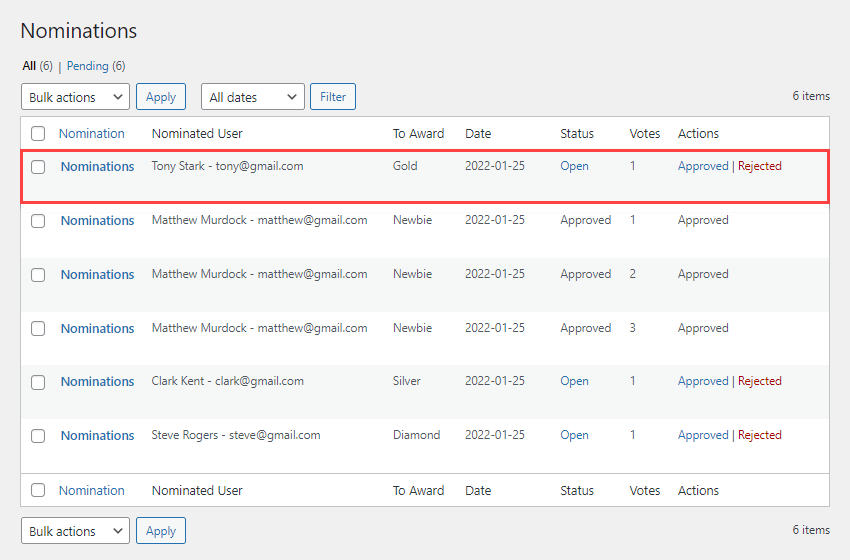
Now you’re on the Nominations page. All the nominations are present on this page.
We can see that the nomination is now added on the Nominations page.
Ranks
Navigate to WordPress Admin Dashboard → Points → Ranks.
NOTE: You can navigate to the Ranks of any Point Type according to your requirement.
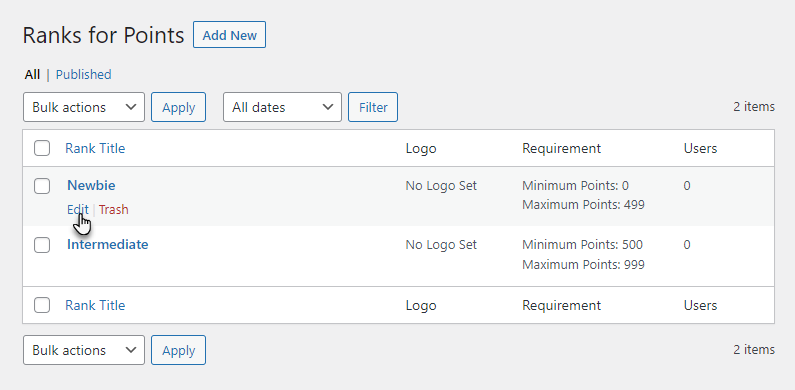
Now you’re on the Ranks for Points page.
Hover over any rank to view suboptions.
Click on the Edit sub options.
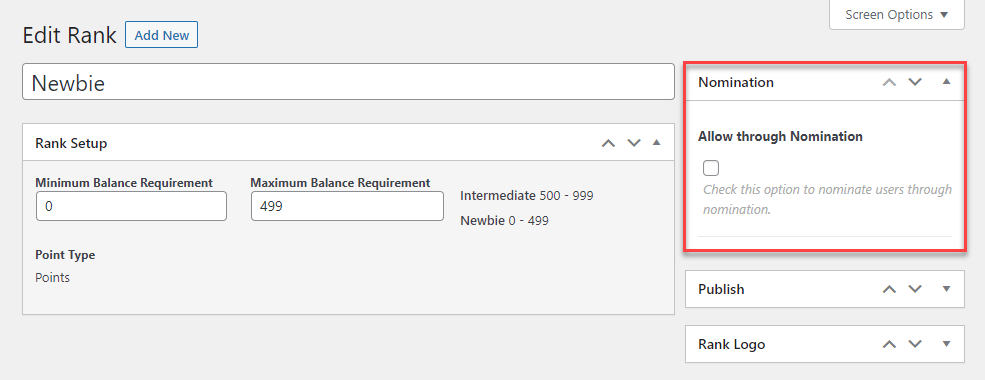
Go to the Nomination section once you’re on the Edit Rank page.
Click on the Allow through Nomination checkbox.
You can edit the Nomination button for this respective rank.
You can set the Maximum Votes for the rank.
You can set the Nomination Notes for this respective rank.
You can copy the shortcode from the Shortcode rank.
Click on the Update button to save your changes.
Once you have copied the shortcode of the rank, navigate to WordPress Admin Dashboard → Pages → Add New.
A new page would open.
Add the Title of the page.
Click on the sign ➕ to add blocks.
Select the Shortcode element.
Now paste the shortcode you copied from the Nominations section of the rank.
Click on the Publish button.
Front-End Impact
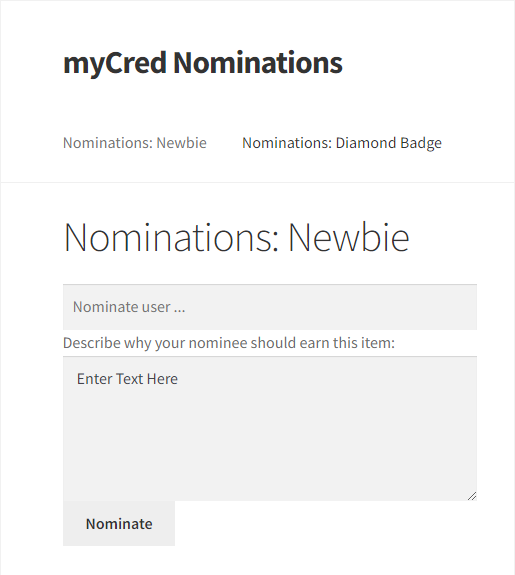
Go to the website and visit the page where the shortcode was pasted.
Select the name of the user you want to nominate for this respective rank or select it from the drop-down menu.
Select the name of the user you want to nominate for this respective rank or select it from the drop-down menu.
Once done, click on the Nomination button.
You’ll be notified that your nomination has been sent successfully.
Navigate to WordPress Admin Dashboard → myCred → Nominations.
Now you’re on the Nominations page. All the nominations are present on this page.
We can see that the nomination is now added on the Nominations page.
Nominations
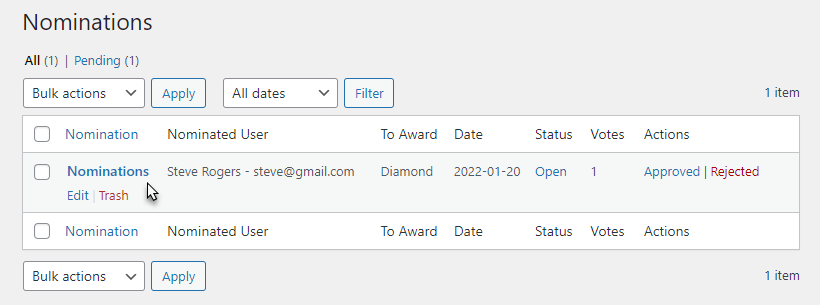
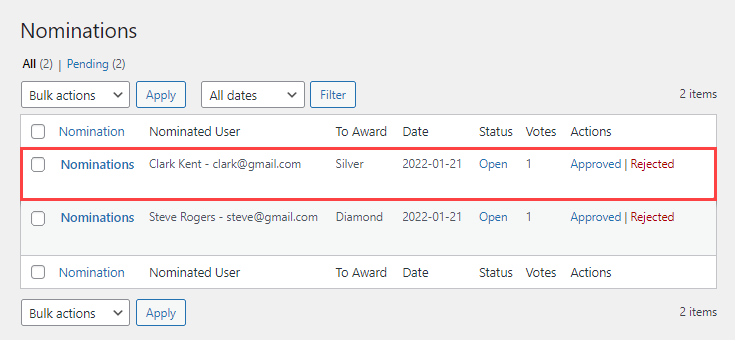
Navigate to WordPress Admin Dashboard → myCred → Nominations.
Hover over any nomination to Edit or Trash that respective nomination.
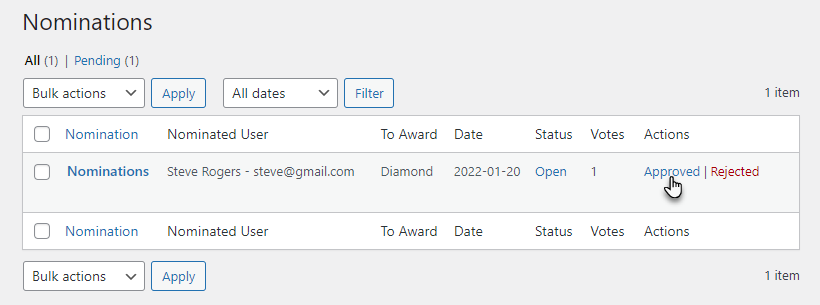
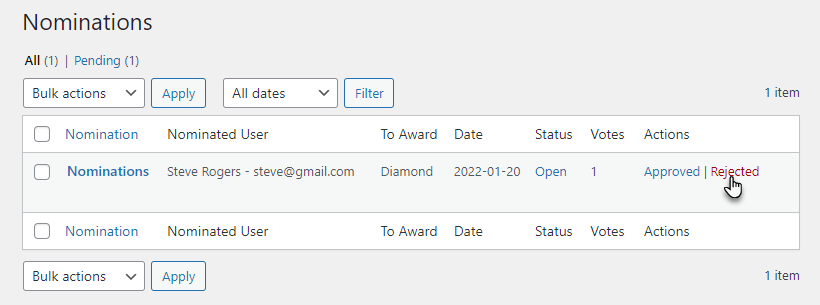
A. Approved
You can approve the nominations by clicking on the Approved button.
B. Rejected
You can reject the nominations by clicking on the Rejected button.
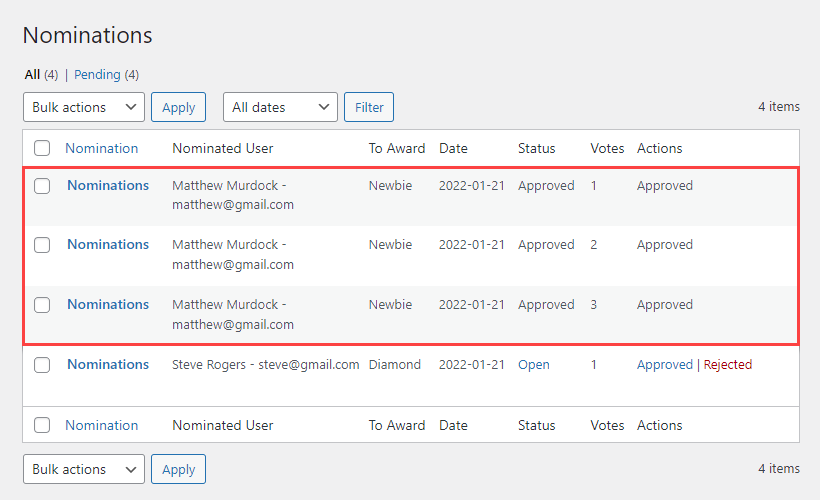
C. Maximum Votes
Navigate to the Edit Badge or Edit Rank page.
In the Nominations section, set Maximum Votes for that respective Badge or In the Nominations section, set Maximum Votes for that respective Badge or Rank.
Once a user achieves the Maximum Votes, the user is awarded that respective Badge or Rank.
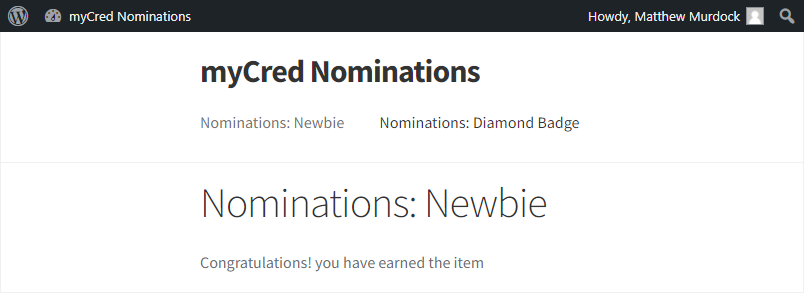
Once the user gets the nominations and the Administrator approves the nomination, the user is awarded that respective Badge or Rank.
The user will be notified that they have earned a Badge or Rank when that user logins and visits the page of that respective Badge or Rank.
Gutenberg Block
A. Nominations Block
Navigate to WordPress Admin Dashboard → Pages → Add New.
A new page would open.
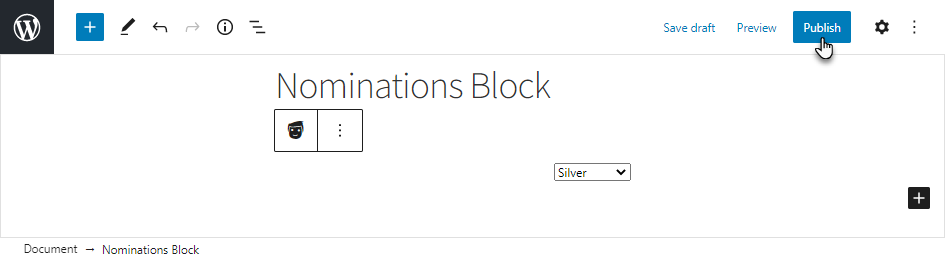
Add the Title of the page.
Click on the sign ➕ to add blocks.
Select the Nominations Block element.
Now select the Badge or the Rank you want to display for nomination.
Once done, click on the Publish button.
Front-End Impact
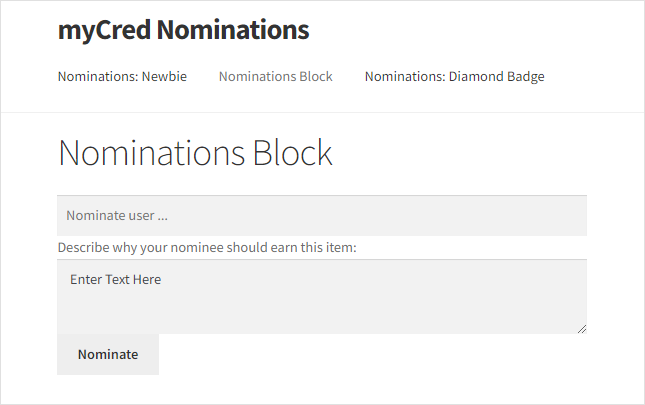
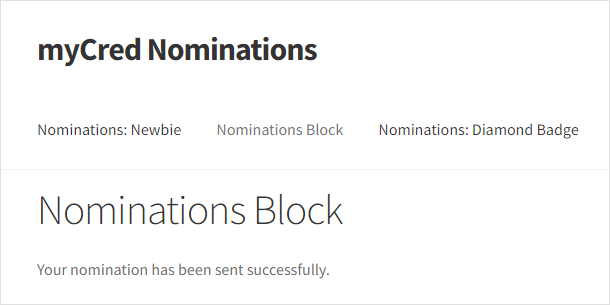
Go to the website and visit the Nomination Block element’s page.
Select the name of the user you want to nominate for this respective rank selected in the Nomination Block element or select it from the drop-down menu.
Write the reason for your nomination.
Once done, click on the Nomination button.
You’ll be notified that your nomination has been sent successfully.
Navigate to WordPress Admin Dashboard → myCred → Nominations.
Now you’re on the Nominations page. All the nominations are present on this page.
We can see that the nomination is now added on the Nominations page.
Widgets
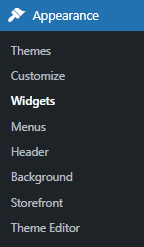
Navigate to WordPress Admin Dashboard → Appearance → Widgets.
Select the position where you want to place the widget.
Click on the sign ➕ to add blocks.
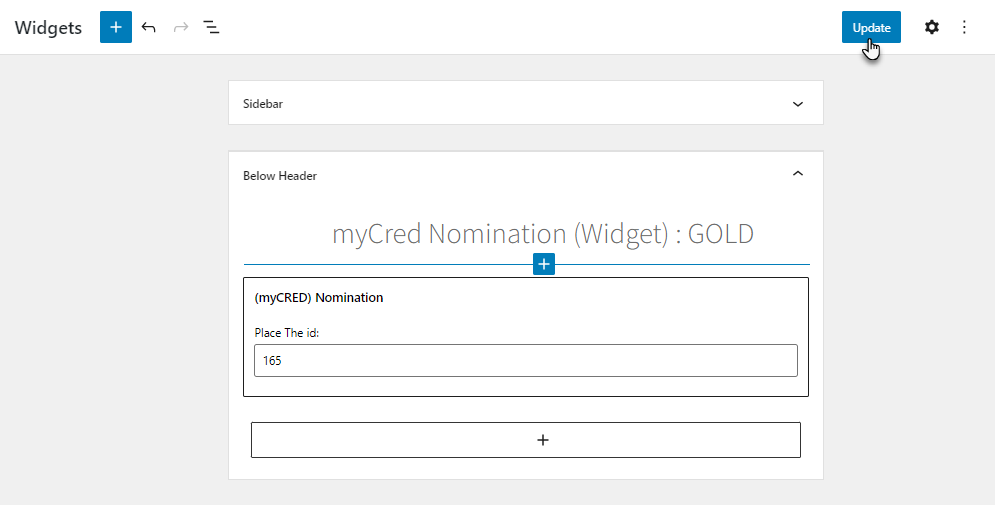
Search and select the (myCRED) Nominations element.
Once done, enter the ID of the Badge or Rank, which will be displayed for nomination.
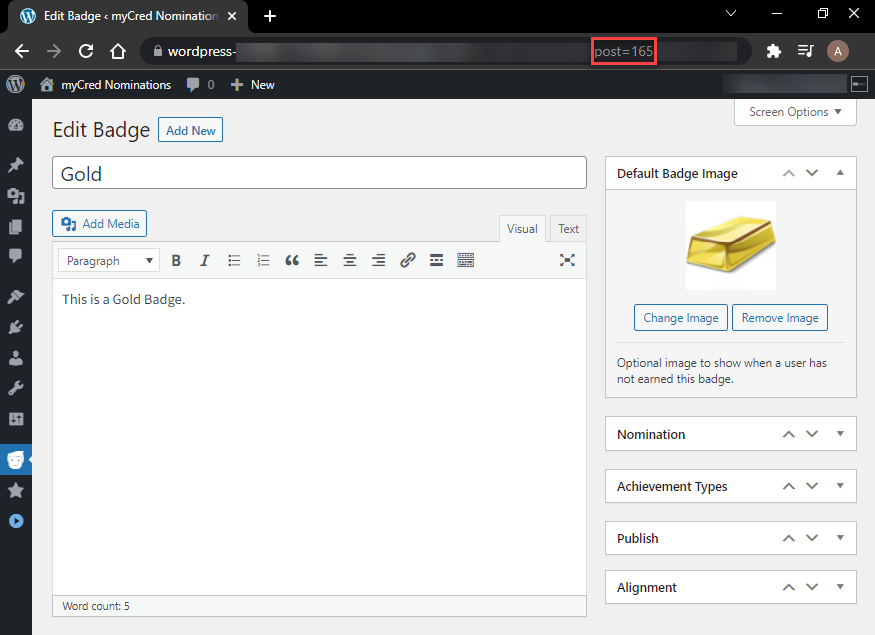
NOTE: The Badge ID or the Rank ID is mentioned in that specific Edit Badge or Edit Rank page URL.
For Example, We are on the Edit Badge of the Gold Badge to see the ID of this badge in the URL.
Once done, click on the Update button to save your changes.
You can also add the Paragraph or Heading element to add the title to highlight the Rank or Badge being displayed.
Front-End Impact
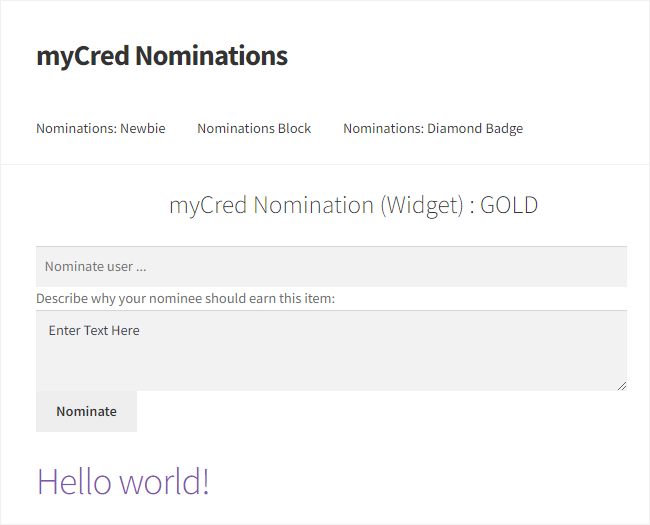
Go to the website.
You’ll see the (myCRED) Nomination widget on your website.
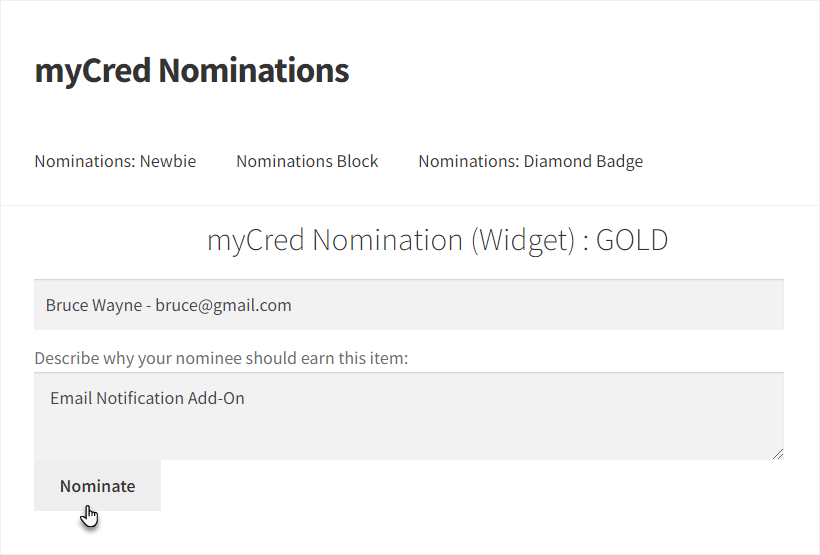
Select the name of the user you want to nominate for this respective rank in the myCRED Nomination widget or select it from the drop-down menu.
Write the reason for your nomination.
Once done, click on the Nomination button.
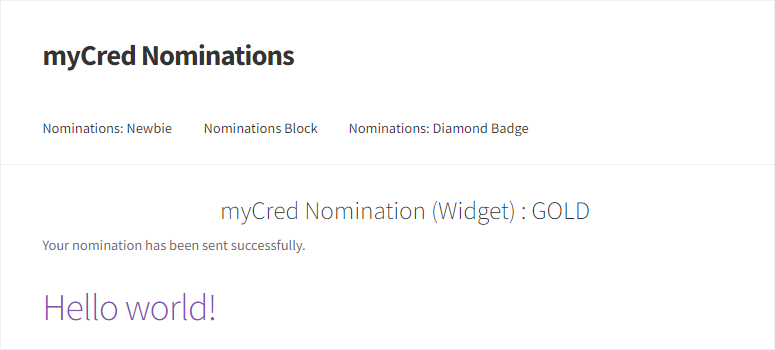
You’ll be notified that your nomination has been sent successfully.
Navigate to WordPress Admin Dashboard → myCred → Nominations.
Now you’re on the Nominations page. All the nominations are present on this page.
We can see that the nomination is now added on the Nominations page.
Email Notifications
Navigate to WordPress Admin Dashboard → myCred → Add-ons.
Now you’re on the Add-ons page.
Activate the Email Notifications add-on.
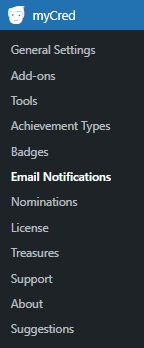
Navigate to WordPress Admin Dashboard → myCred → Email Notifications.
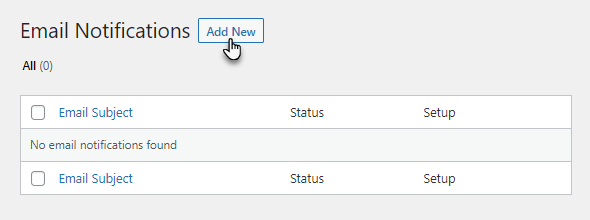
Now you’re on the Email Notifications page.
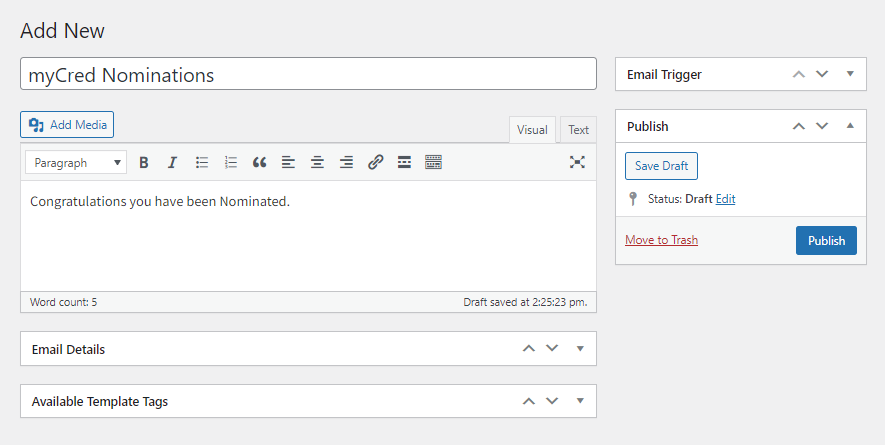
Click on the Add New button.
Add the Subject of the Email.
Add the Text of the Email.
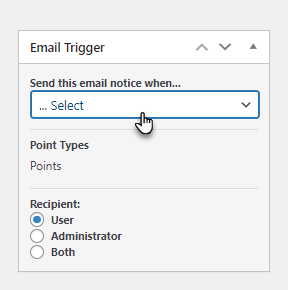
Go to the Email Trigger section.
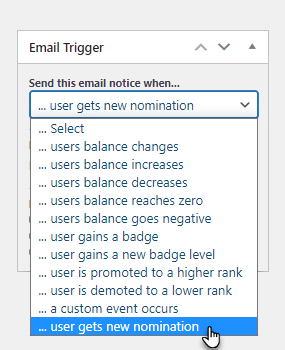
Click on the Send this email notice when… dropdown menu.
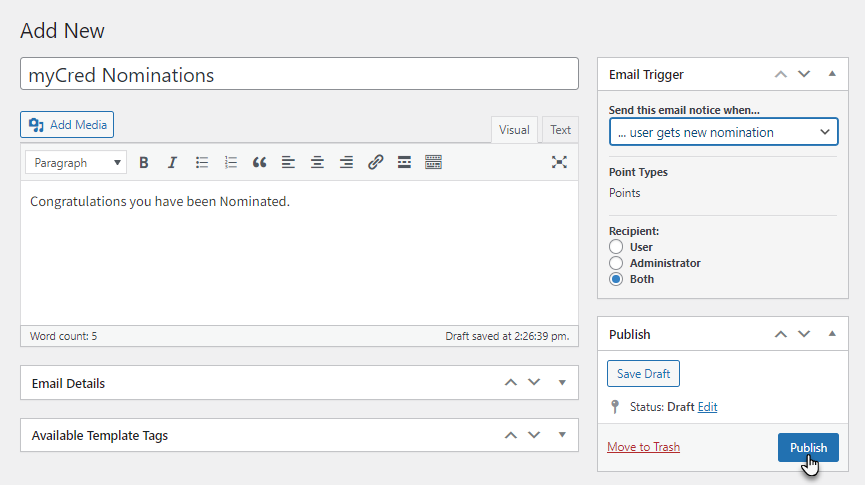
Select the … user gets new nomination option from the dropdown menu.
Select the Recipients of the email trigger.
Click on the Publish button.
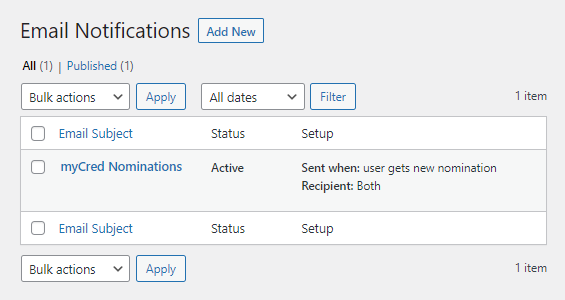
Now navigate back to WordPress Admin Dashboard → myCred → Email Notifications.
We can see that the myCred Nominations email notifications have been created successfully.
Front-End Impact
Go to the website.
The user will select any user to nominate that respective Badge or Rank.
Now the user will click on the Nomination button.
You’ll be notified that your nomination has been sent successfully.
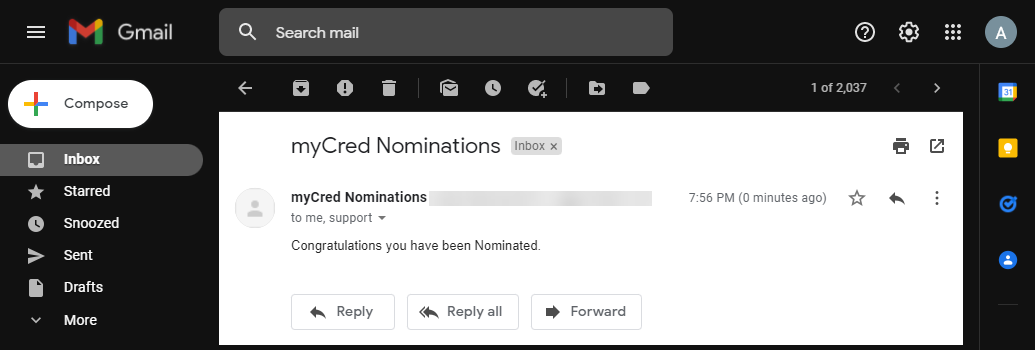
Now the user nominated will receive an email regarding his nomination.