Creating Badges
Creating Badges
In order for us to create a badge, we first need to know, what the requirement is for the badge. What myCred related event or events need to occur for the badge to be awarded.
This is done by nominating the references the add-on should be looking for. As of version 1.7, you can nominate multiple references as a requirement for a badge. This also means that you can create a badge for any myCred related instance as long as the event is logged under a specific reference.
Once we know what event or events to look for, we need to decide how many times the event has to occur for the badge to be awarded, alternatively how many points much have gained from the event. This is useful when the point amount a user gained / lost is more important than how many times the event has occurred, e.g. points spent in the store.
The Badge Editor
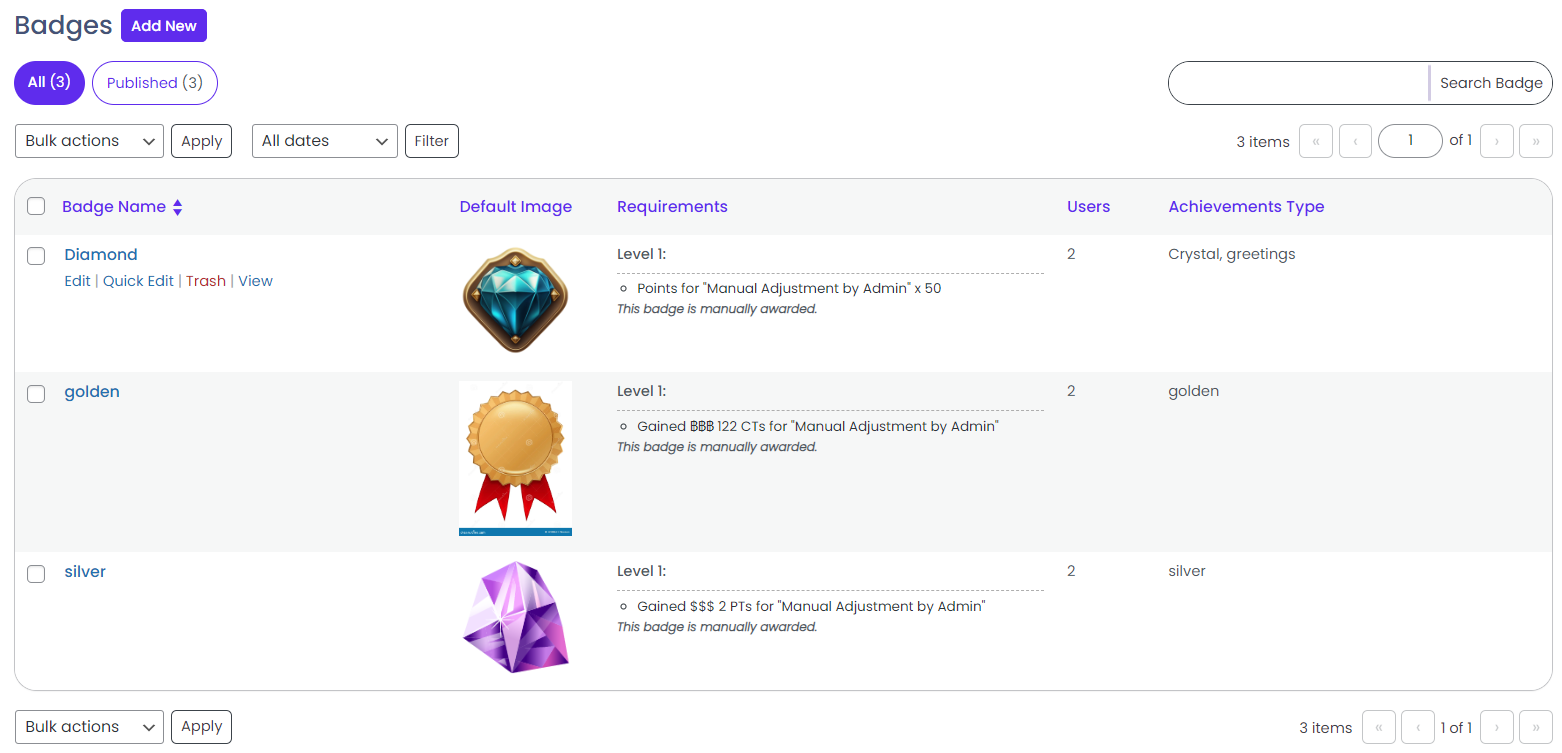
You can find the badge editor in your wp-admin area. Once the add-on is enabled, you will find a Badges submenu under your points menu. You can click on a badge title to edit the badge or click on “Add New” button on the top of the page.
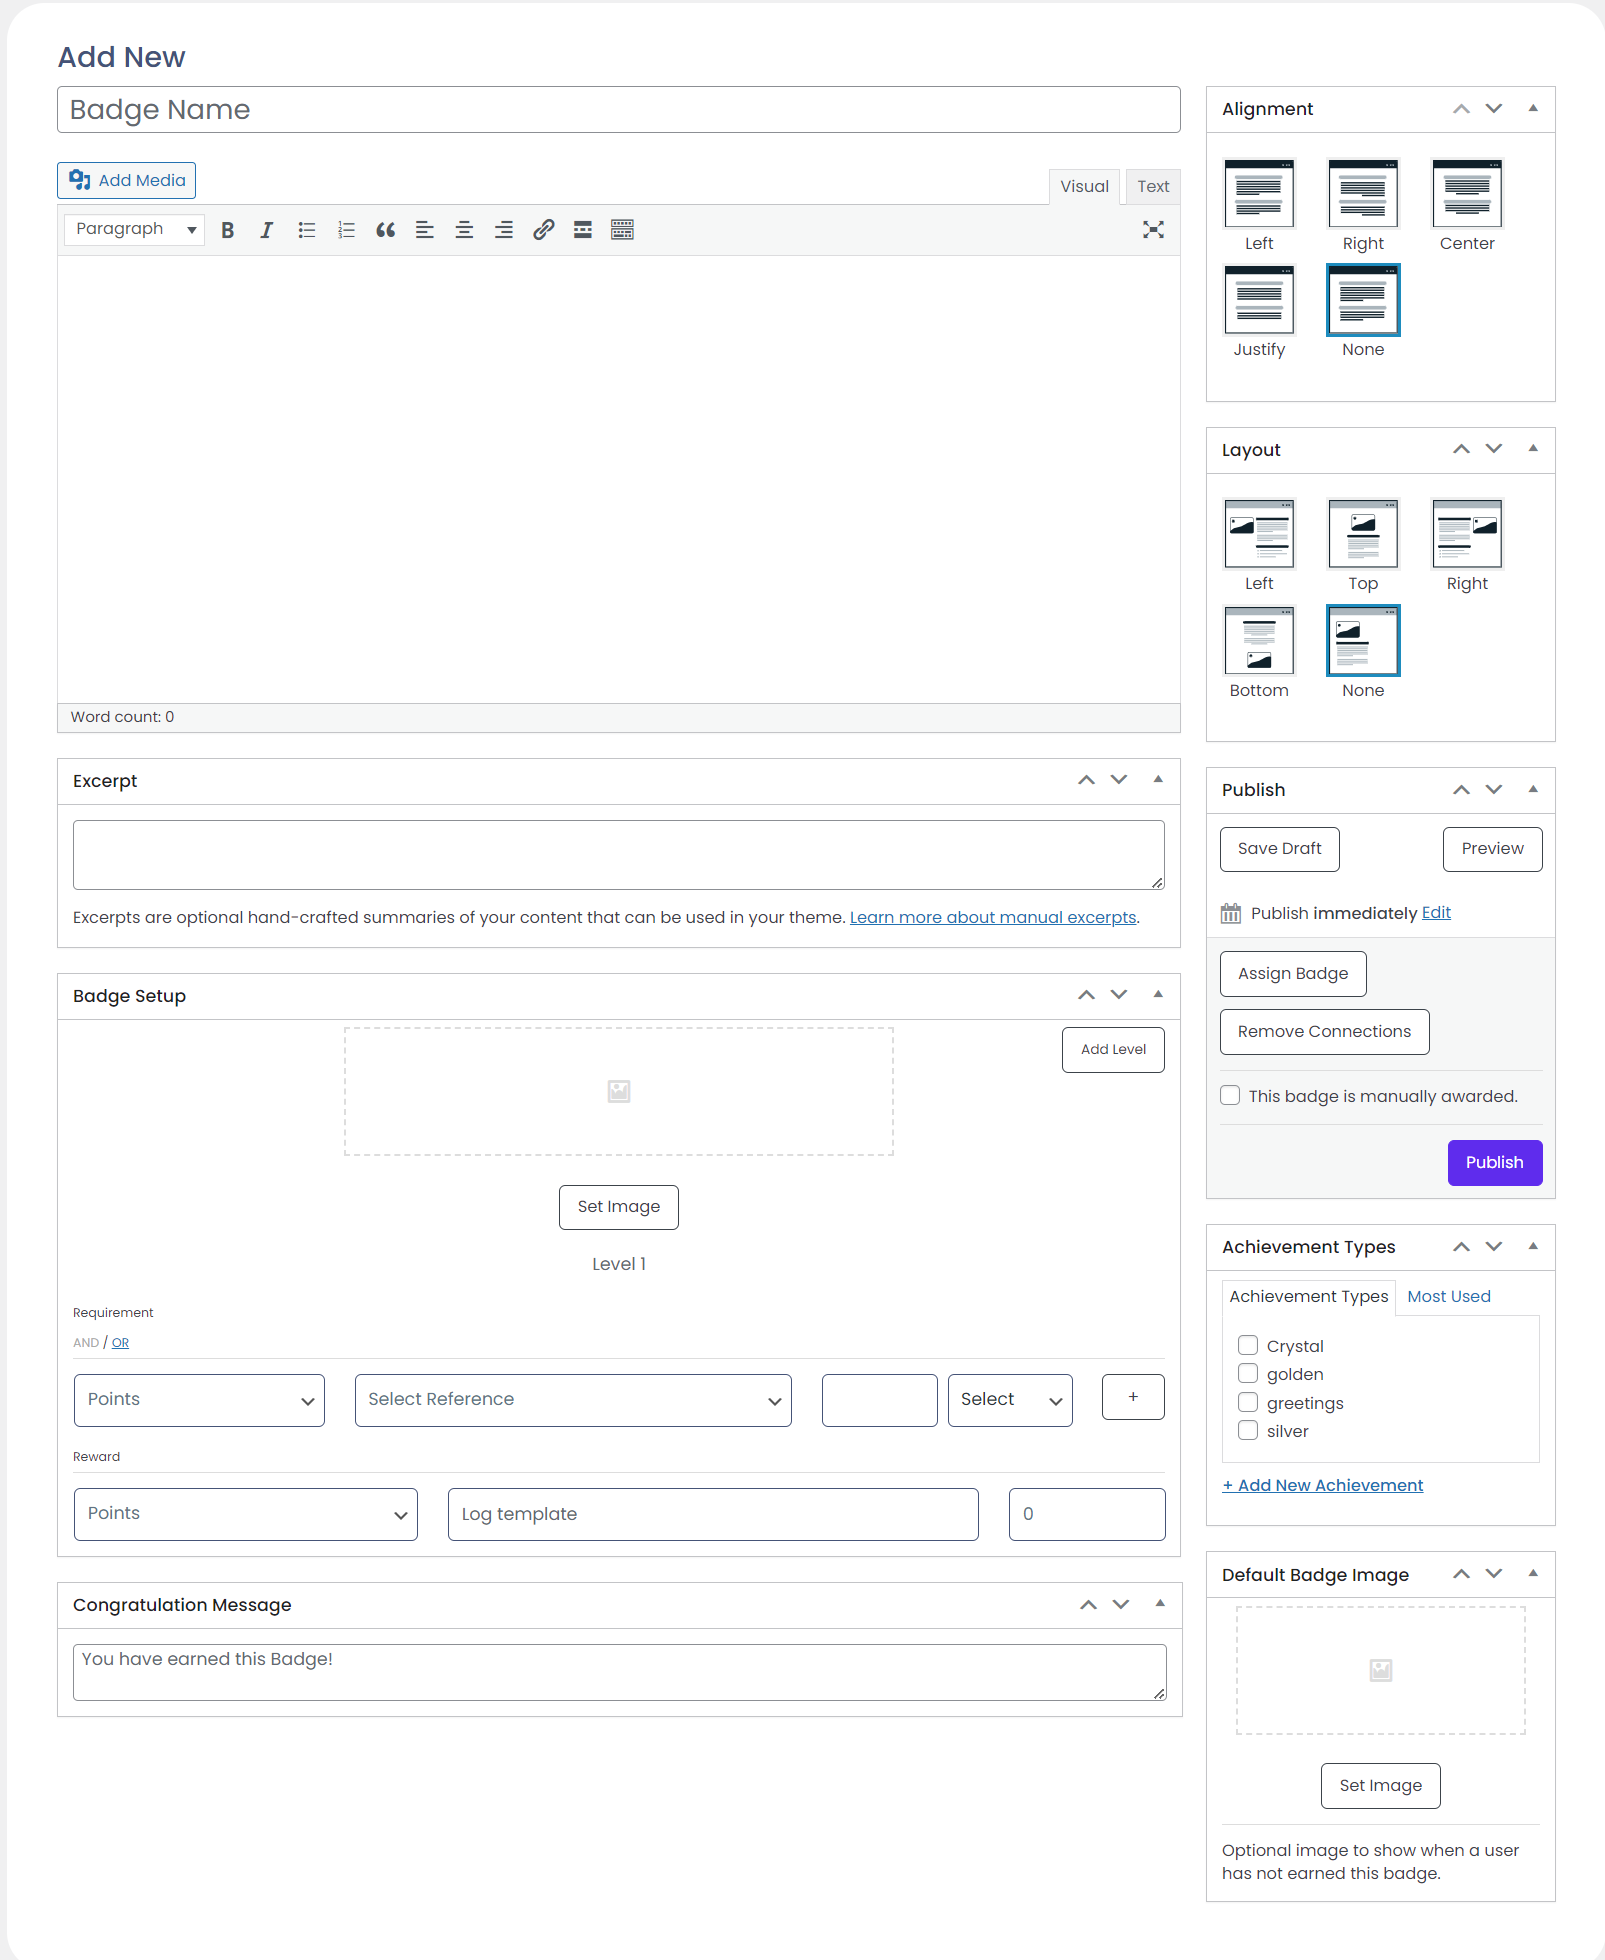
The editor consists of 4 sections. First, we have the “Badge Name” which is mandatory. Even if you only plan on showing badge images, each badge must have a name. If no name is provided, WordPress will automatically assign a numeric title e.g. 100.
Next you have the “Badge Setup” metabox. This metabox controls the requirements for the badge and is the most important one of all. Here you define the base requirements for the badge, any levels you might want along with the option to reward users for gaining the badge.
On the right side, you have the “Publish” metabox, which controls your badge, just like Posts and Pages. You can also take badge related actions by connecting or disconnecting badges.
Finally you have the “Default Badge Image” metabox. Here you have the option to set an image that are shown to users if they have not yet earned the badge. It’s optional.
Badge Levels
Introduced in 1.7, badge levels allows your users to earn a badge multiple times. All levels you add will have the same required references but you get to change the values required for each level. As an example, lets say we have a badge for approved comments. To get the badge we might set the requirement that a user must have gained points for approved comments once. But as time goes on, if the user gains points 100 times, they reach level 2 and at 500 approved comments they reach level 3 etc.
Levels can be used for badges that are automatically awarded or on manual badges.
Badge Images
The badge add-on will show by default badge images in full size. This means that if you upload an image that is 100 x 100 pixels, that is the size of the badge images that will be rendered to your users.
You can always adjust the badge sizes via CSS styling. Look at the documentation for the shortcode or function you select to use to render badges to see available CSS options.
As of version 1.7, you can also use the new MYCRED_BADGE_WIDTH and MYCRED_BADGE_HEIGHT constants. Using these will enforce badges to always be rendered in a specific size.
					define( 'MYCRED_BADGE_WIDTH', 50 );
define( 'MYCRED_BADGE_HEIGHT', 50 );
Badge Rewards
As of version 1.7, you can reward your users for earning a badge or a badge level (if used). Please note that you can not create badges for getting badge rewards! If you do not wish to payout a reward, make sure the reward amount is set to zero.
Step by step guide
- Give the badge a name.
- In the “Badge Setup” metabox, select the point type you want the badge to be tied to (if you have more than one type).
- Select the reference tied to the badge.
- Select if the requirement is based on Total (number of times a user gained points) or Sum (total amount of points gained / lost) and enter the required amount / value.
- If your badge has more than one requirement, click on the “+” button to add a new row. You can add as many as you require. Once you have added in all requirements, make sure your comparison is set to either AND (default) or OR. Selecting AND will require all references you set to be met in order to earn the badge while with OR, the user needs to meet one of the requirements you set.
- If you want to reward the user for earning the badge, enter a log entry template and the amount of points you want to give. Note that the “log template” field can not be empty!
- If your badge requires more than one level, click on the “Add Level” button to add a new level. Repeat for all levels.
- Click “Save Draft”.
- Once saved, select the image for each badge level by clicking on the “Set Image” button. You will need to select the image from your Media Library or upload it.
- If you want to show a “default” image, select the image by clicking on the “Set Image” button in the “Default Badge Image” metabox.
- Since this is an automatic badge, make sure the “This badge is manually awarded” checkbox IS NOT checked!
- Click Publish.
Quick Edit
On the badges page, we have introduced a “Quick Edit” hyperlink which enables you to modify the information of any particular badge by using the quick edit option.