Add-on Setup
Add-on Setup
Once the add-on has been enabled, you can start creating new email notification if you wish. However none of the emails will be sent until you have gone through the add-ons settings and saved! For this reason it is highly recommended that you begin with these settings before creating any email notification.
Base Settings
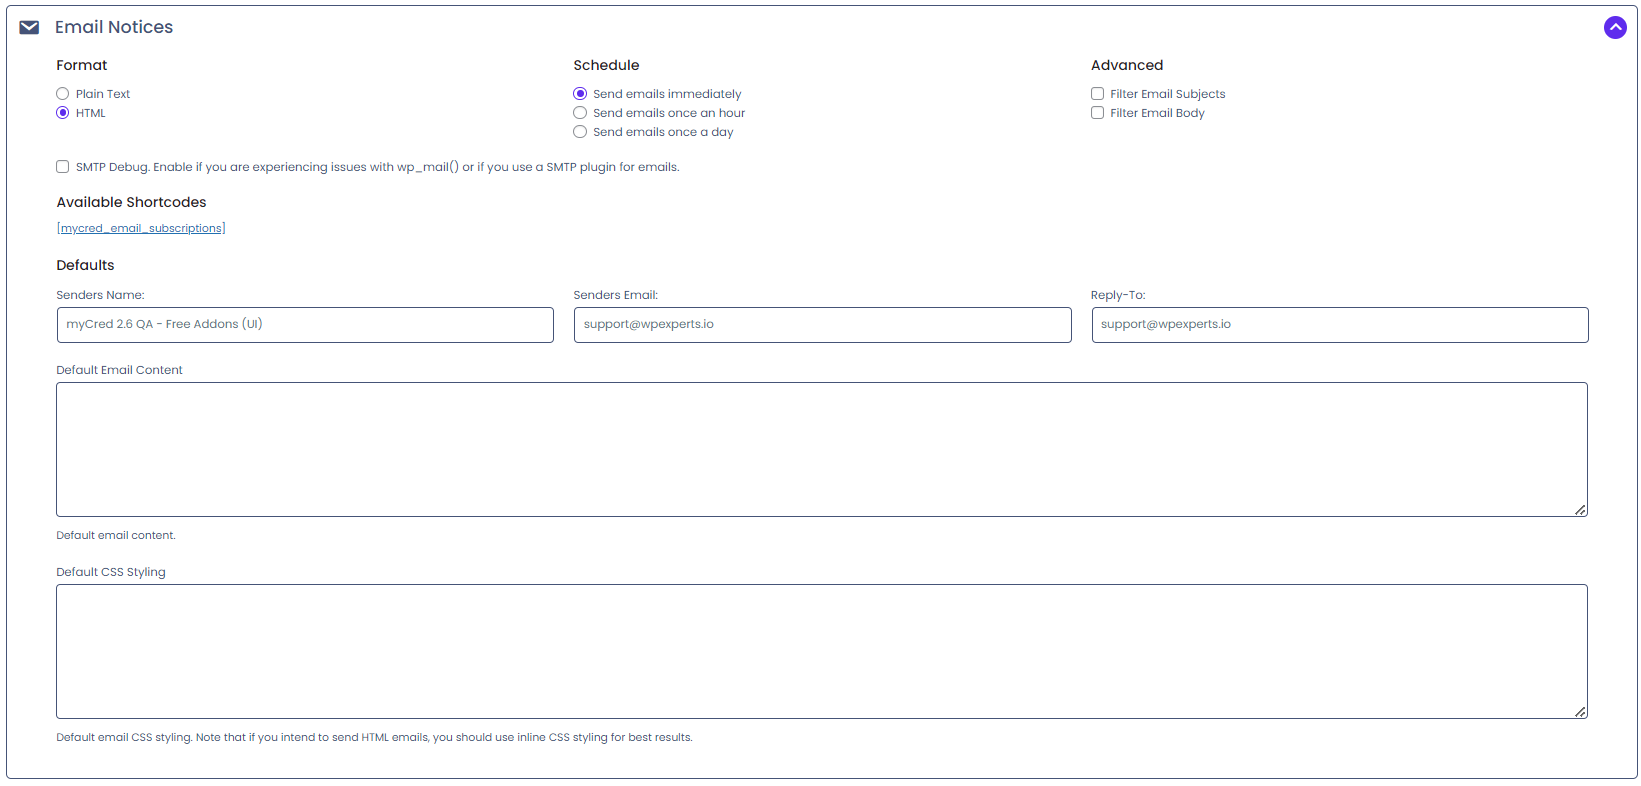
First we need to decide if we want to send emails in plain text format or HTML for designed or styled emails. You can select if emails should be sent immediately or on a regular schedule. If you have a lot of users with a lot of potential emails needed to be sent, it is recommended you do not send emails immediately.
By default, the add-on will send your email template exactly as you have set it up. If you however need third-party plugins to make adjustments to the subject field of the email content, you can select to enable filtering. For example, if you intend to use shortcodes or custom third-party details in the email body, you should enable “Filter Email Body”. If not, shortcodes might not render correctly.
If you are using a plugin to adjust how emails are sent on your website and email notifications are not being sent, check to enable SMTP Debug. This usually resolves third-party conflicts and allowing emails to be sent. Just remember to always save your settings!
Templates
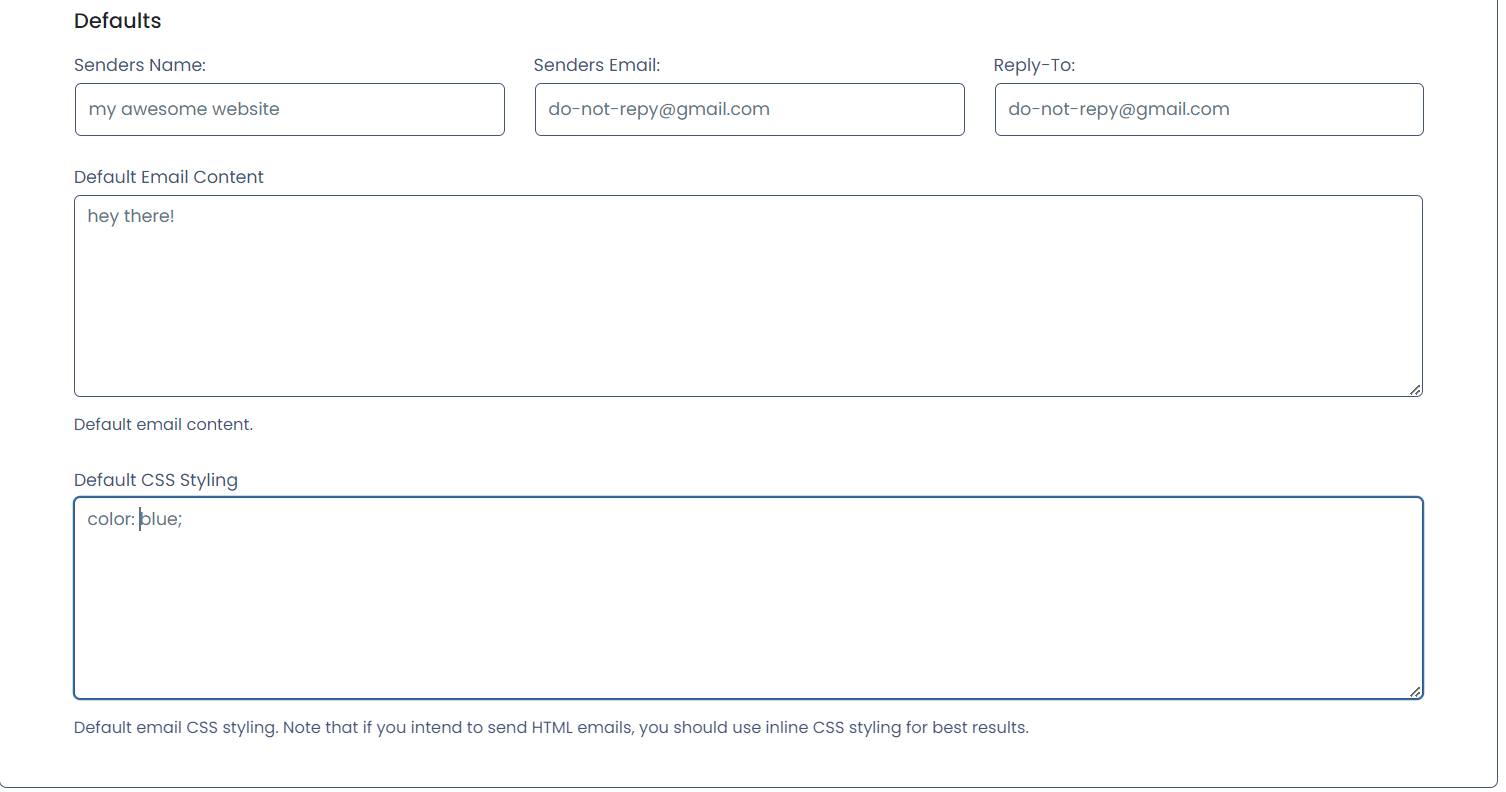
Finally you can also setup your default email content and styling. The values you enter here will be used by all emails as a default. However these values can be replaces in each individual email notice you create.