myCred Credly

Introduction
myCred-Credly lets you create, give, and earn digital badges with Credly Badge Builder. With Credly API integration, you can create badges in myCred or create a badge in Credly and import it into myCred. Also, it helps individuals to recognize their achievements and empowers them to demonstrate their skills and competence to the rest of the world.
Activation
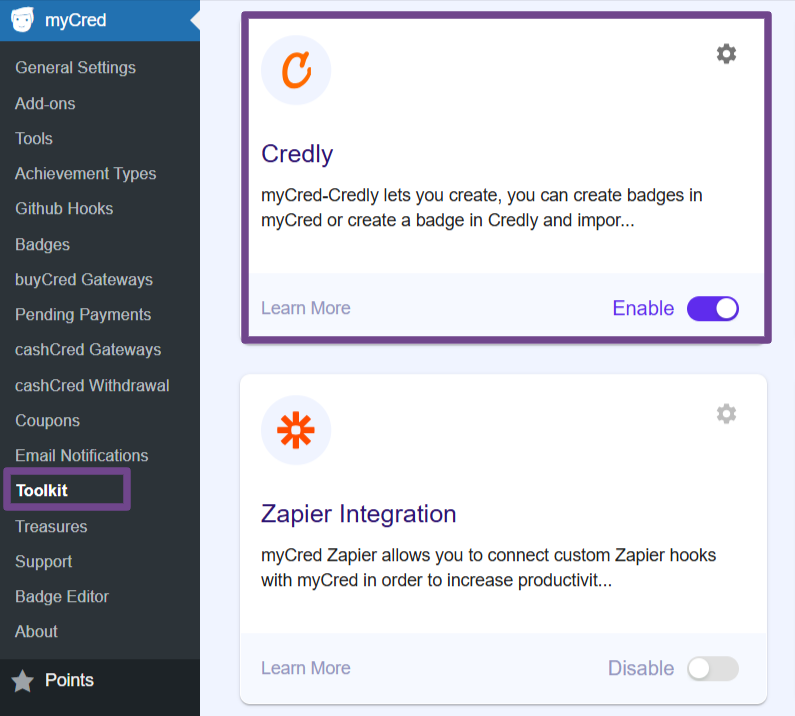
- Navigate to WordPress admin Dashboard > myCred > Addons
- Search Credly
- Enable
Min. Requirements
PHP 5.3+
My SQL 5.0
Credly Badge Settings
Note: A Credly account is required to obtain the Authorization Token and Organization ID.
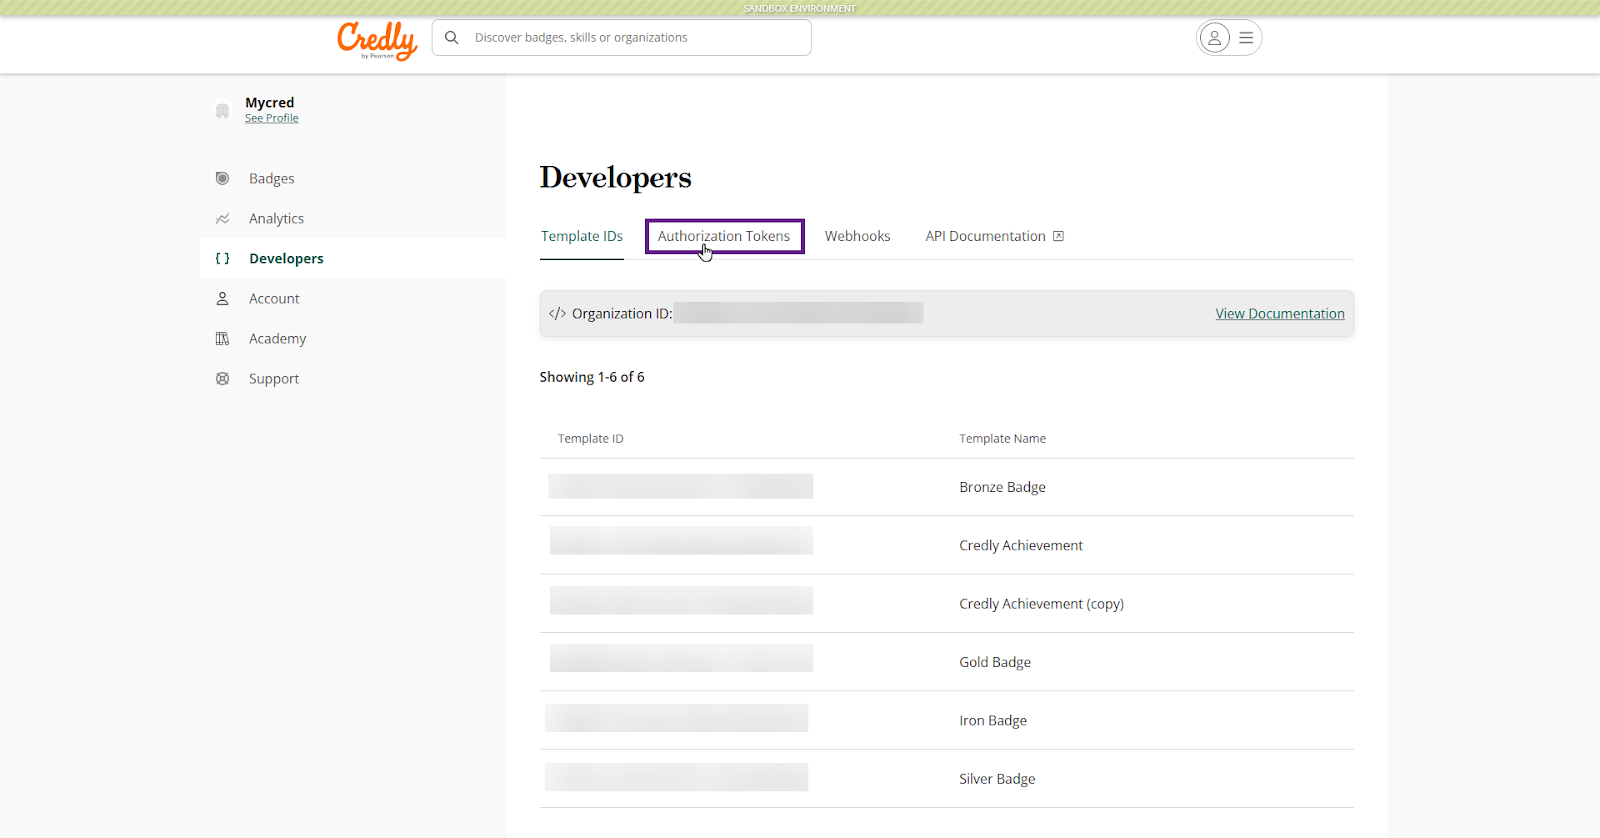
- Create or log in to the Credly Developer account.
- Navigate to the Developers tab.

- Click the Authorization Tokens tab.
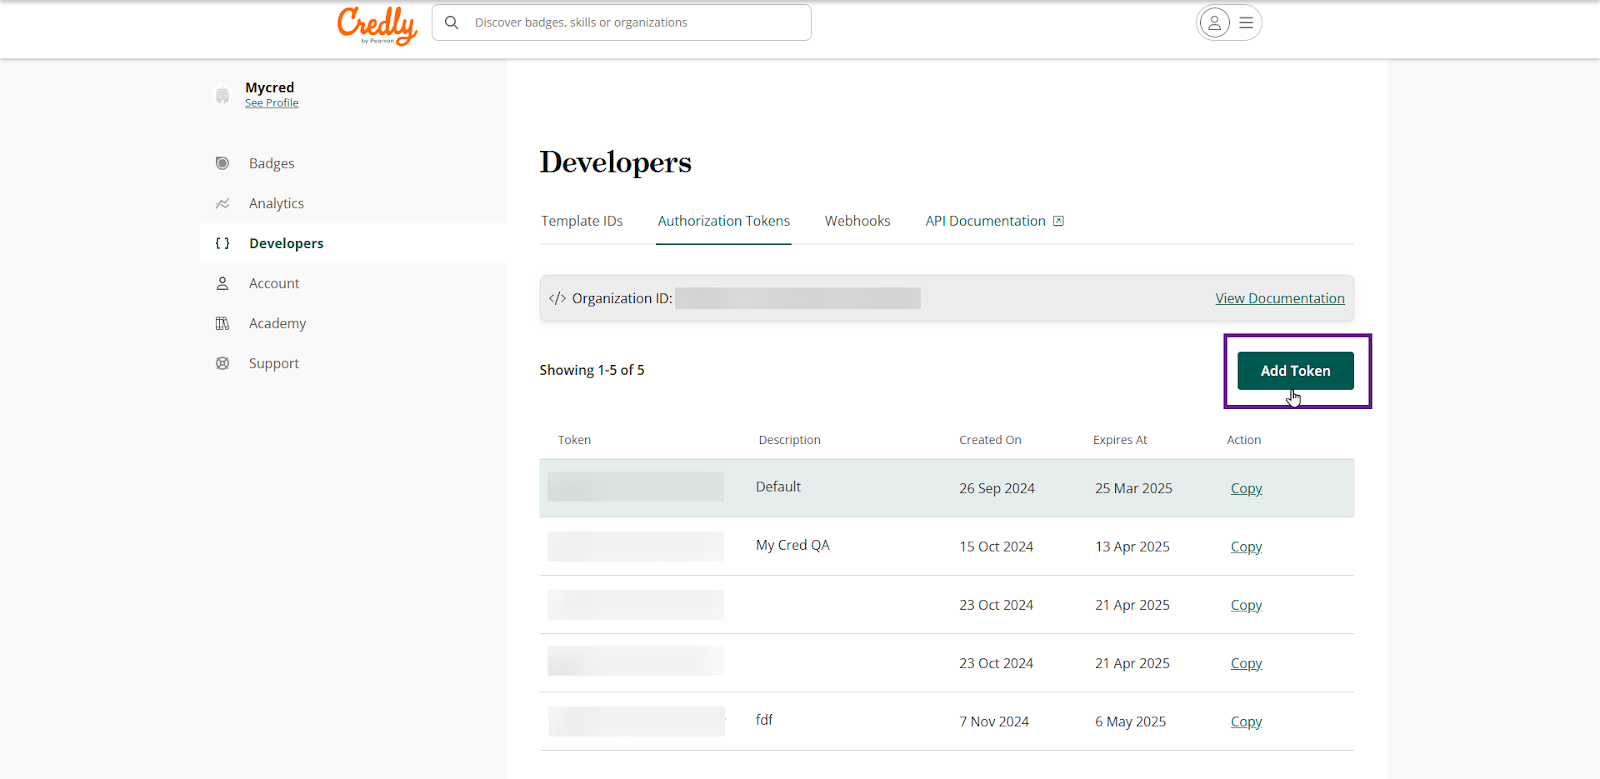
- Click the Add Token button to include an authorization token.
- Fill out the description and enable the desired token properties.
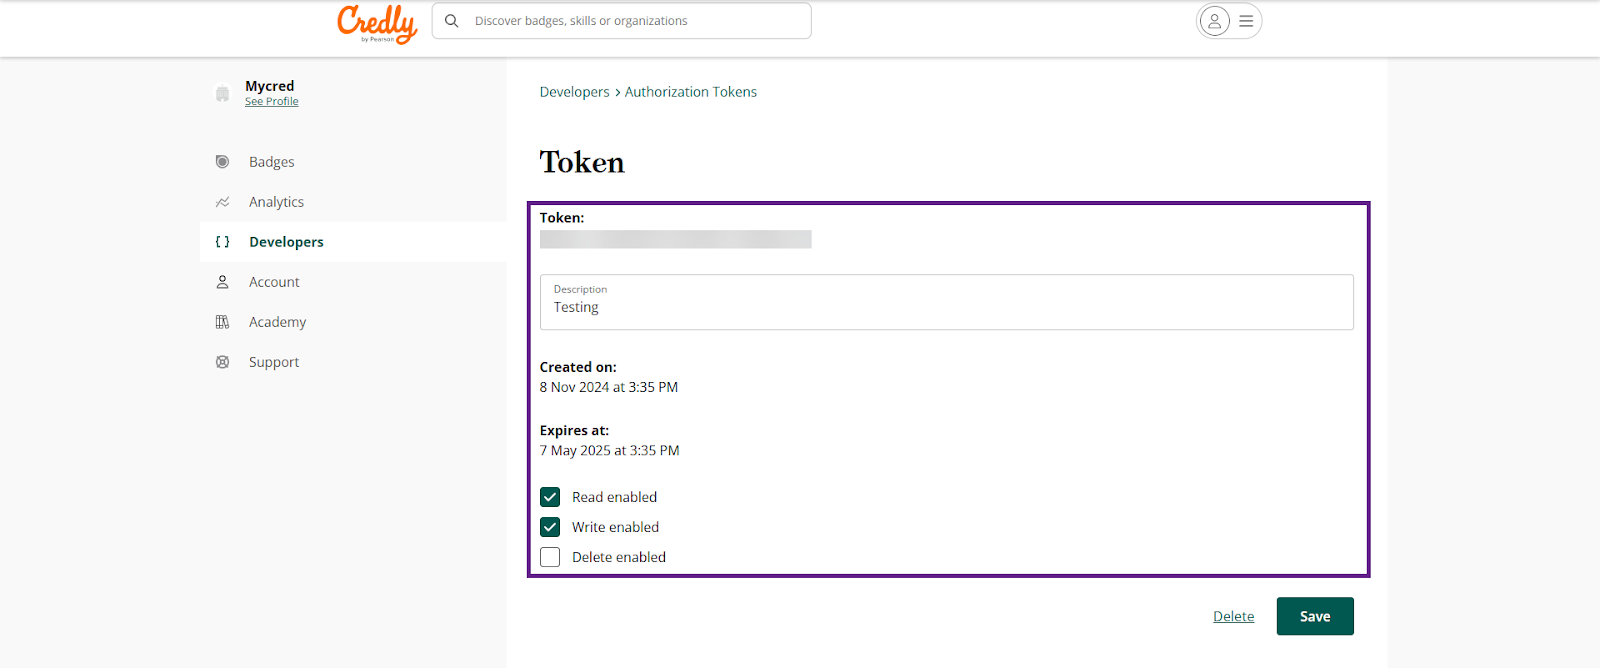
- Click the Save button.
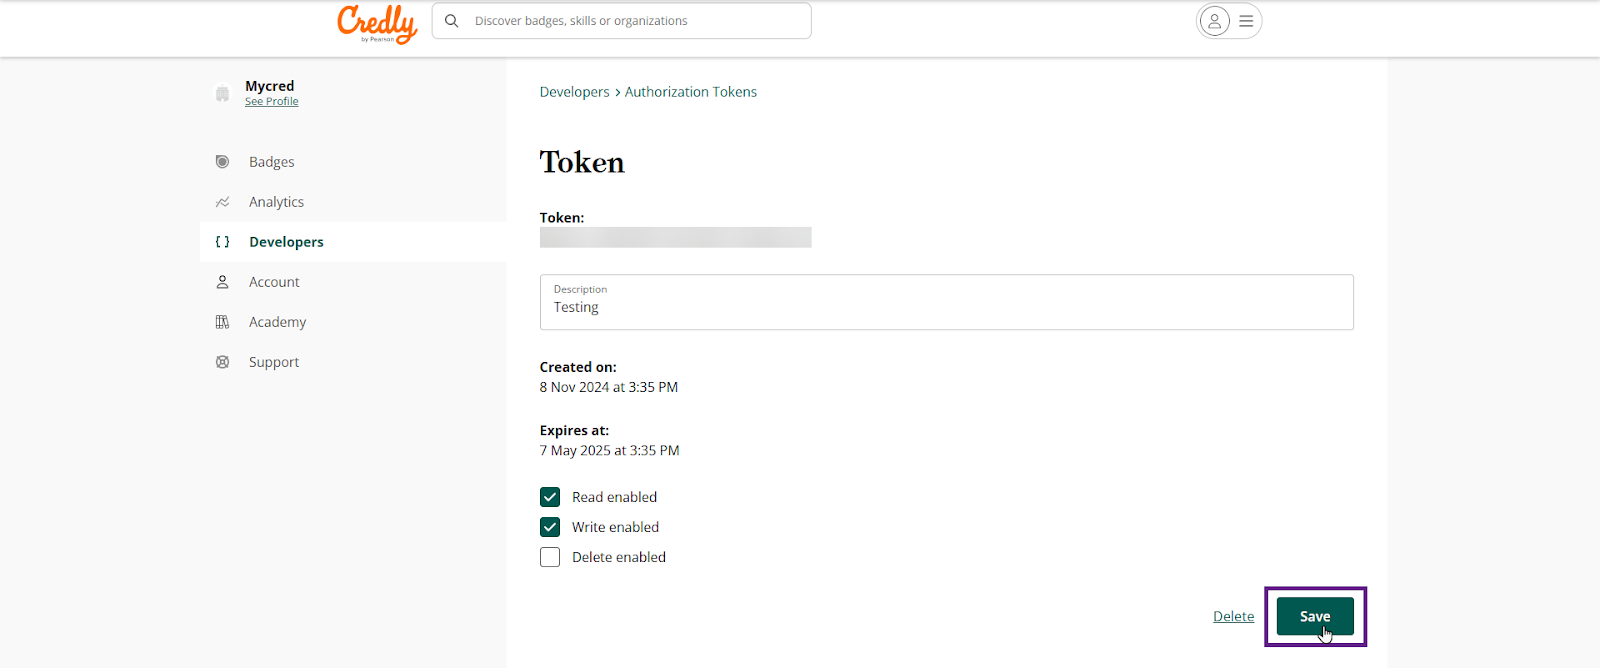
- Now copy the Authorization Token and Organization ID.

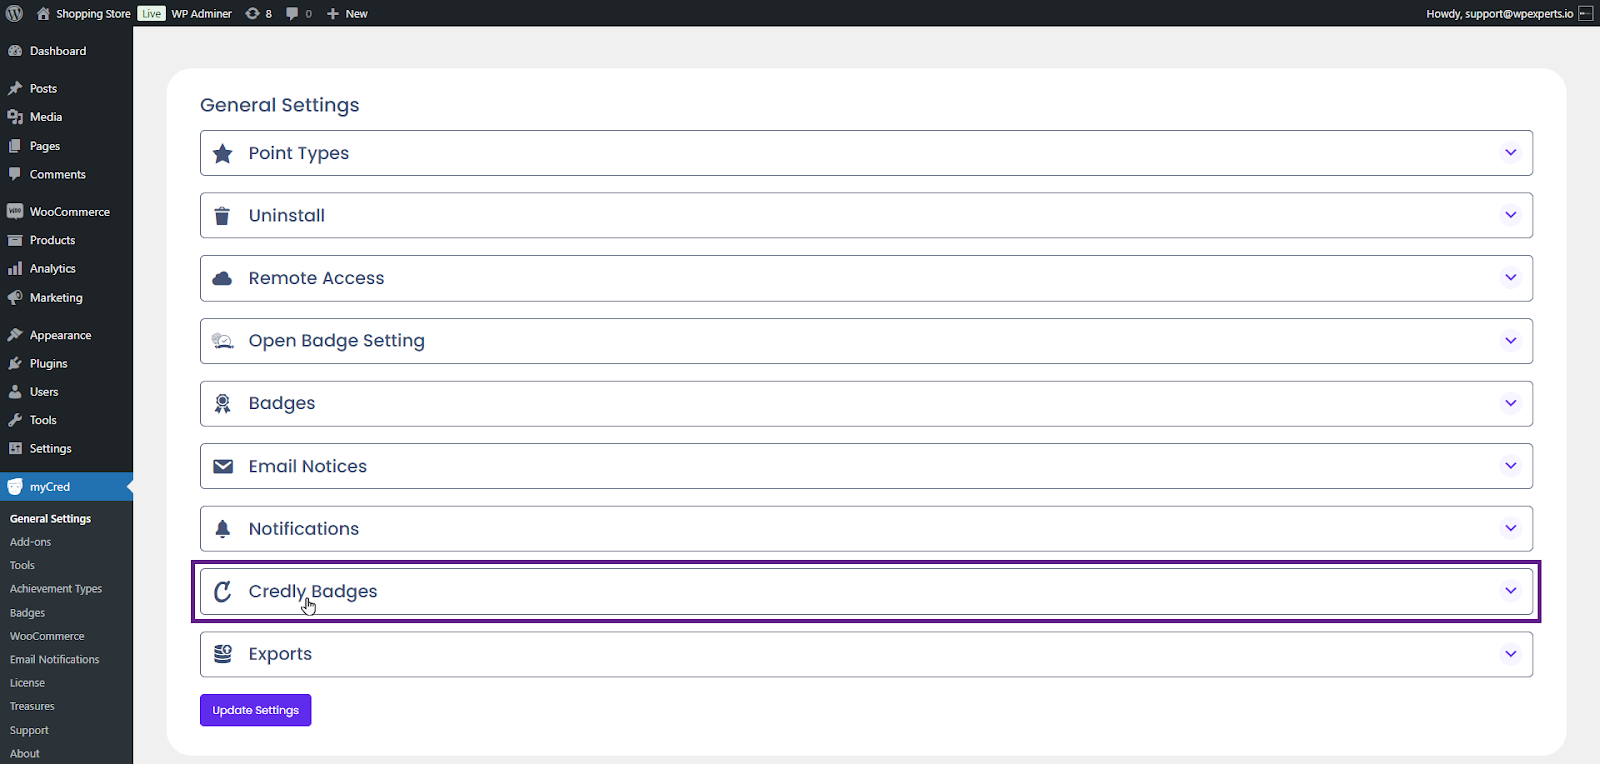
- Once done, go to Admin Dashboard > myCred > General Settings.

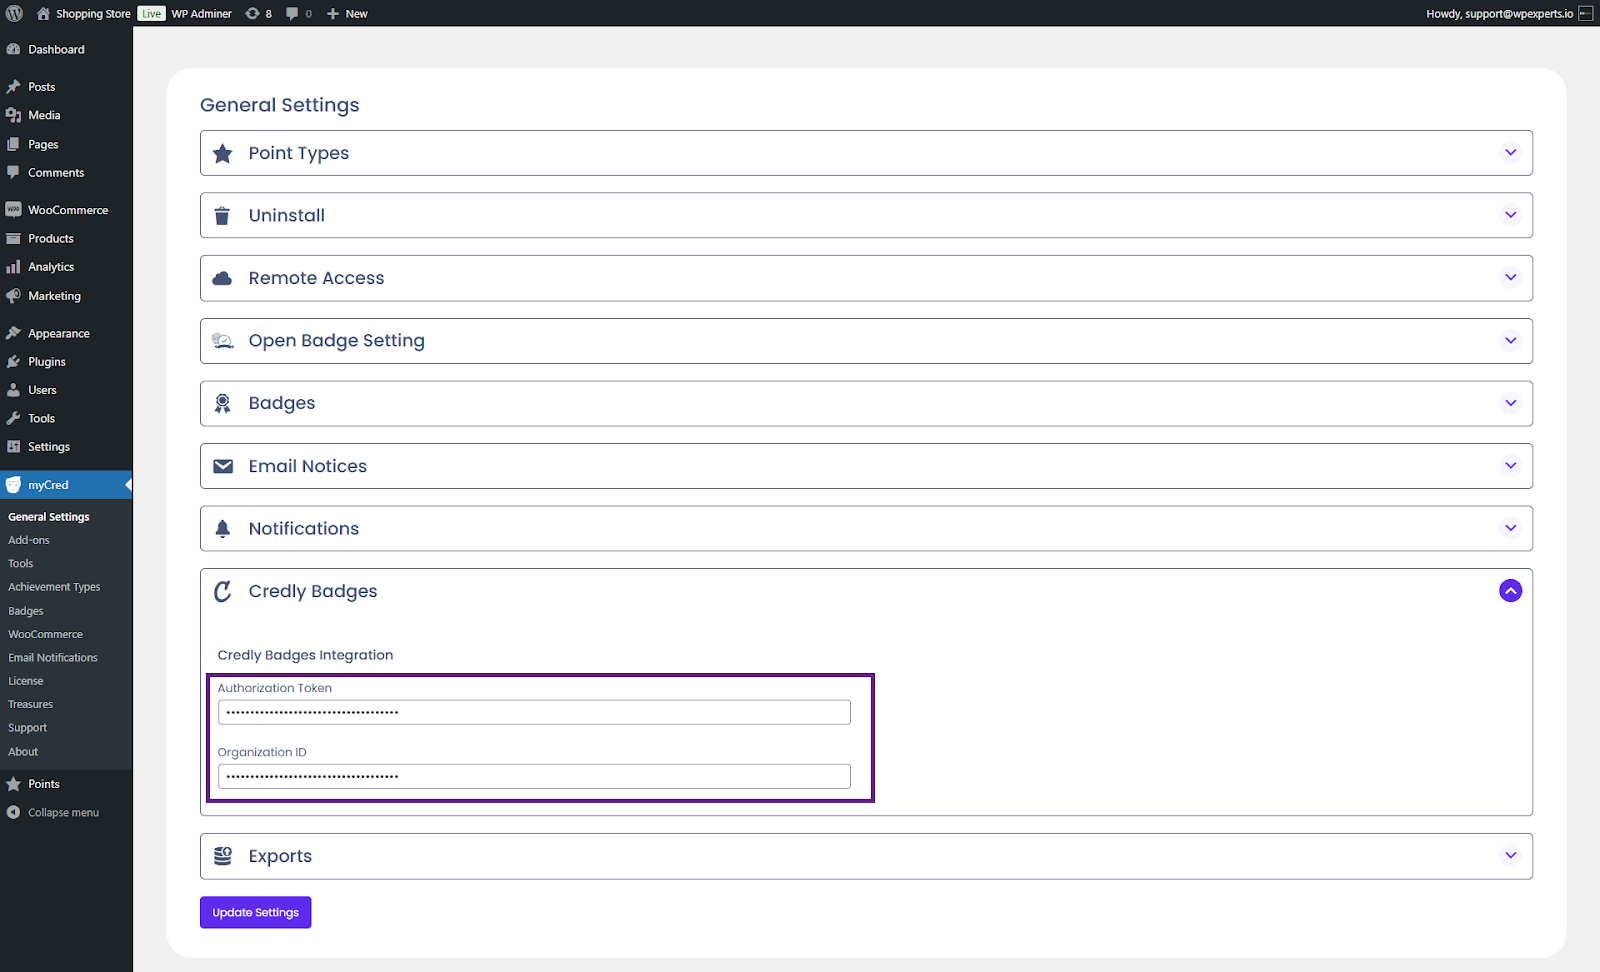
- Navigate to the Credly Badges section.
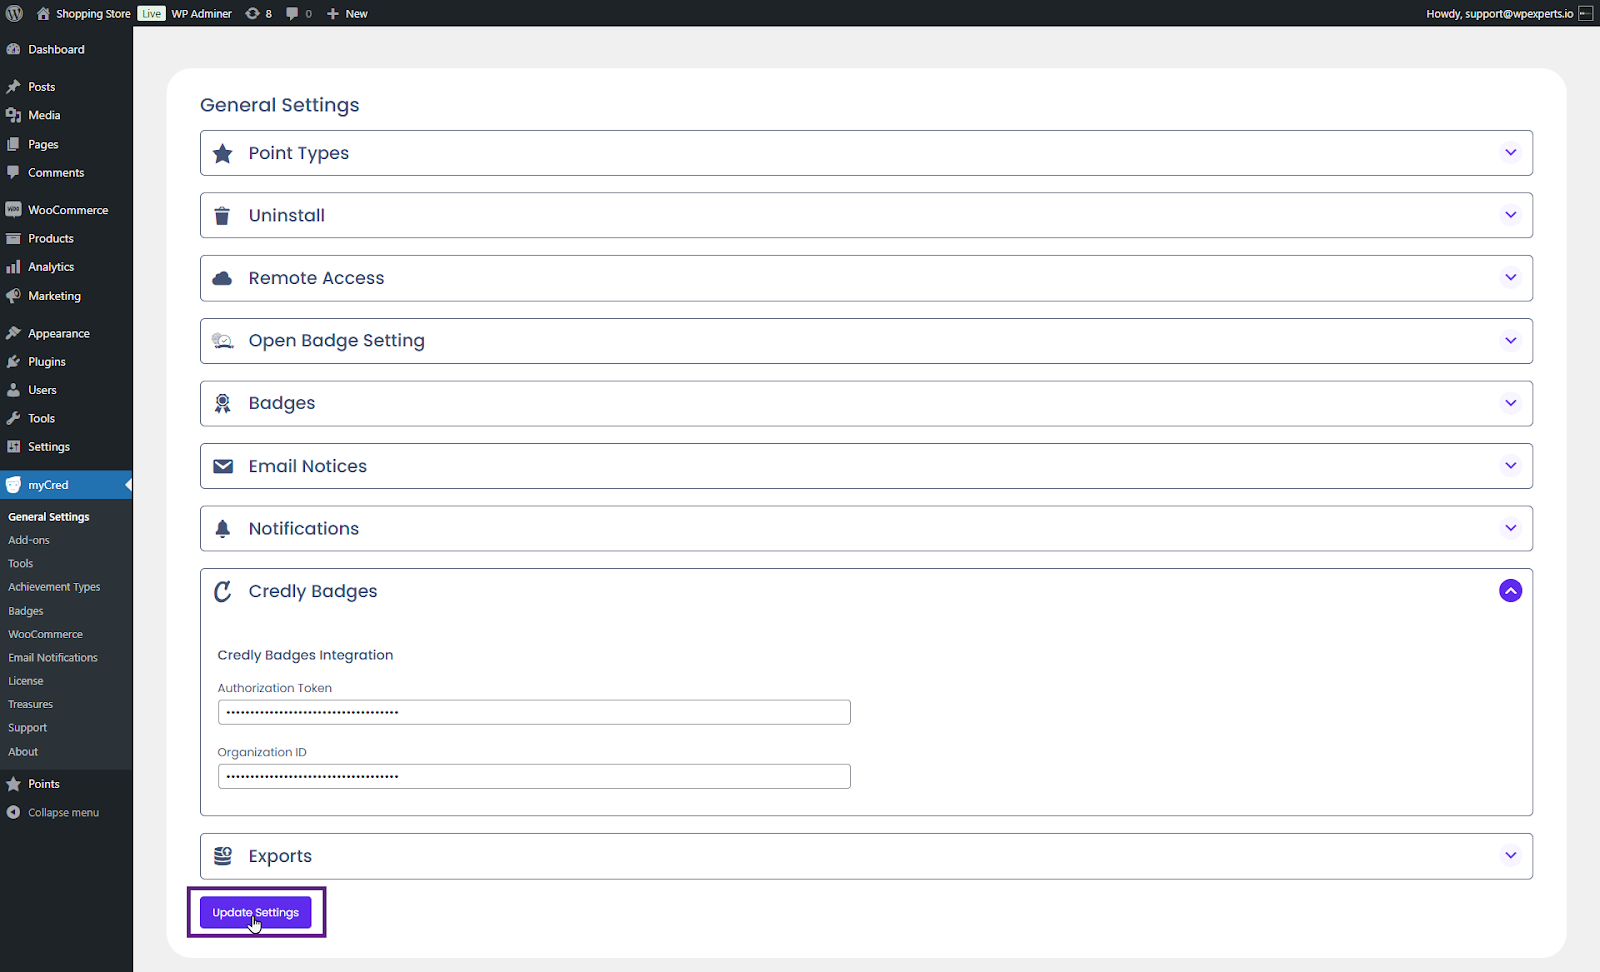
- Fill out the Authorization Token and Organization ID fields.
- Click the Update Settings button.
Import Credly Badges
- The admin can import badges from Credly.
- Back-End Settings
- Go to Admin Dashboard > myCred > Badges.

- Click the Import Credly Badge button. A popup will then appear, allowing the admin to select the desired badges to import.

Connect Credly (User)
- Back-End Settings
- Go to Admin Dashboard > Pages > Add New Page.
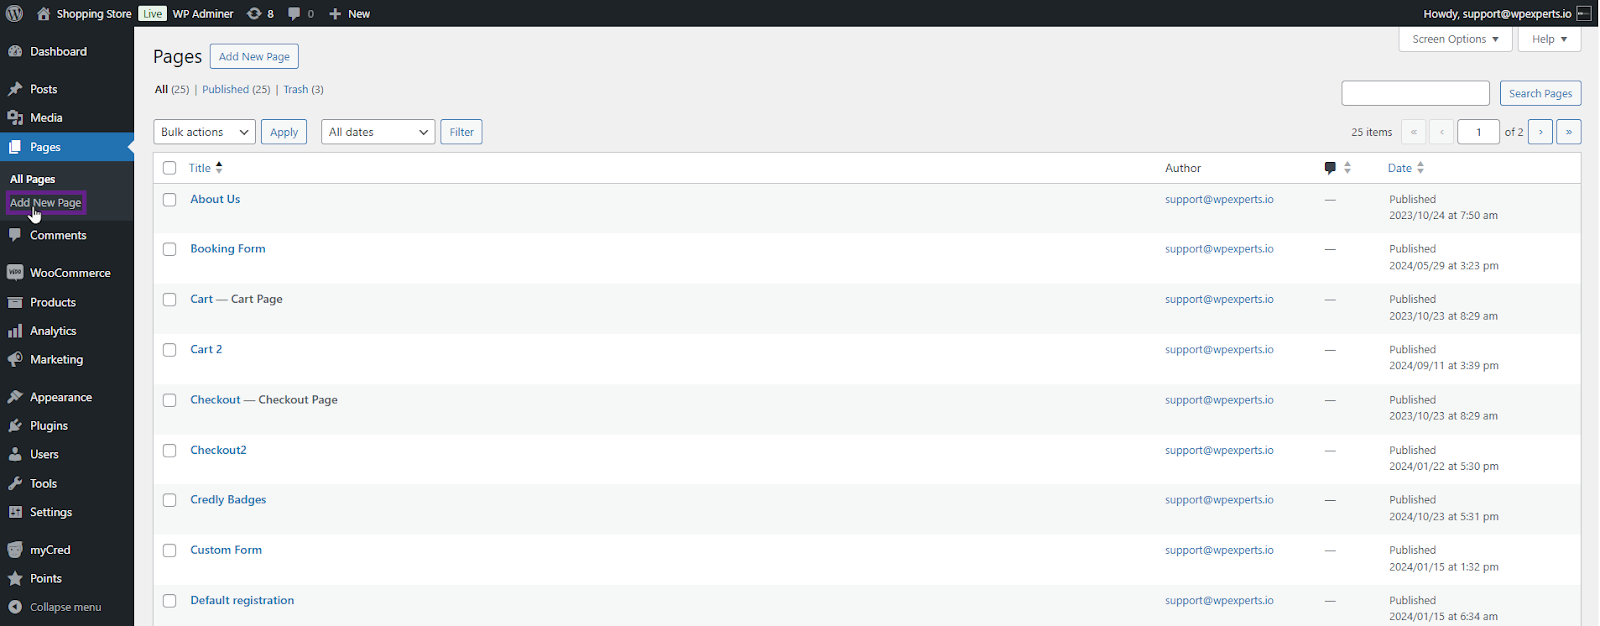
- Copy and paste the [mycred_credly_login] shortcode on the newly created page.

Frontend Impact
- Go to the website.
- Navigate to the Connect Credly page.
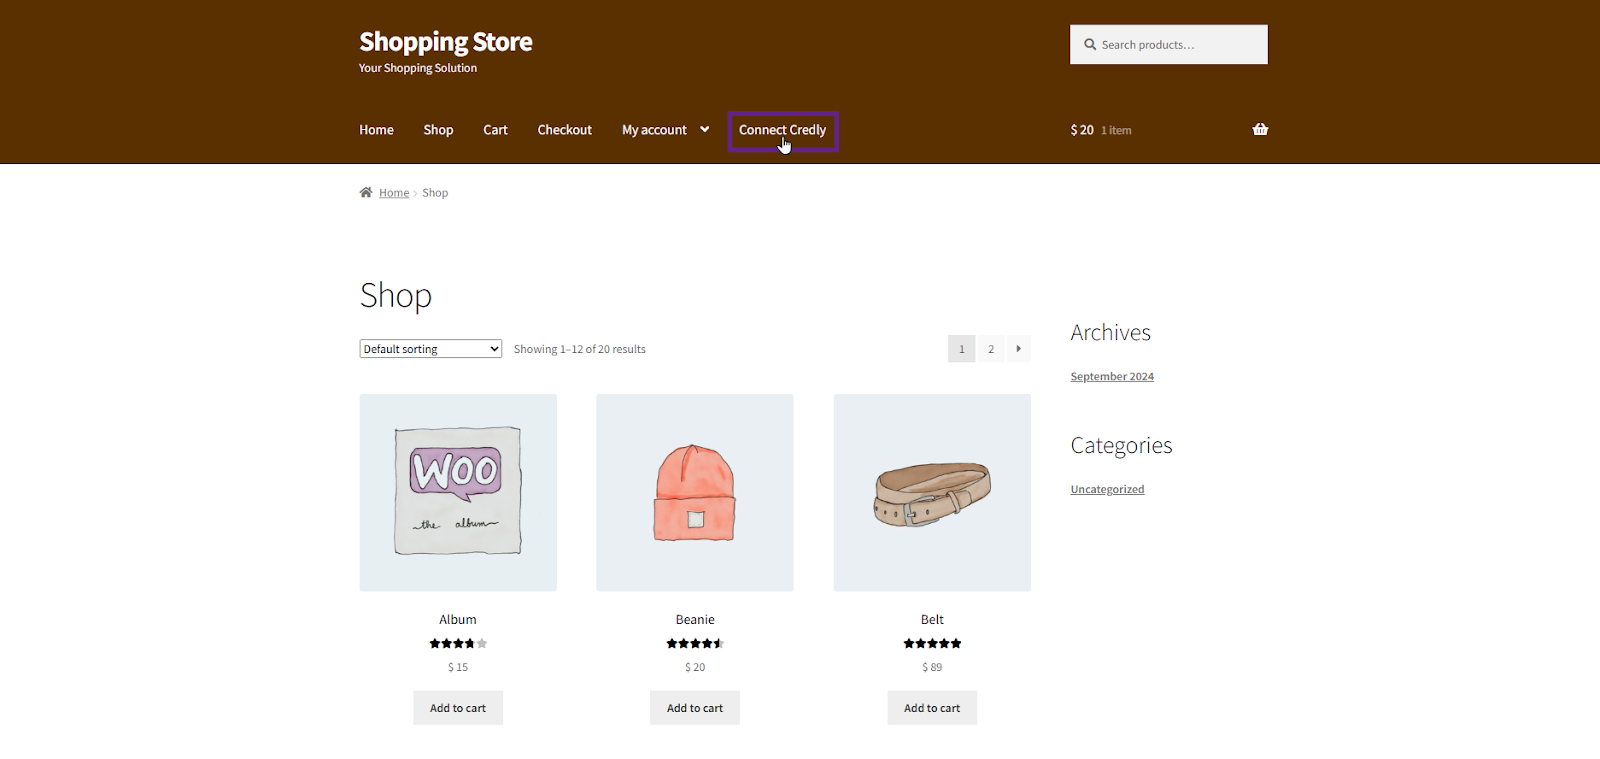
- Enter your email to link your myCred account with Credly.

Note: To connect myCred with the Credly account, the user must have a Credly account.
- After connecting, the user can disconnect the account by selecting the Disconnect Credly button.
