Event Espresso
Event Espresso
myCred Event Espresso enables a custom myCred payment option in your Event Espresso settings. Like other payment gateways, users can use this add-on to purchase event tickets using their points.
Add-on Setup
- Go to the Admin Dashboard > myCred > Addons.
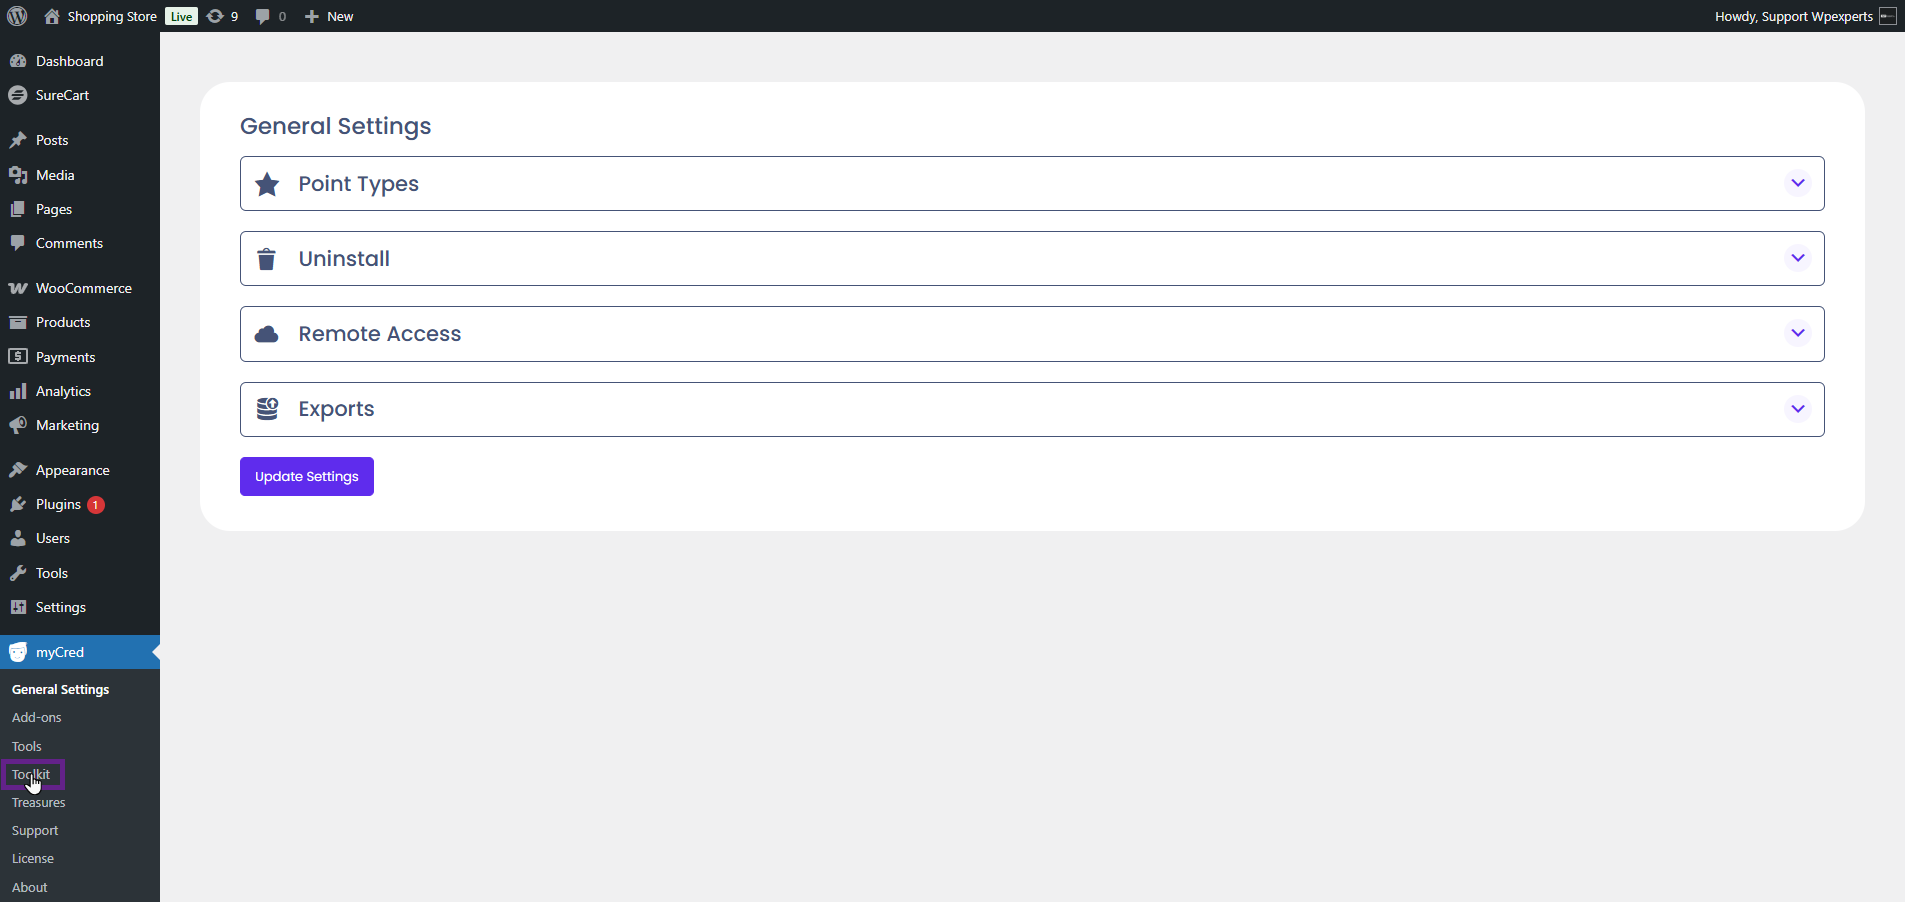
- Activate the Event Espresso toggle button.
Note: Ensure that the Event Espresso plugin is installed and activated.

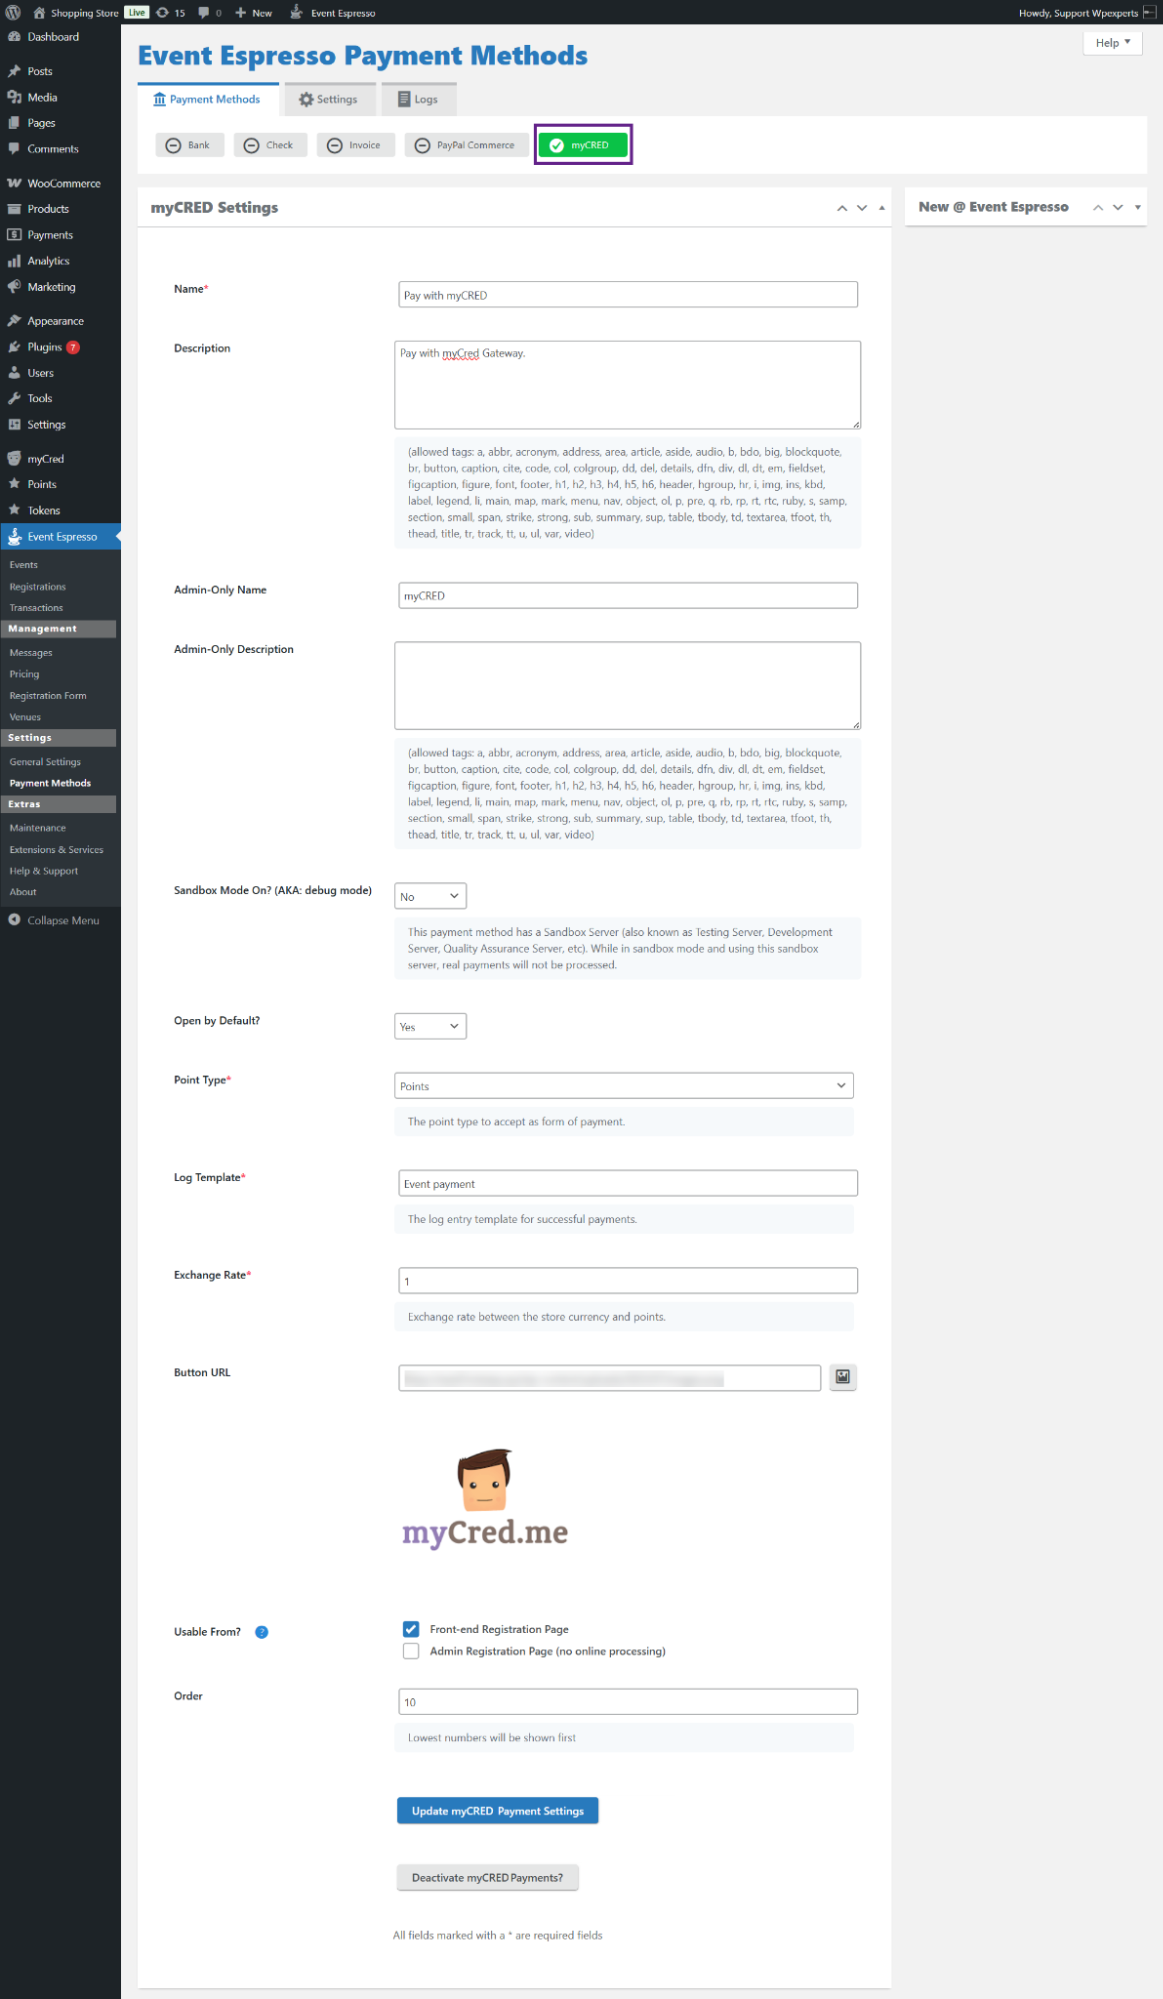
- Now, go to the Admin Dashboard > Event Espresso > Payment Methods.
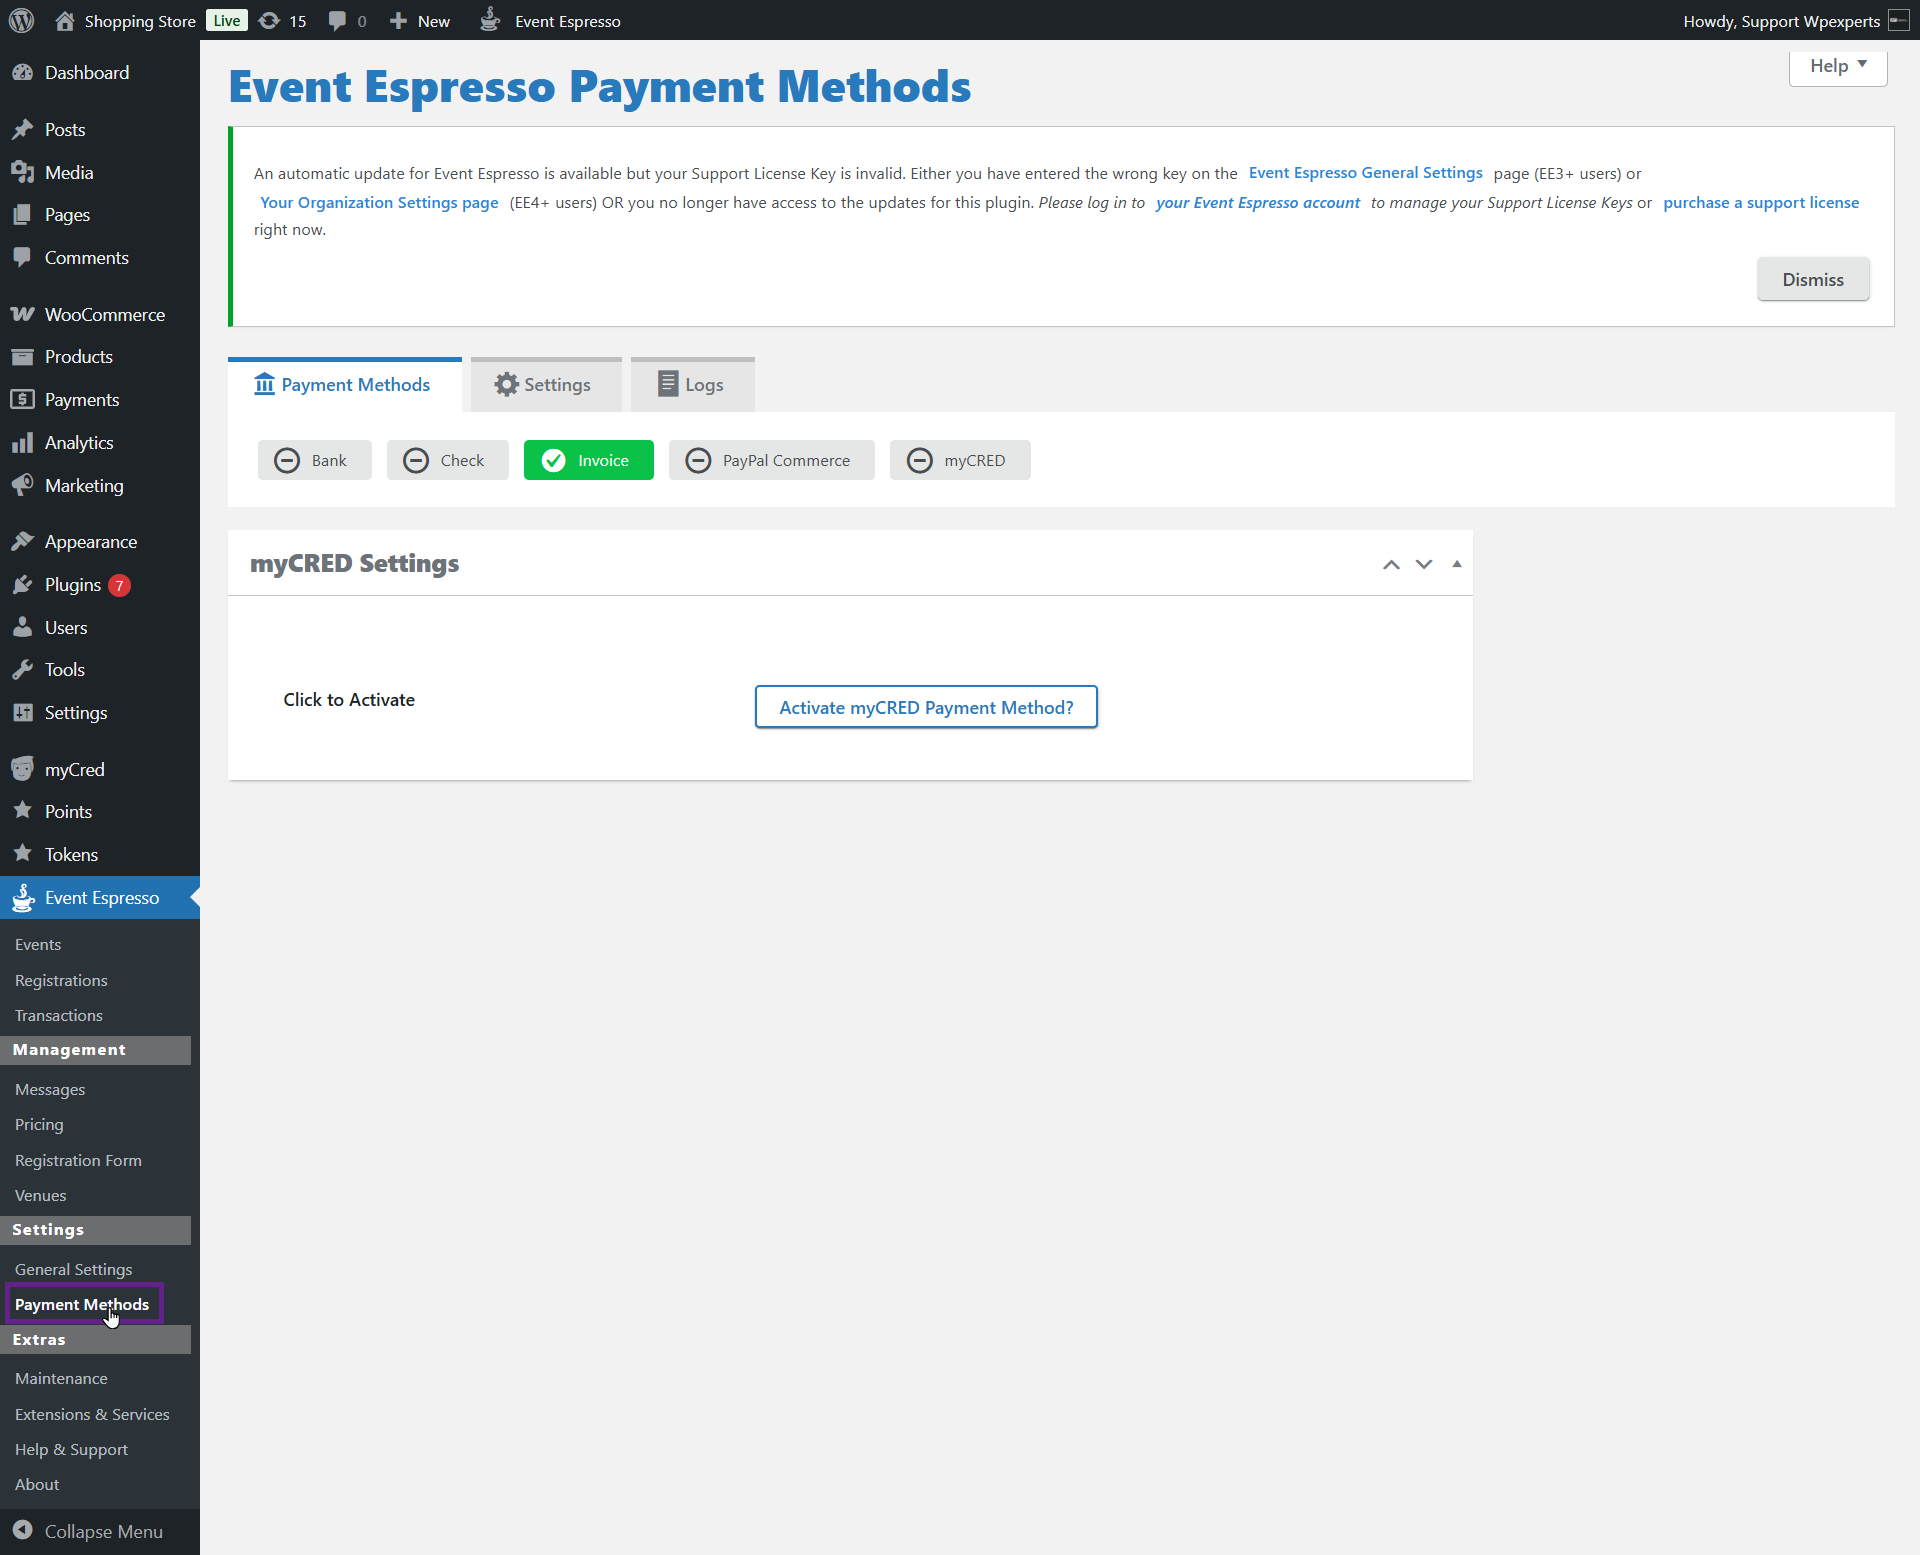
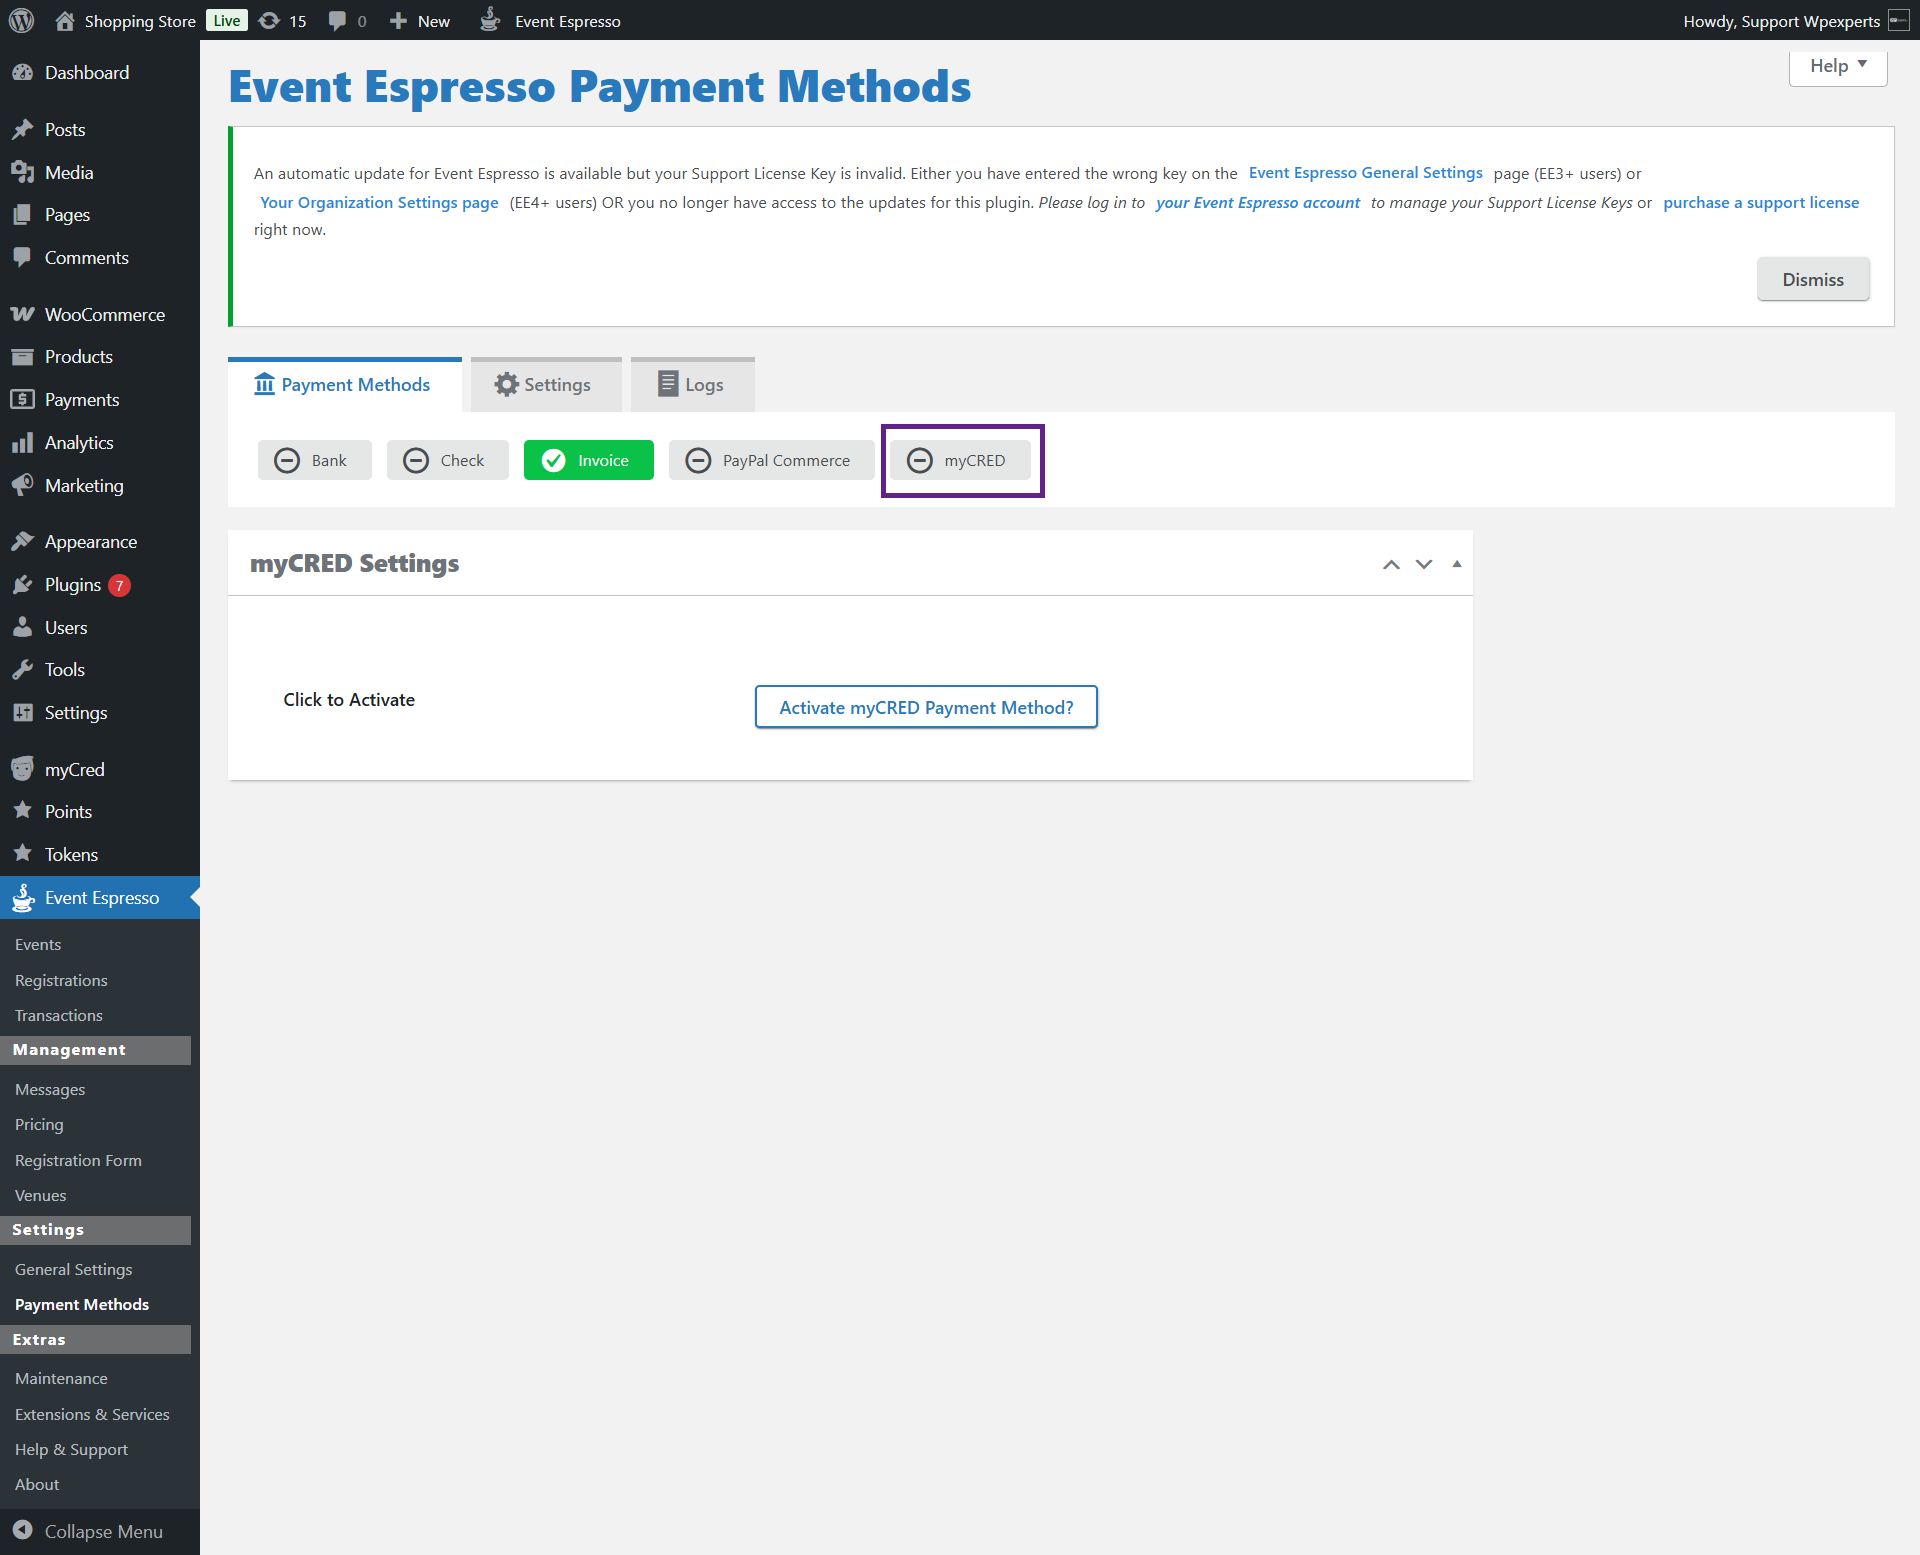
- Navigate to the myCred sub-tab.
- Click the Activate myCRED Payment Method? option to activate the payment method.

- Once clicked, additional options will be displayed.

- Next, enter the name and description of the payment gateway in the respective fields. The name will appear on the front end as a payment gateway option.
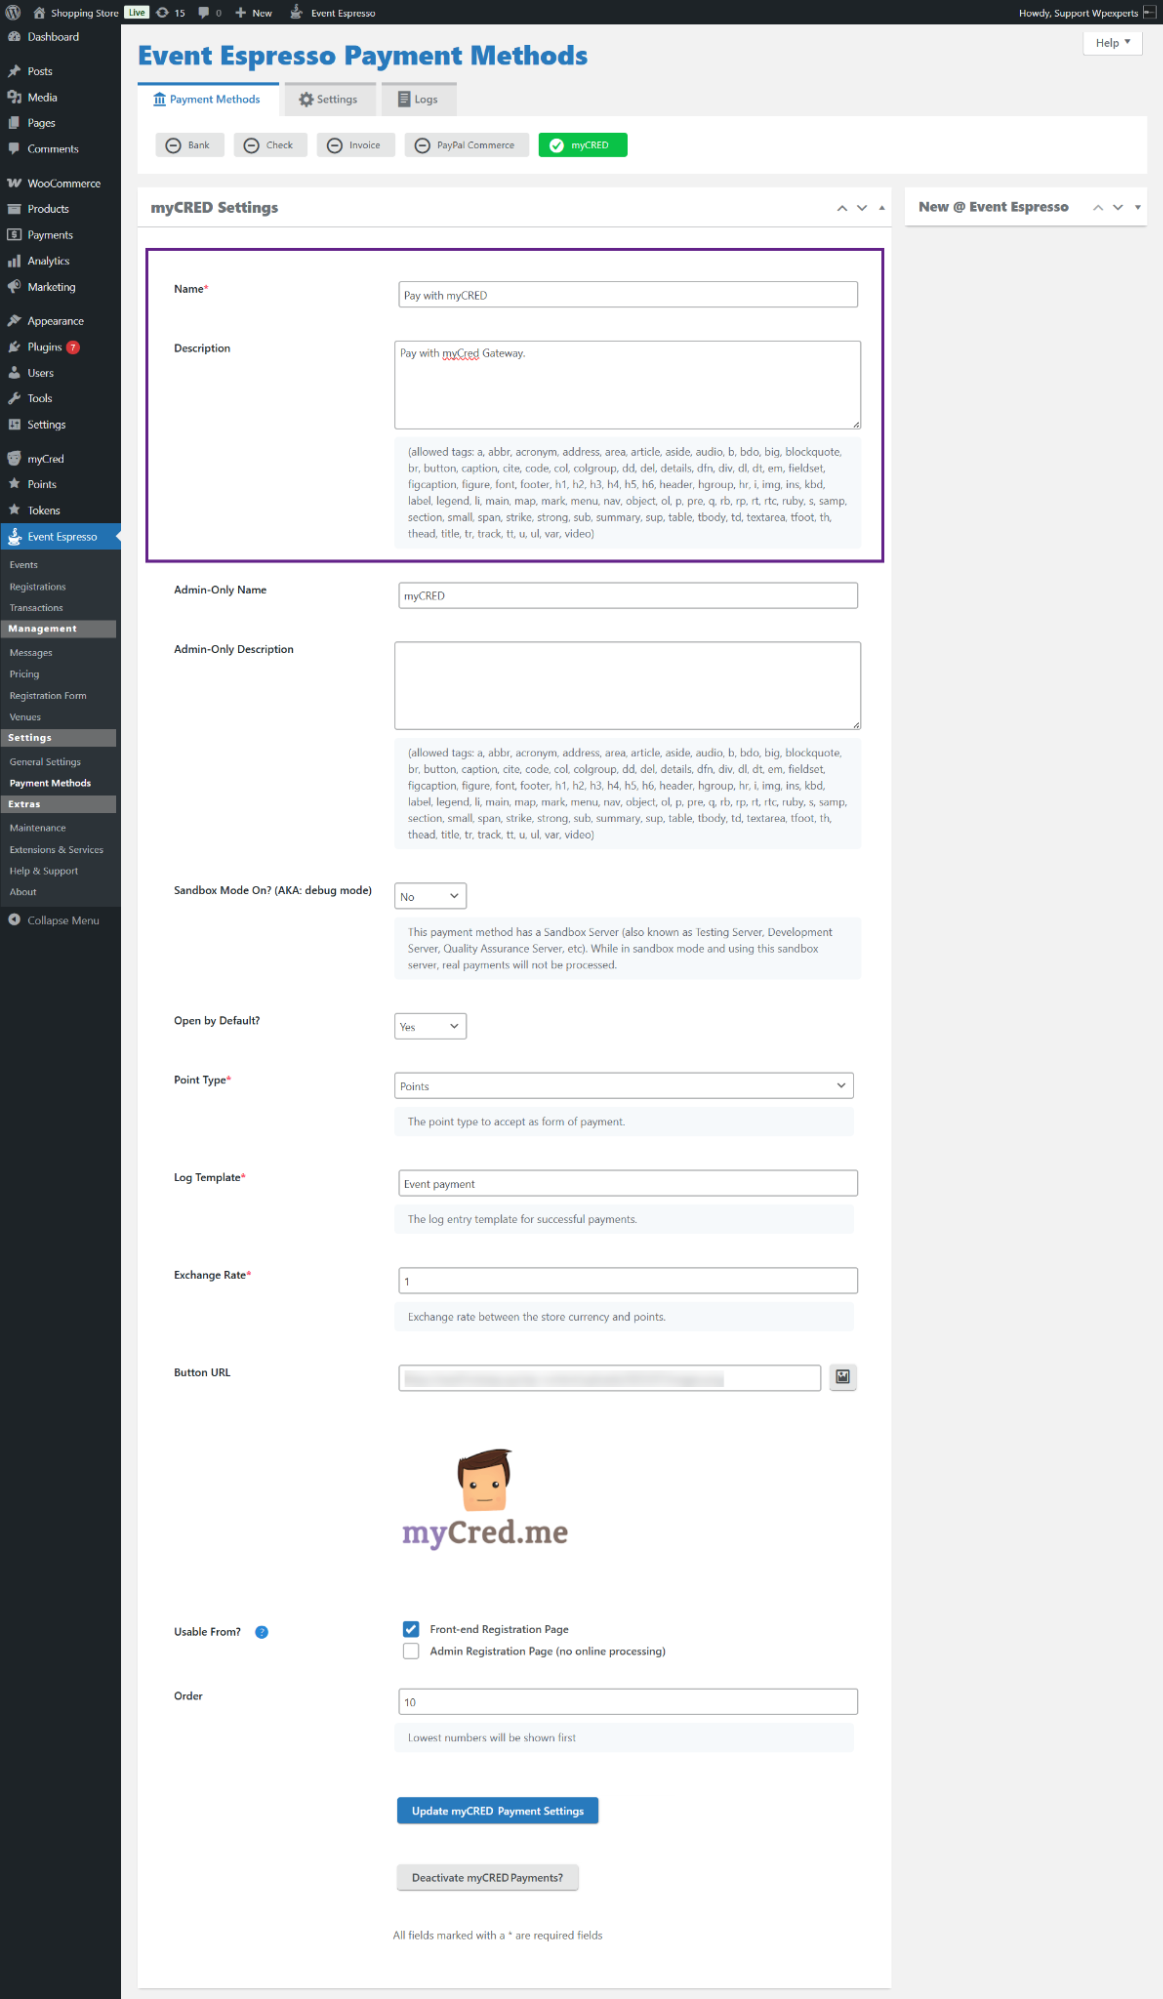
- Now, enter the admin-only name and description. These will appear as the label and text for the myCred subtab under the Payment Methods settings.

- As you can see, the myCred sub-tab label appears based on the text entered in the Admin Only Name field.
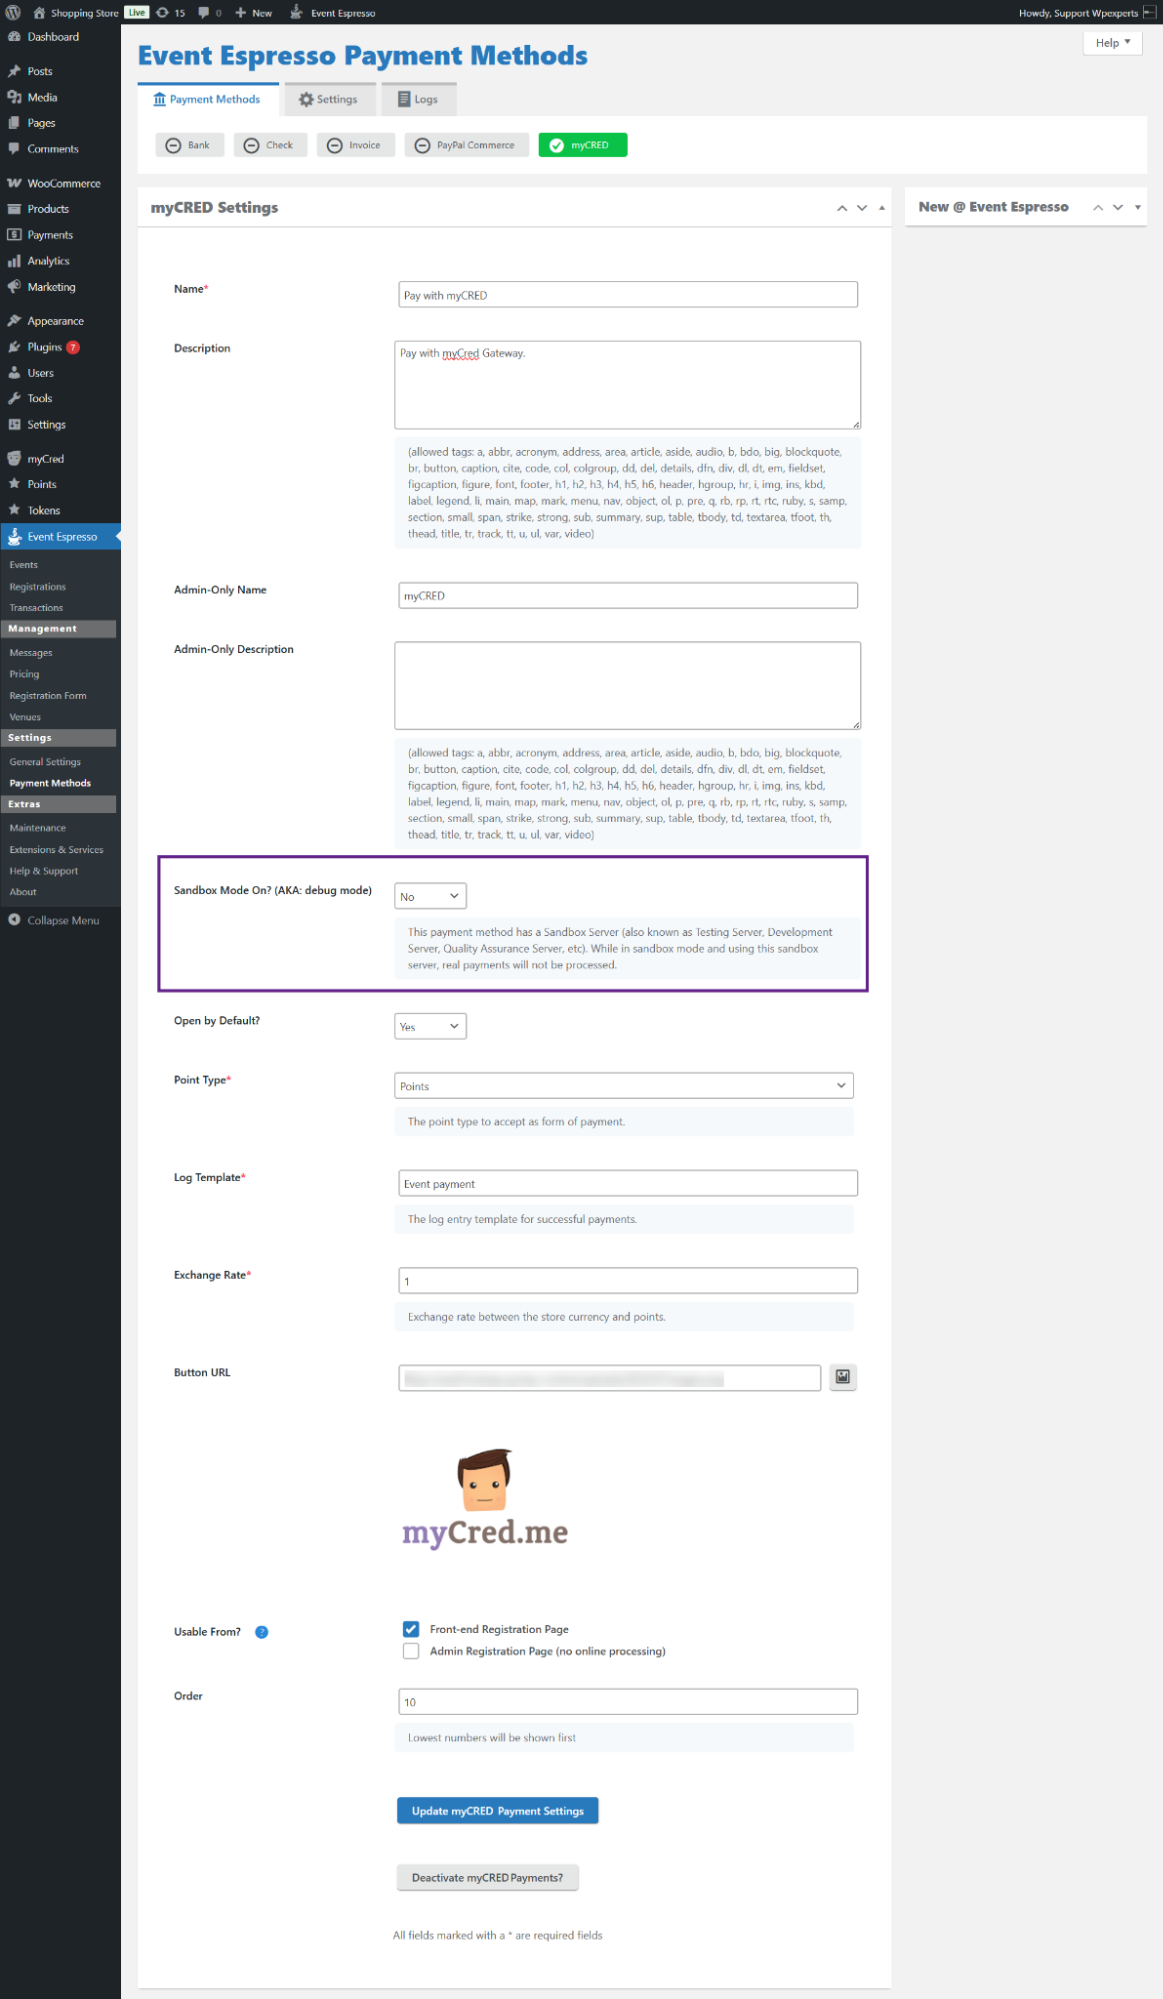
- Enable the Sandbox option if needed. In this example, it is set to Disabled.
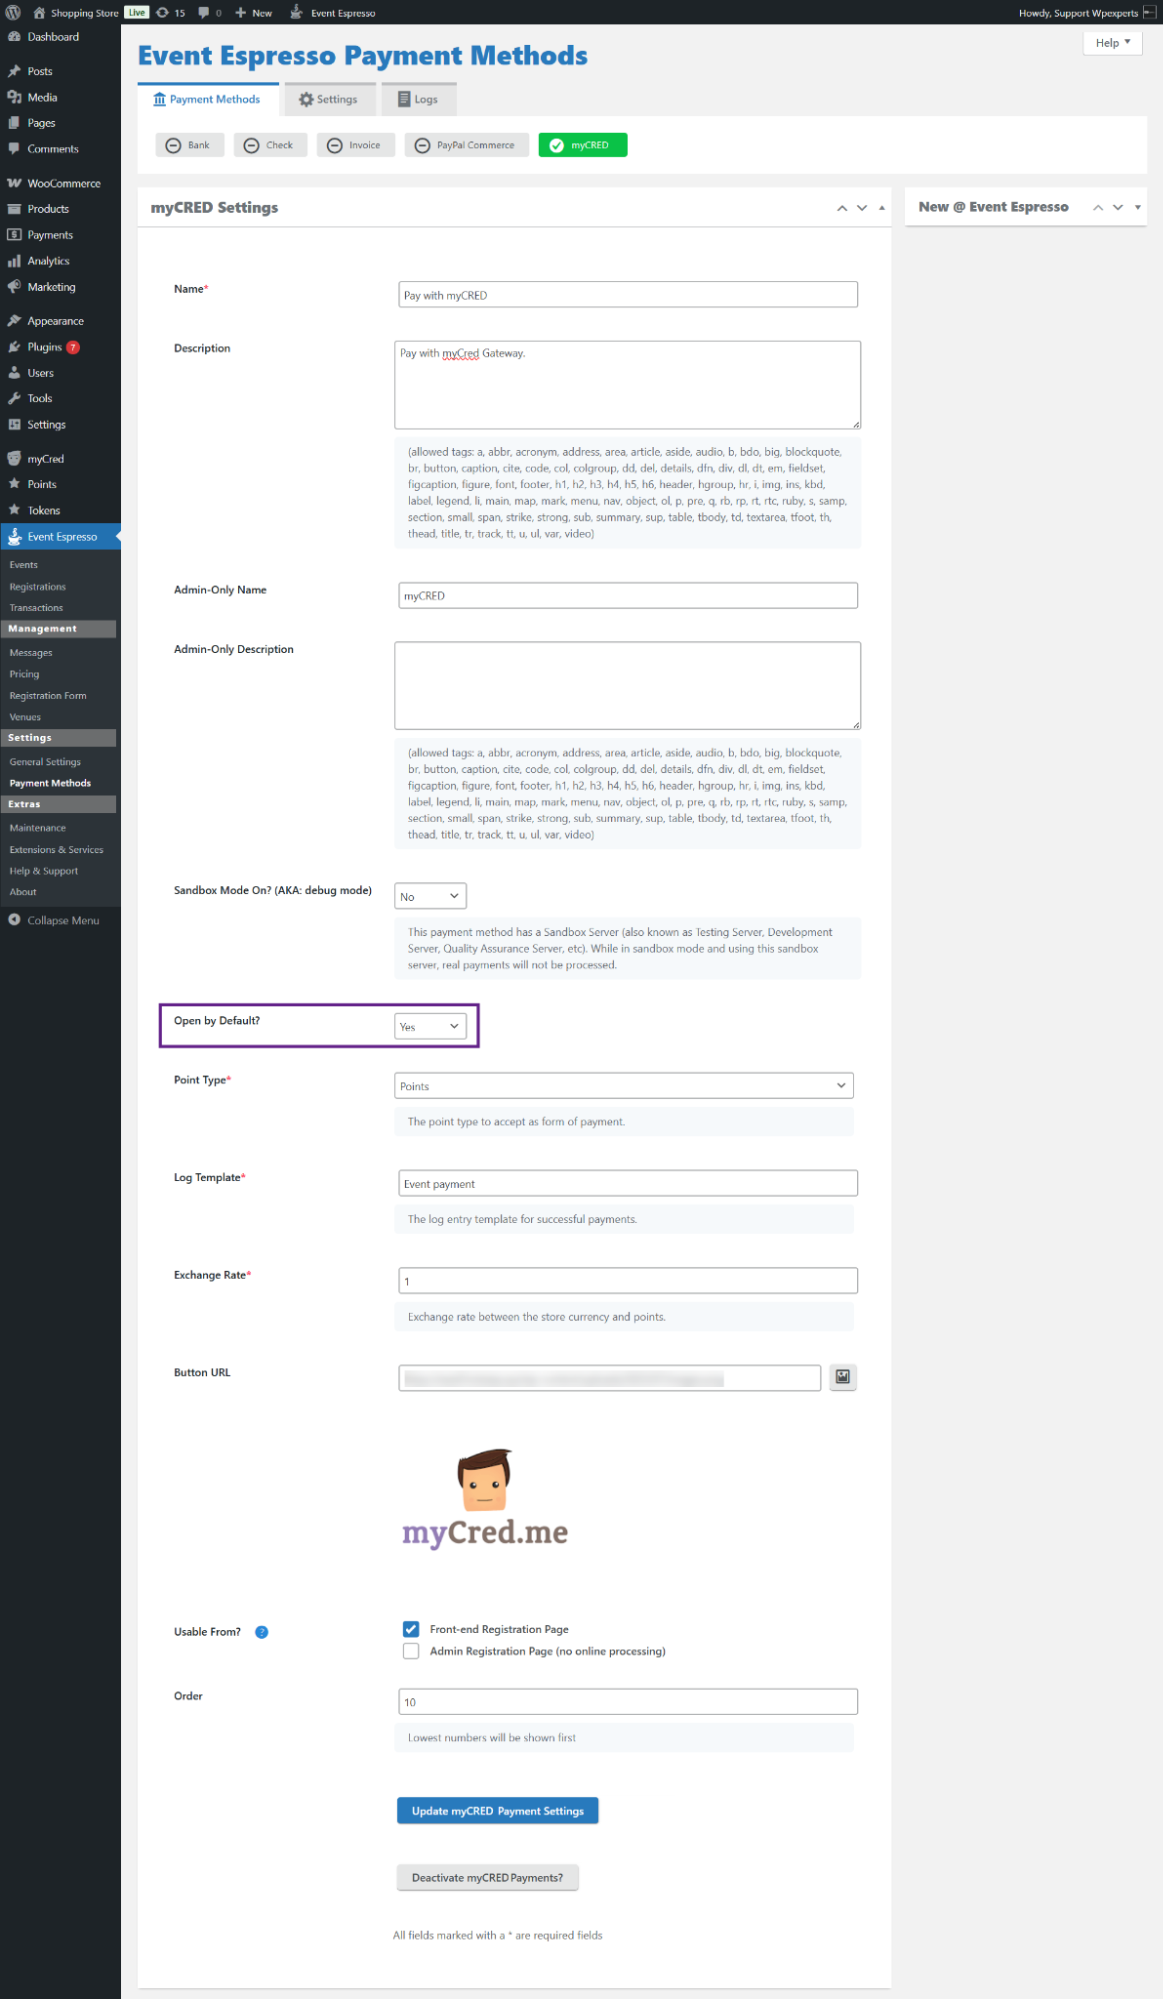
- Set the default availability for the myCred payment option.
- Select the default point type to be used as a form of payment.

- Enter the log template in the Log Template field.

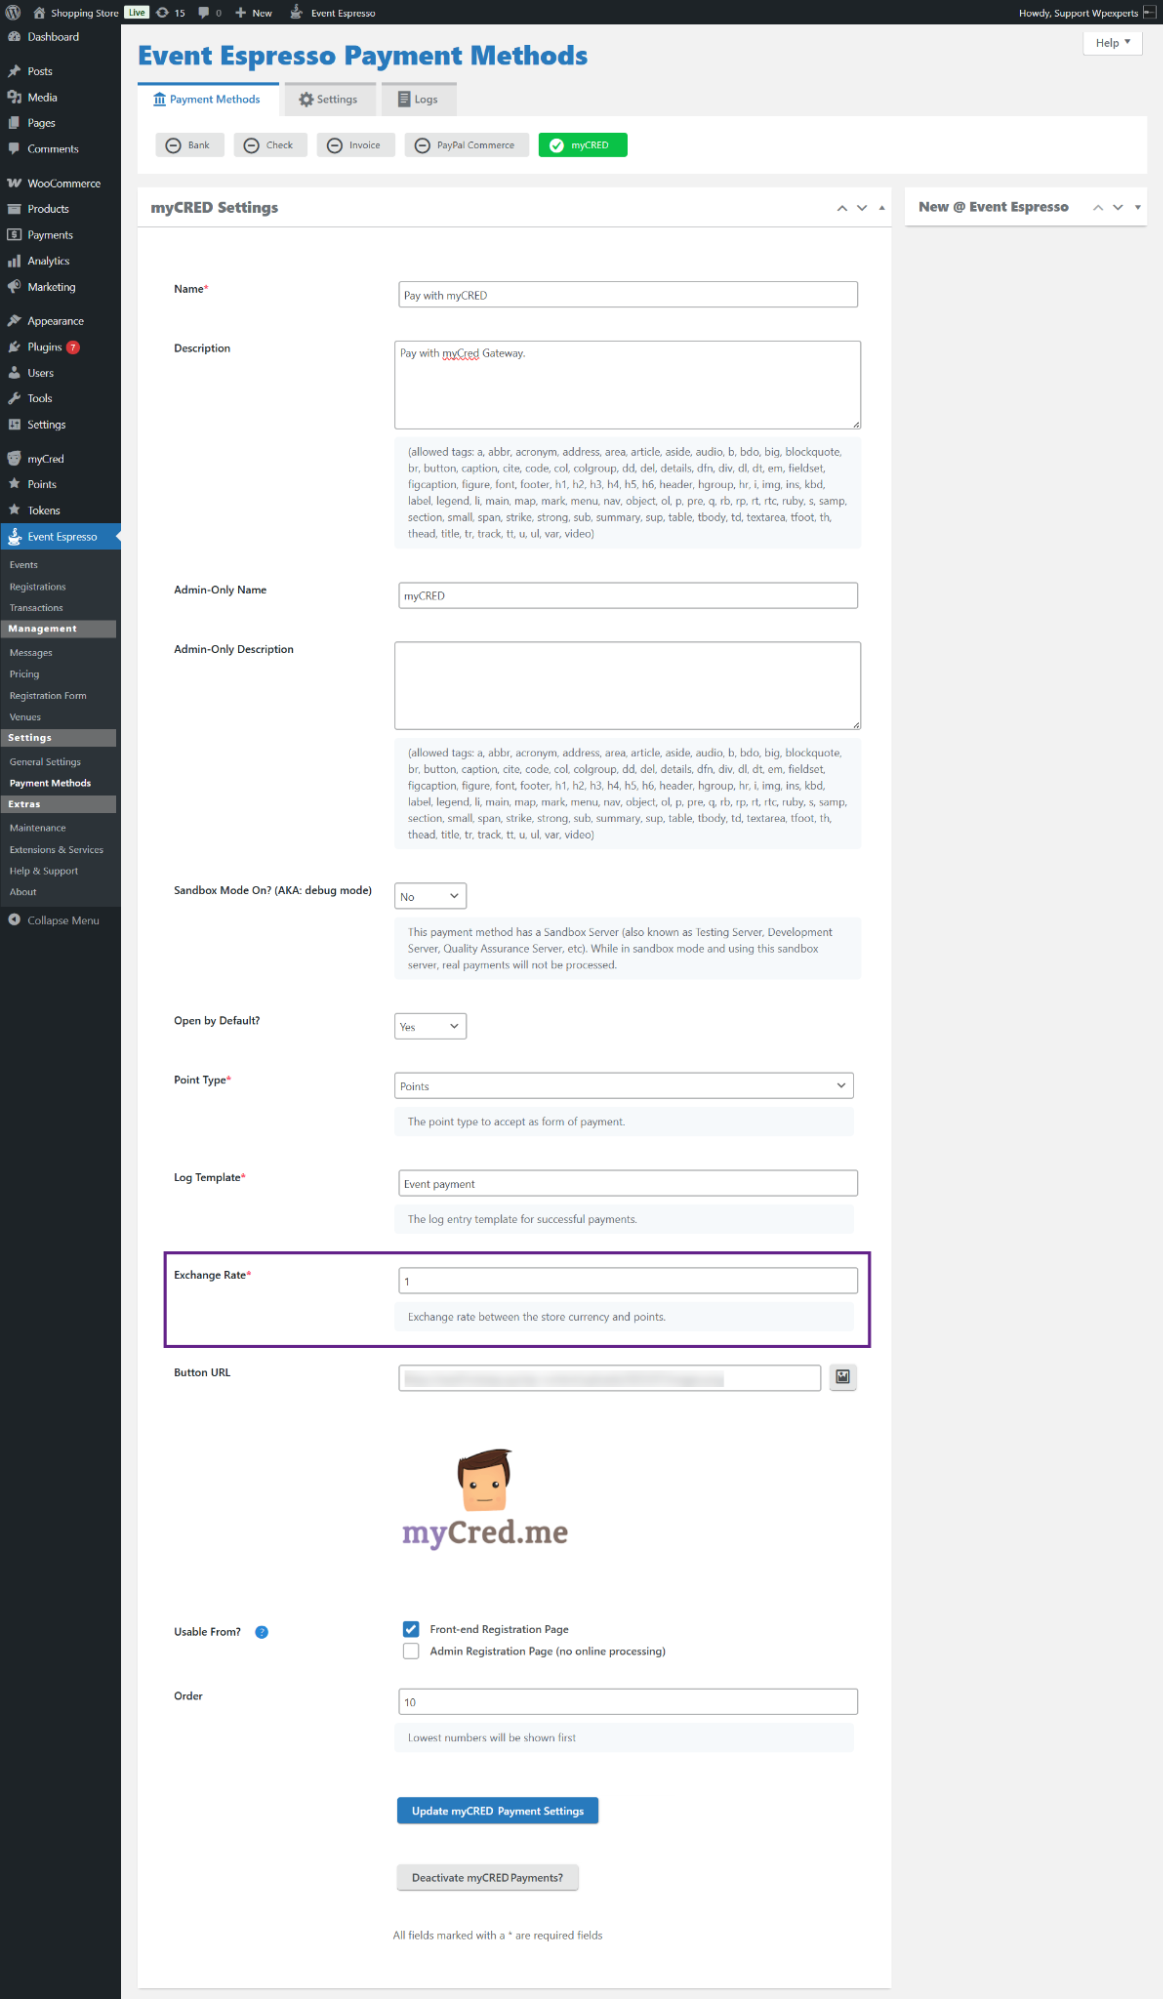
- Set the exchange rate.
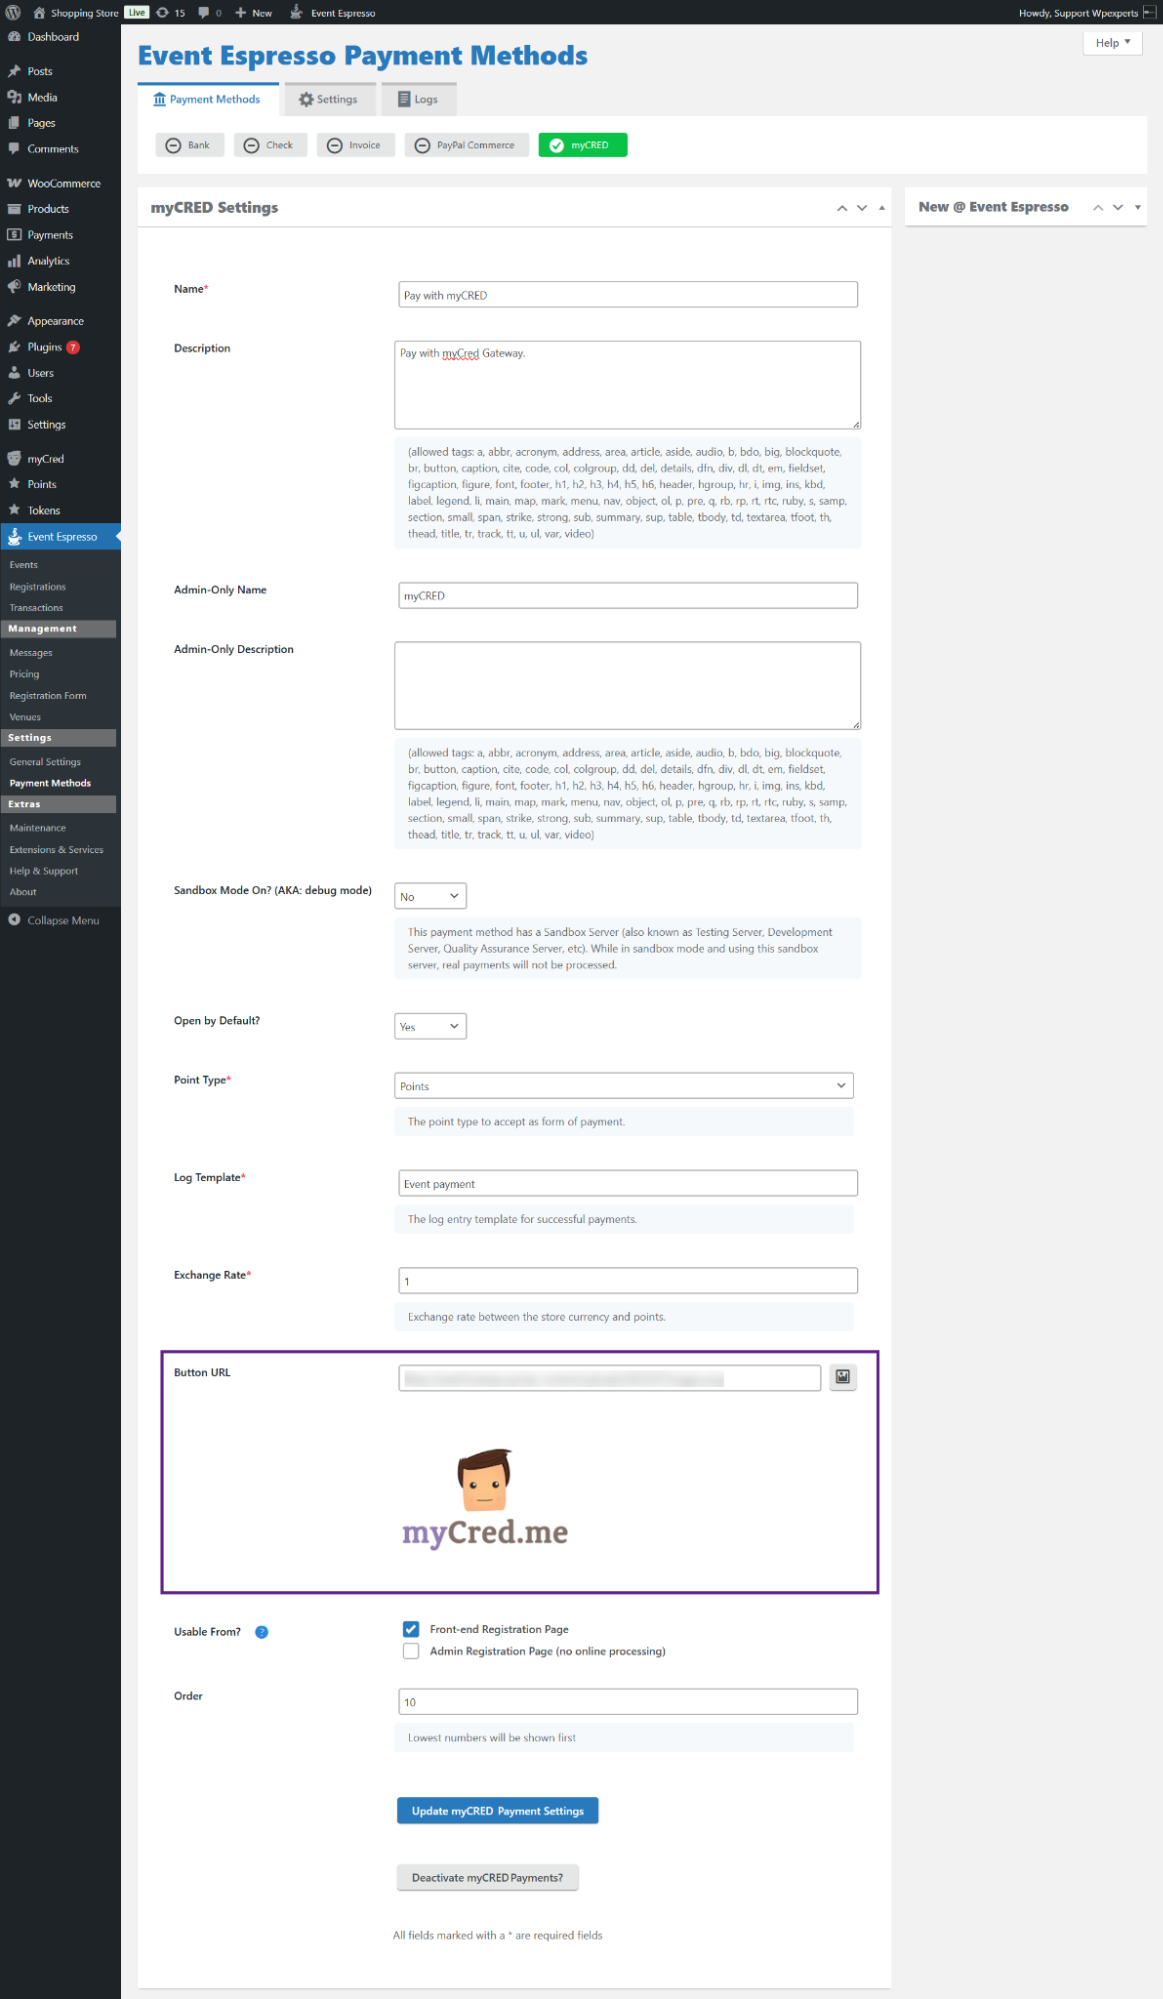
- Enter the image URL from your desktop file path to be used as the myCred payment gateway image.
- Configure the Usable From settings based on your requirements. This option determines where the myCred payment method will be available, either on the front-end for users, in the admin panel for manual registrations, or both.

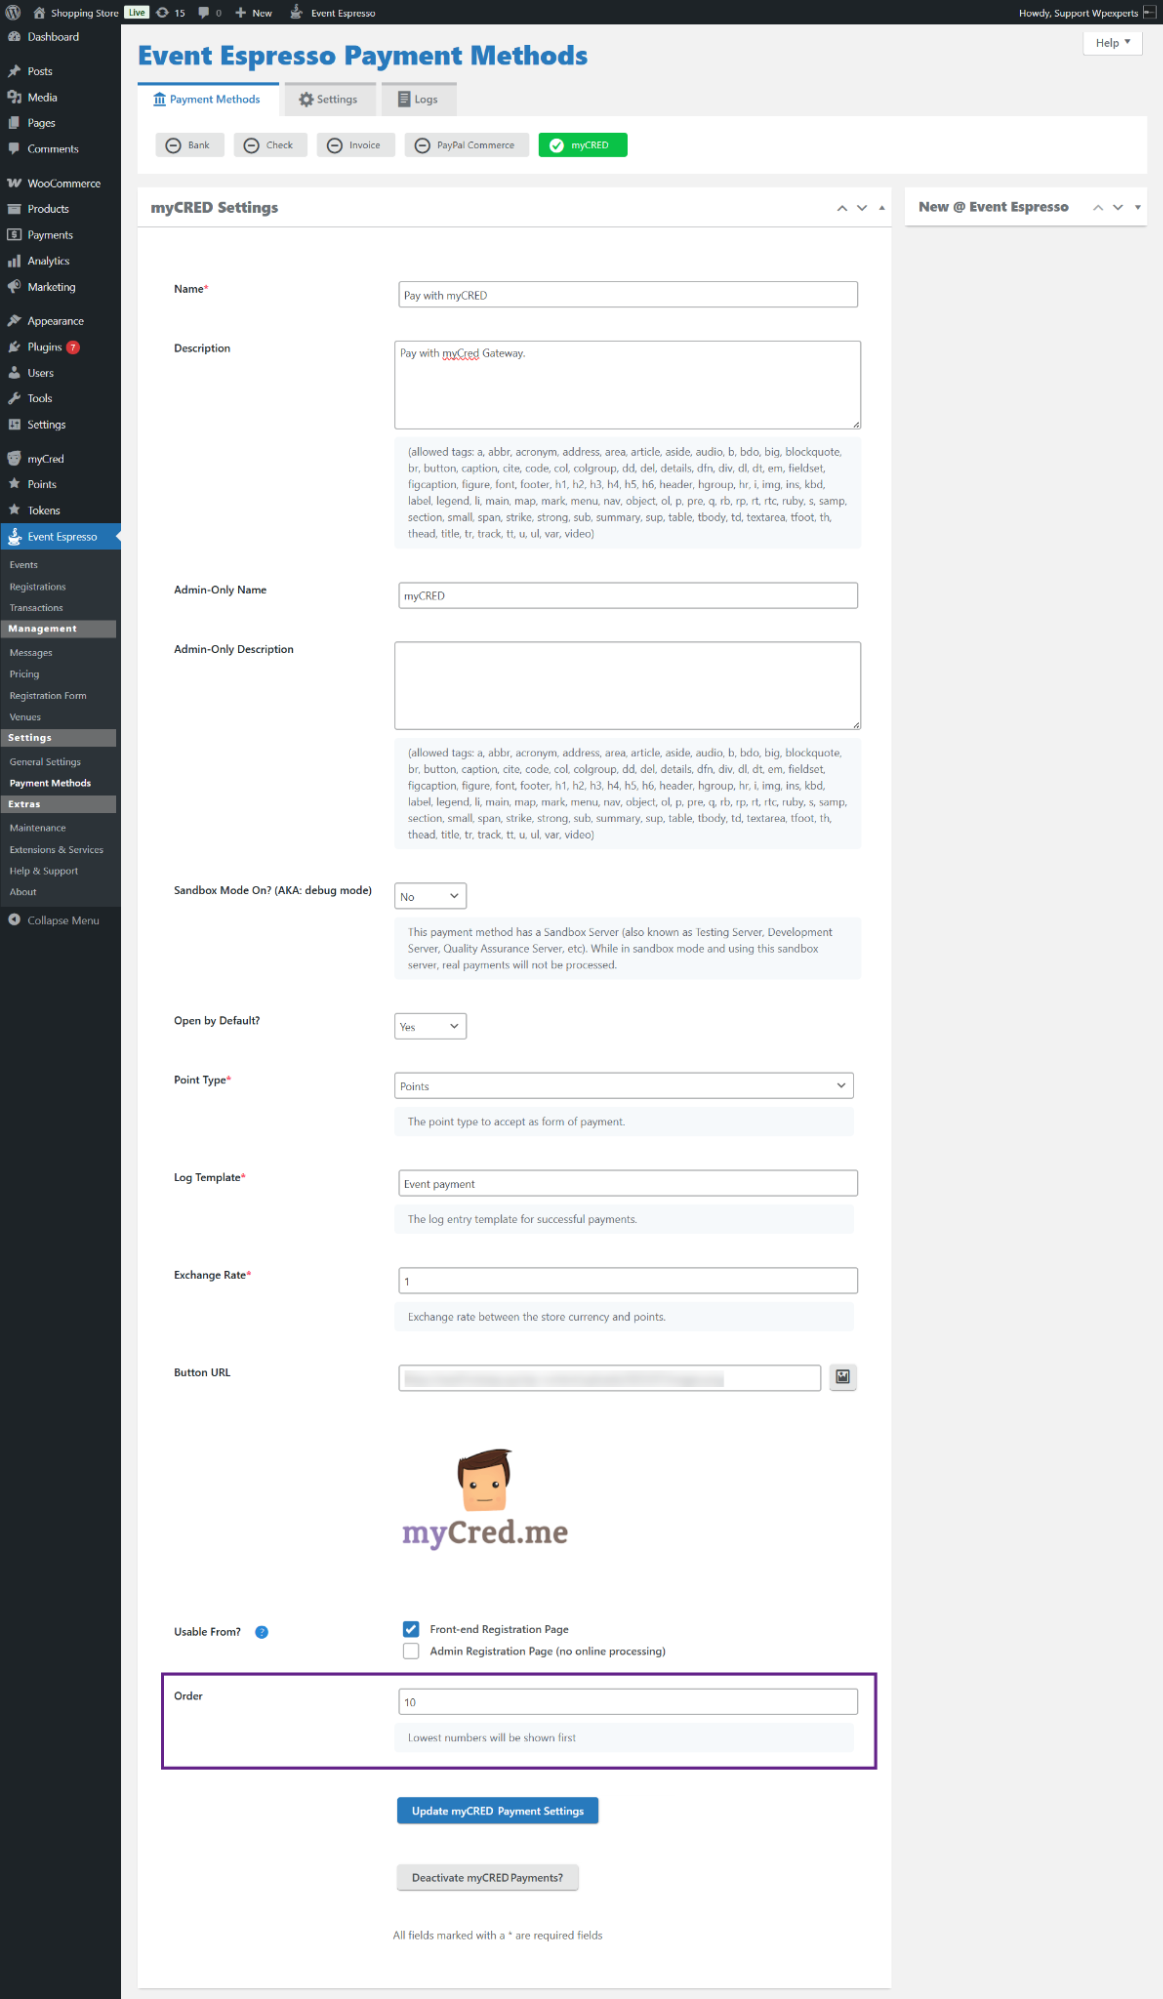
- Finally, set the order number.
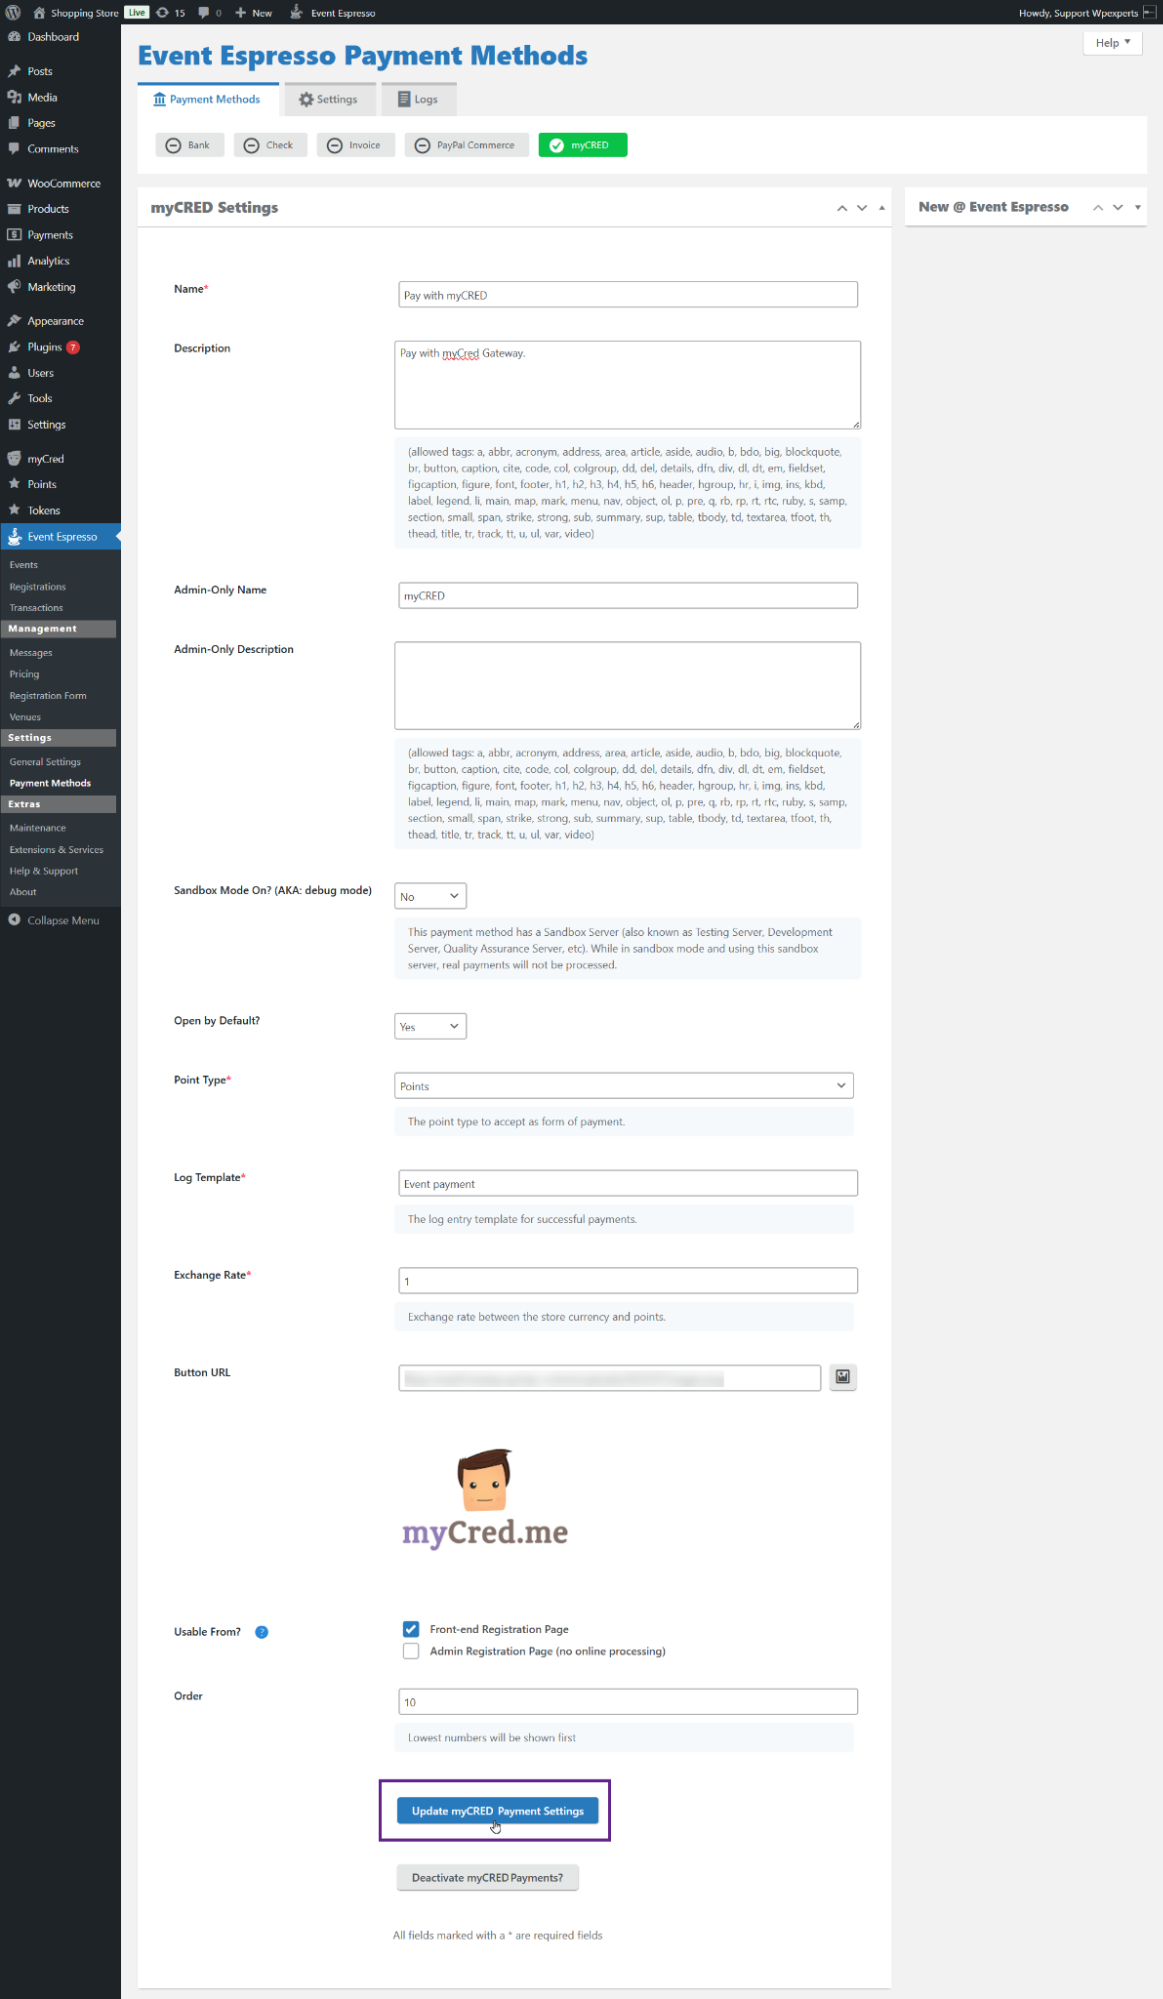
- Once done, click the Update myCred Payment Settings to save the changes.
Front-End Impact
- As you can see, myCred payment gateway is visible on the front end.
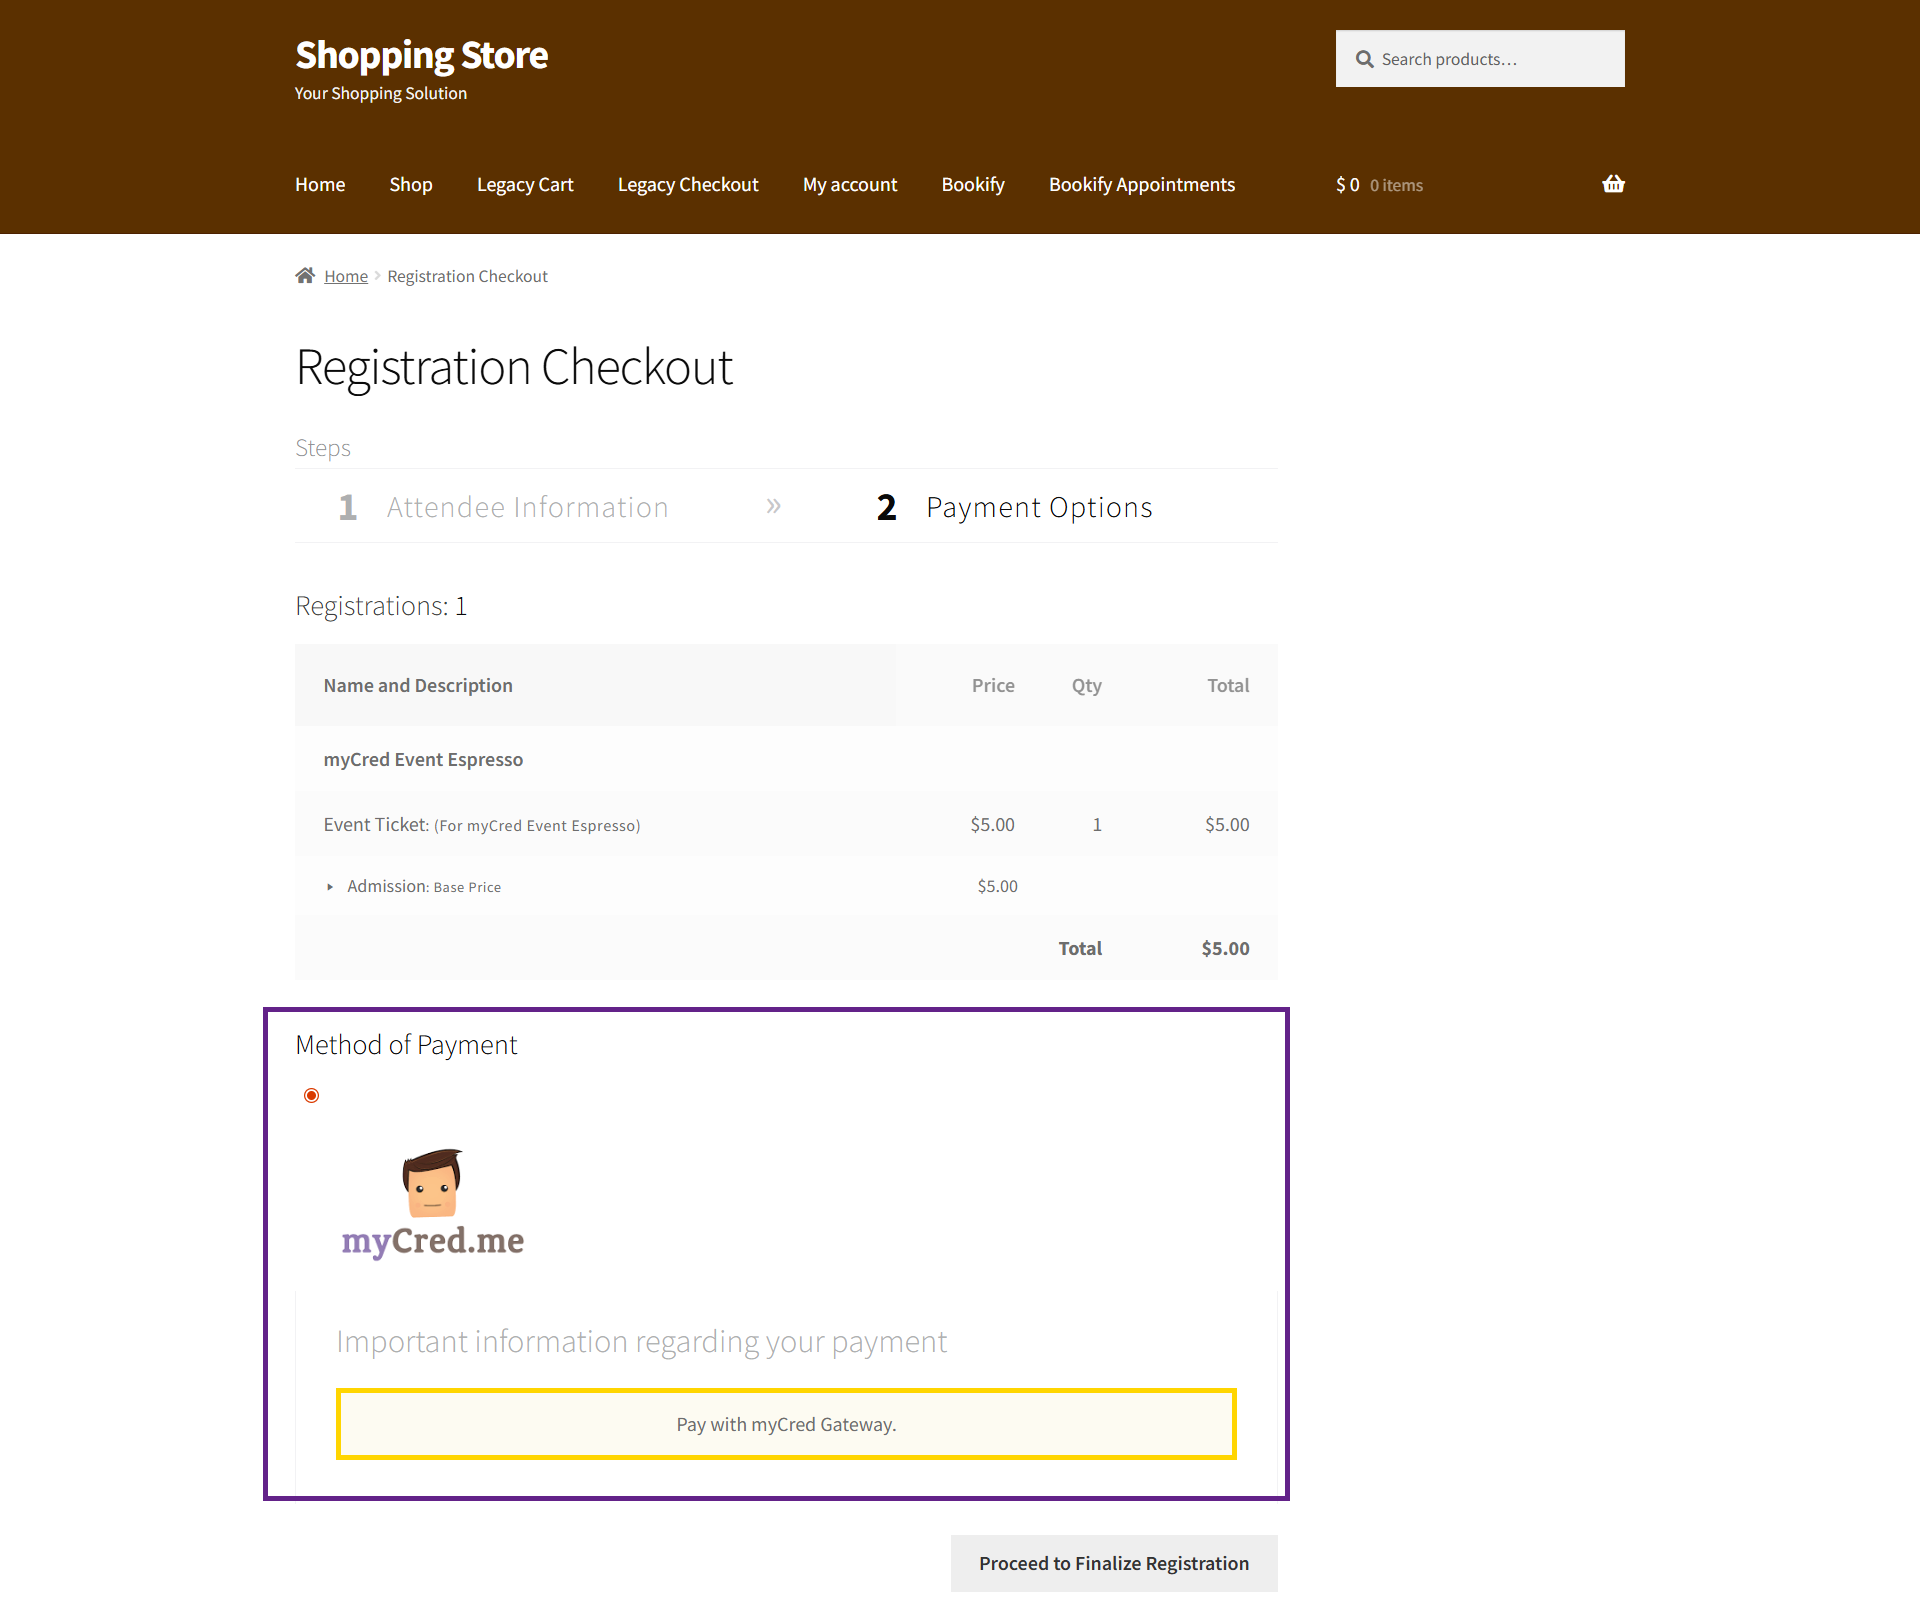
- Click the Proceed to Finalize Registration button to complete your order using the mycred payment gateway.

- Once clicked, your order will be placed.
