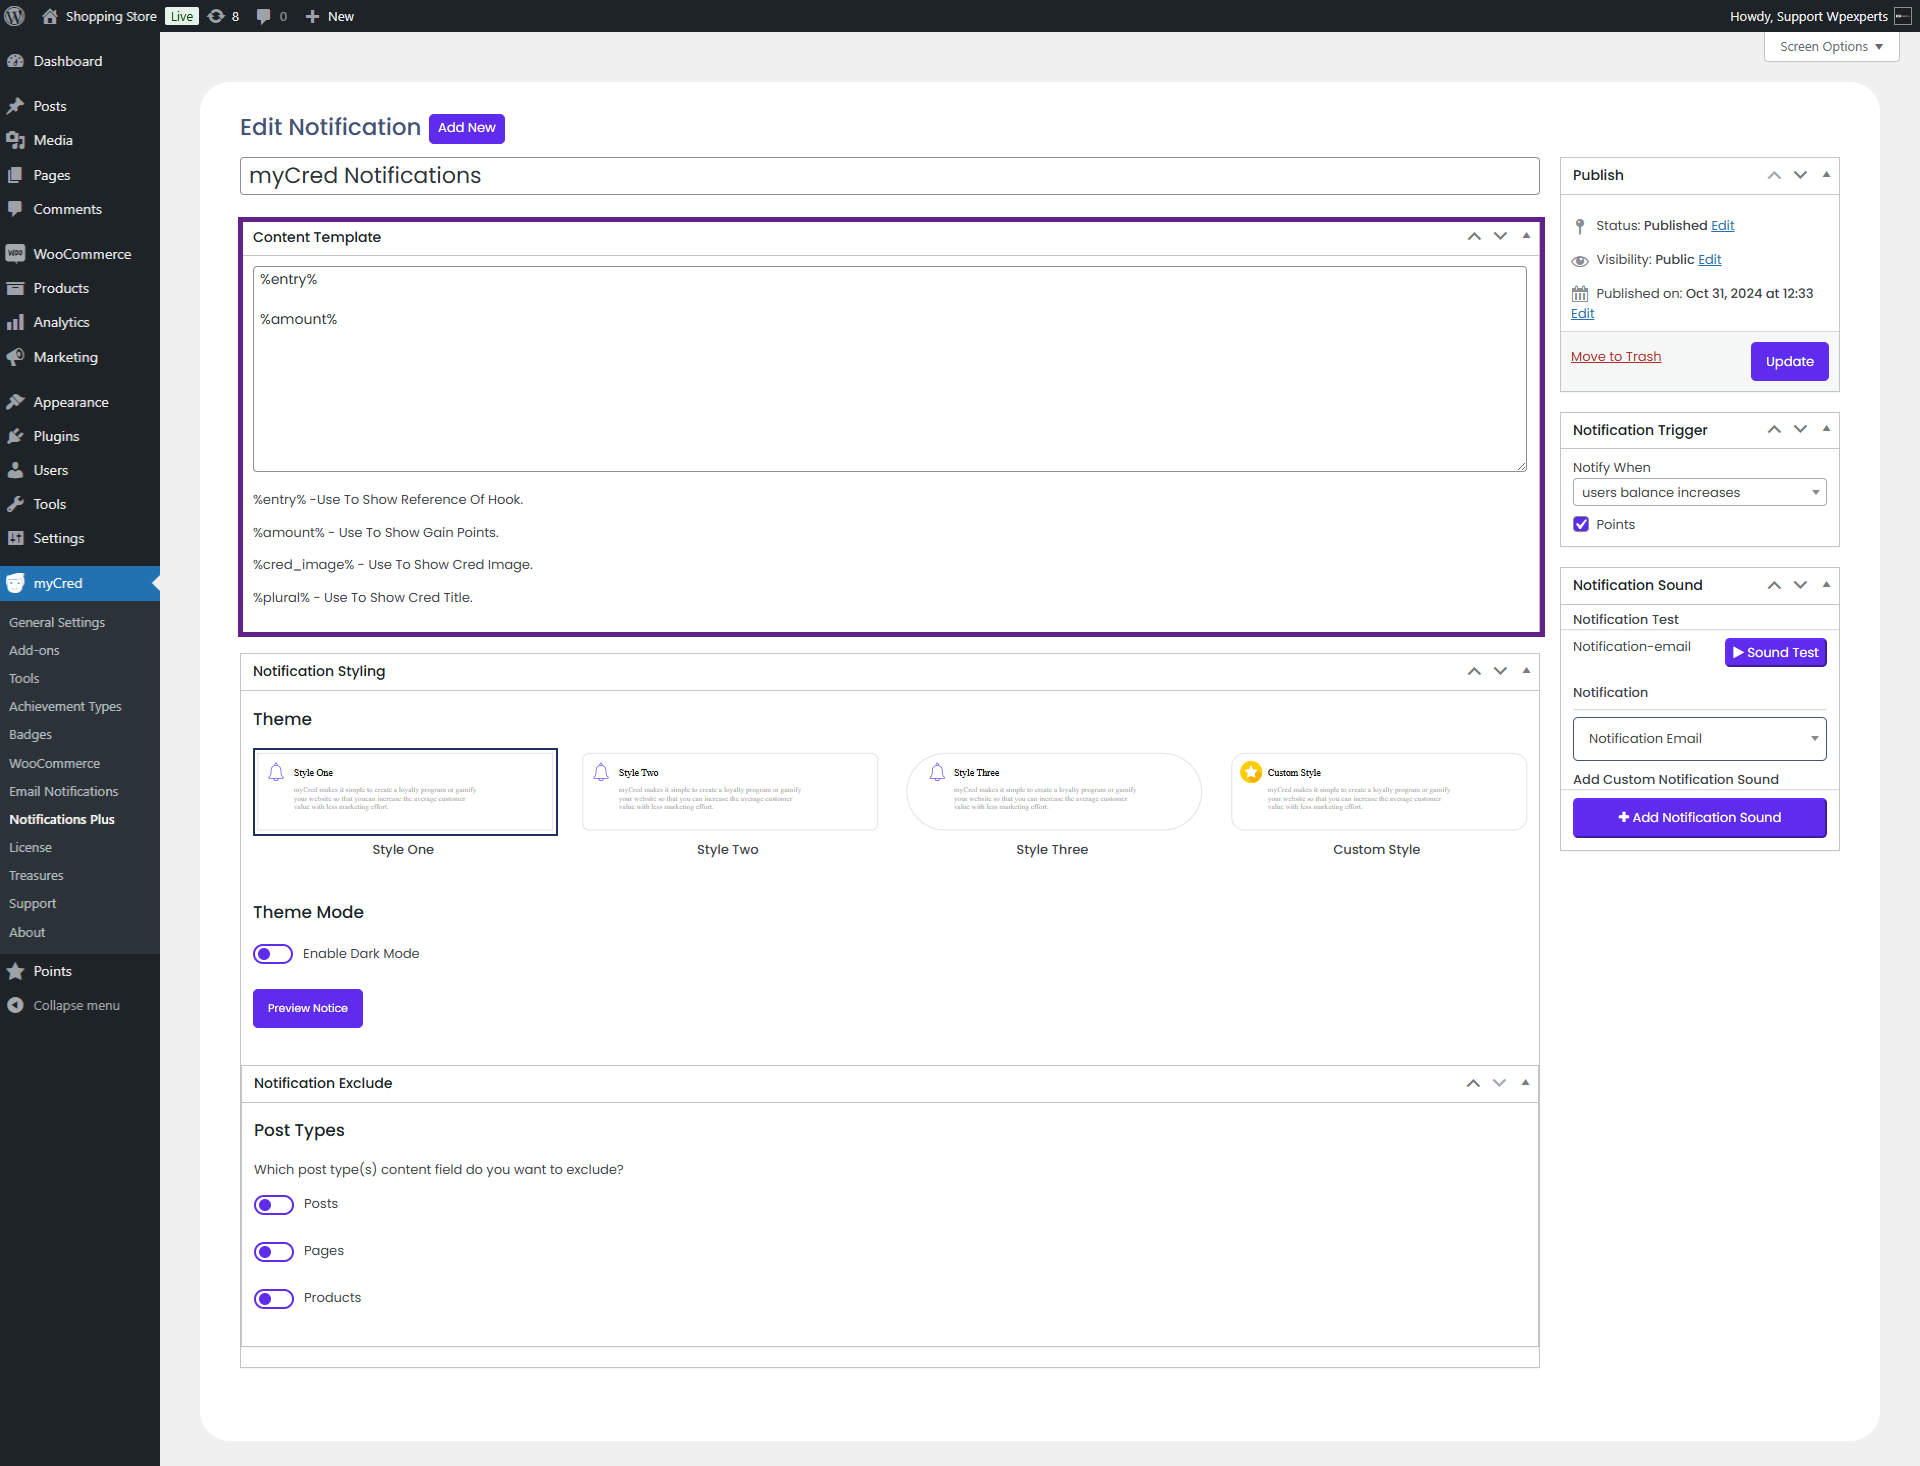
The admin can customize notifications with personalized styling and design options.
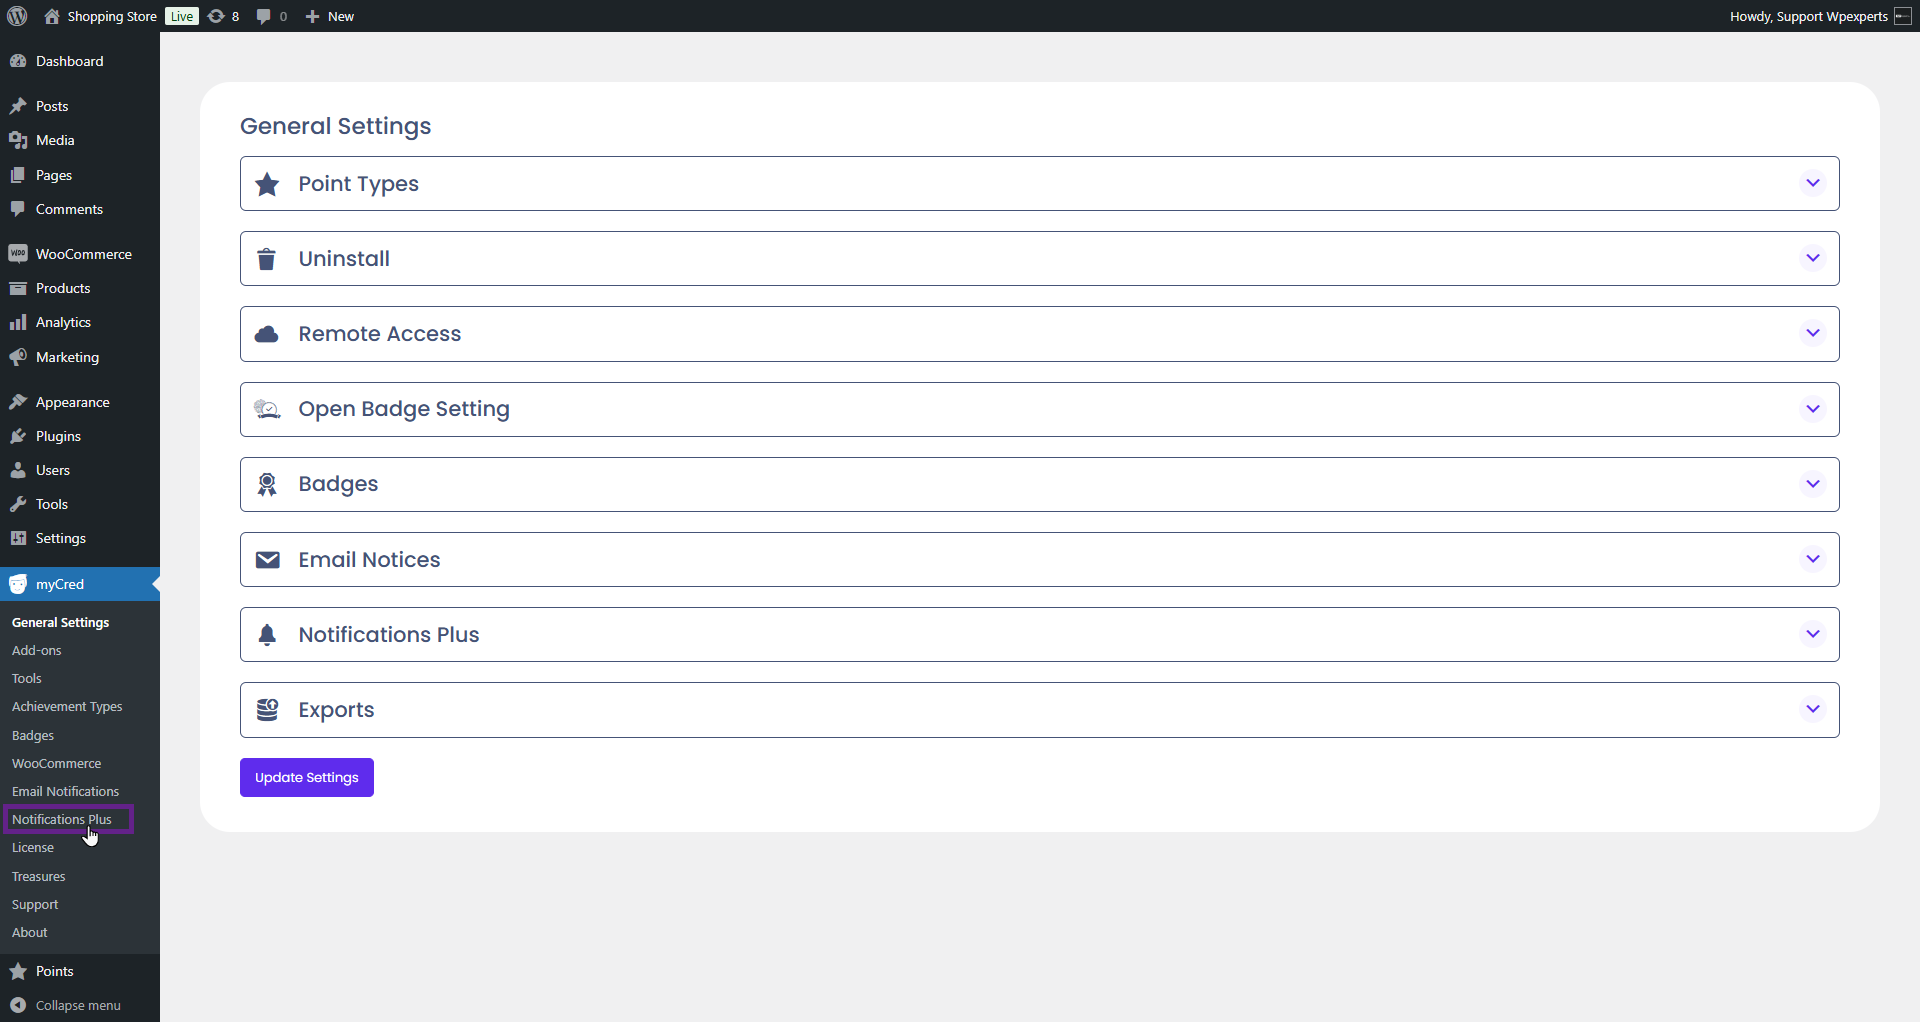
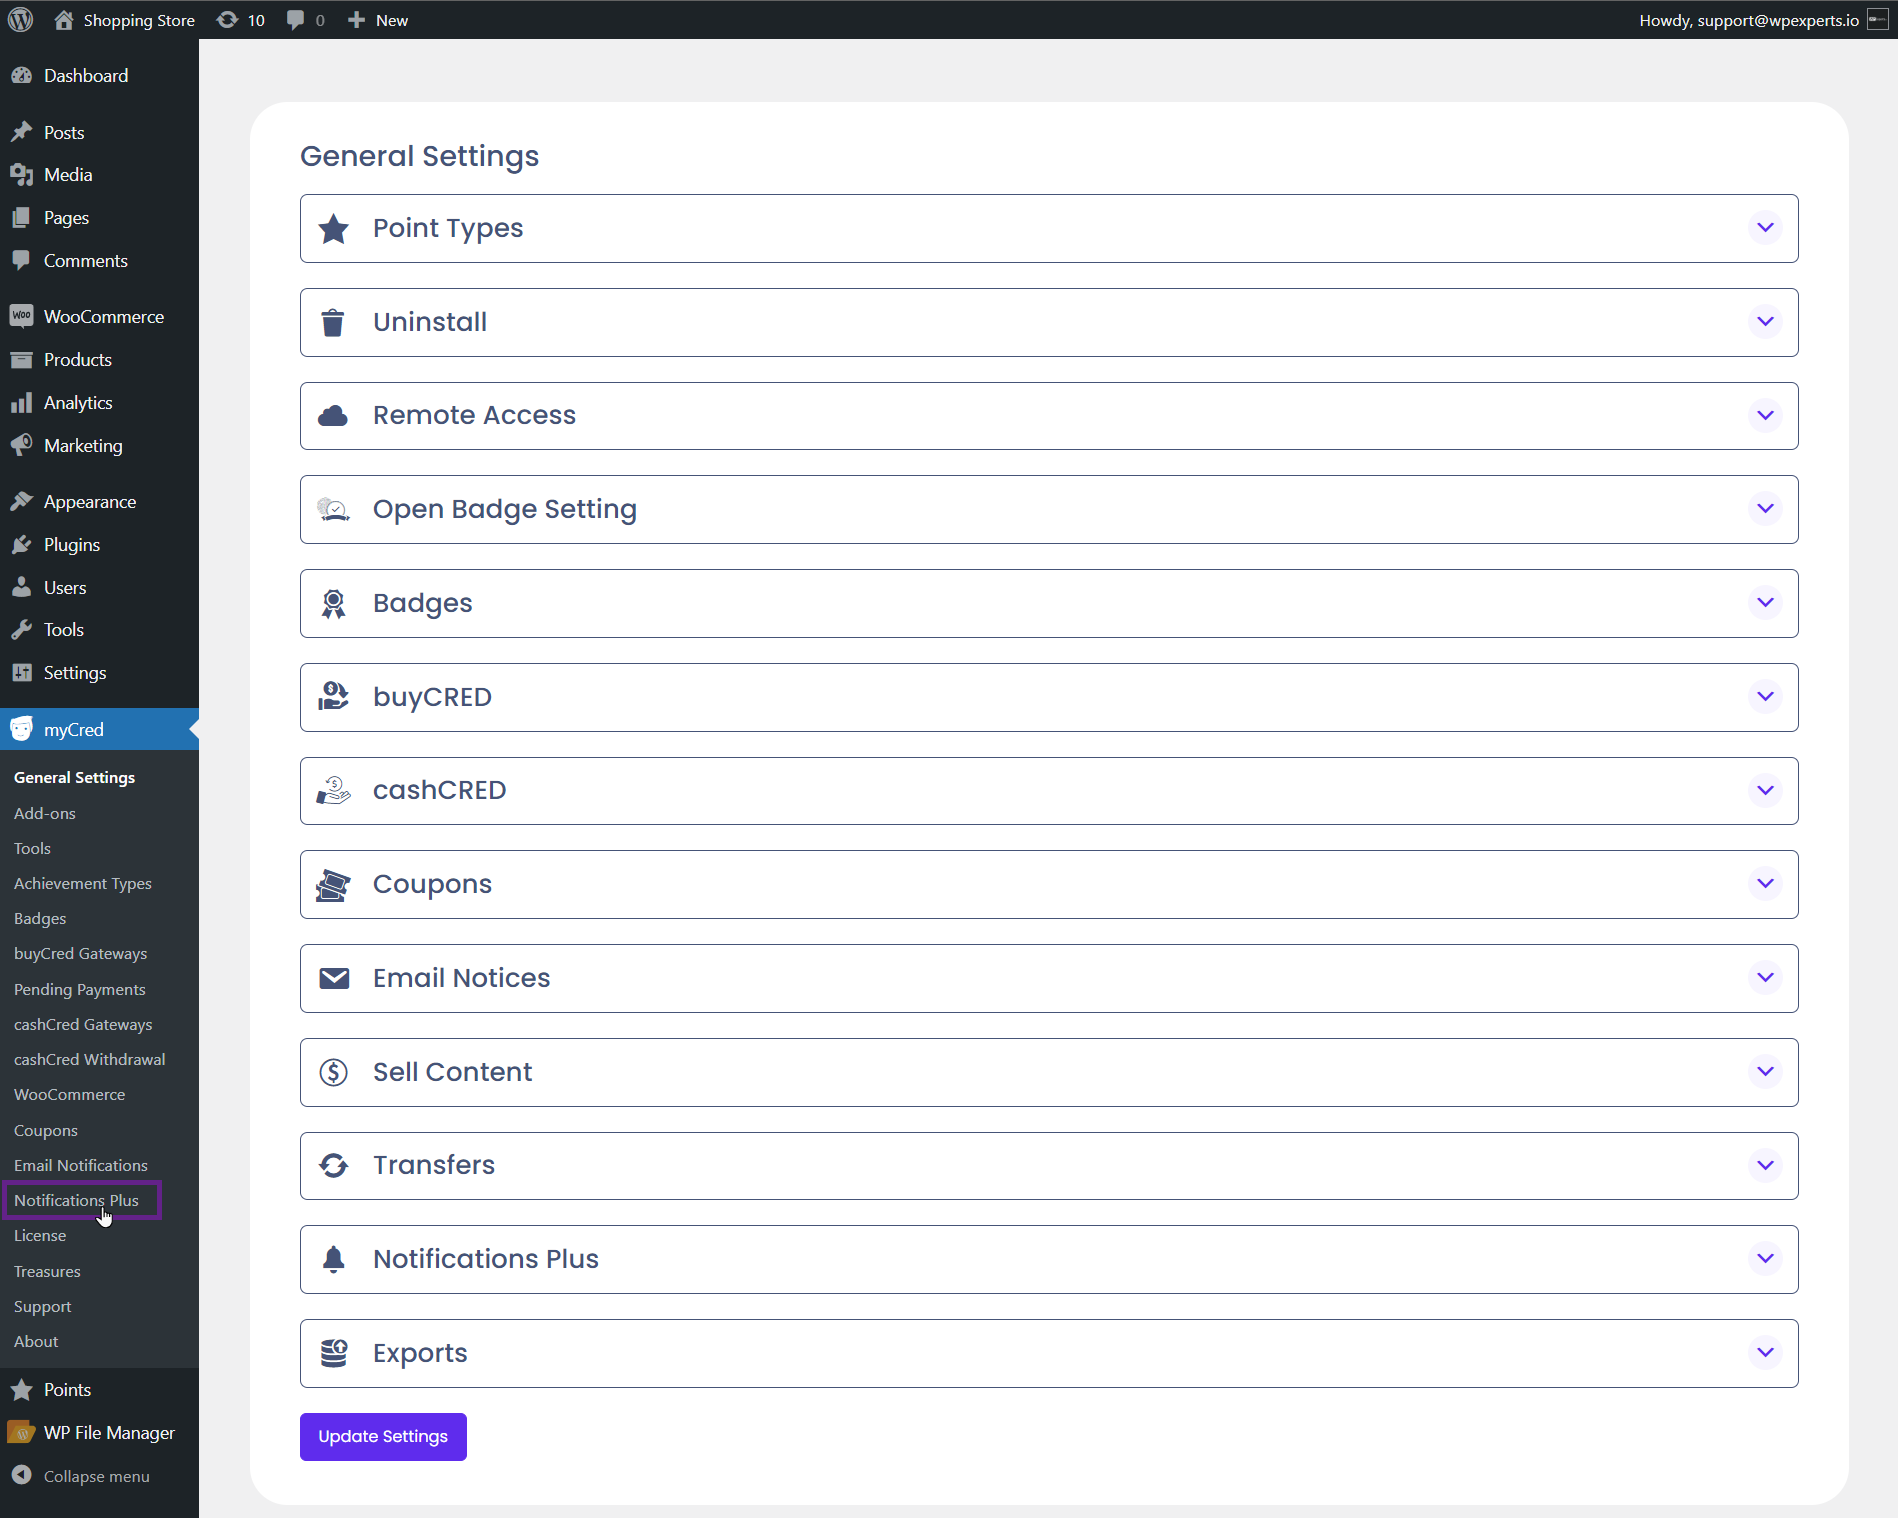
Go to Admin Dashboard > myCred > Notifications Plus
Click the Add New button.
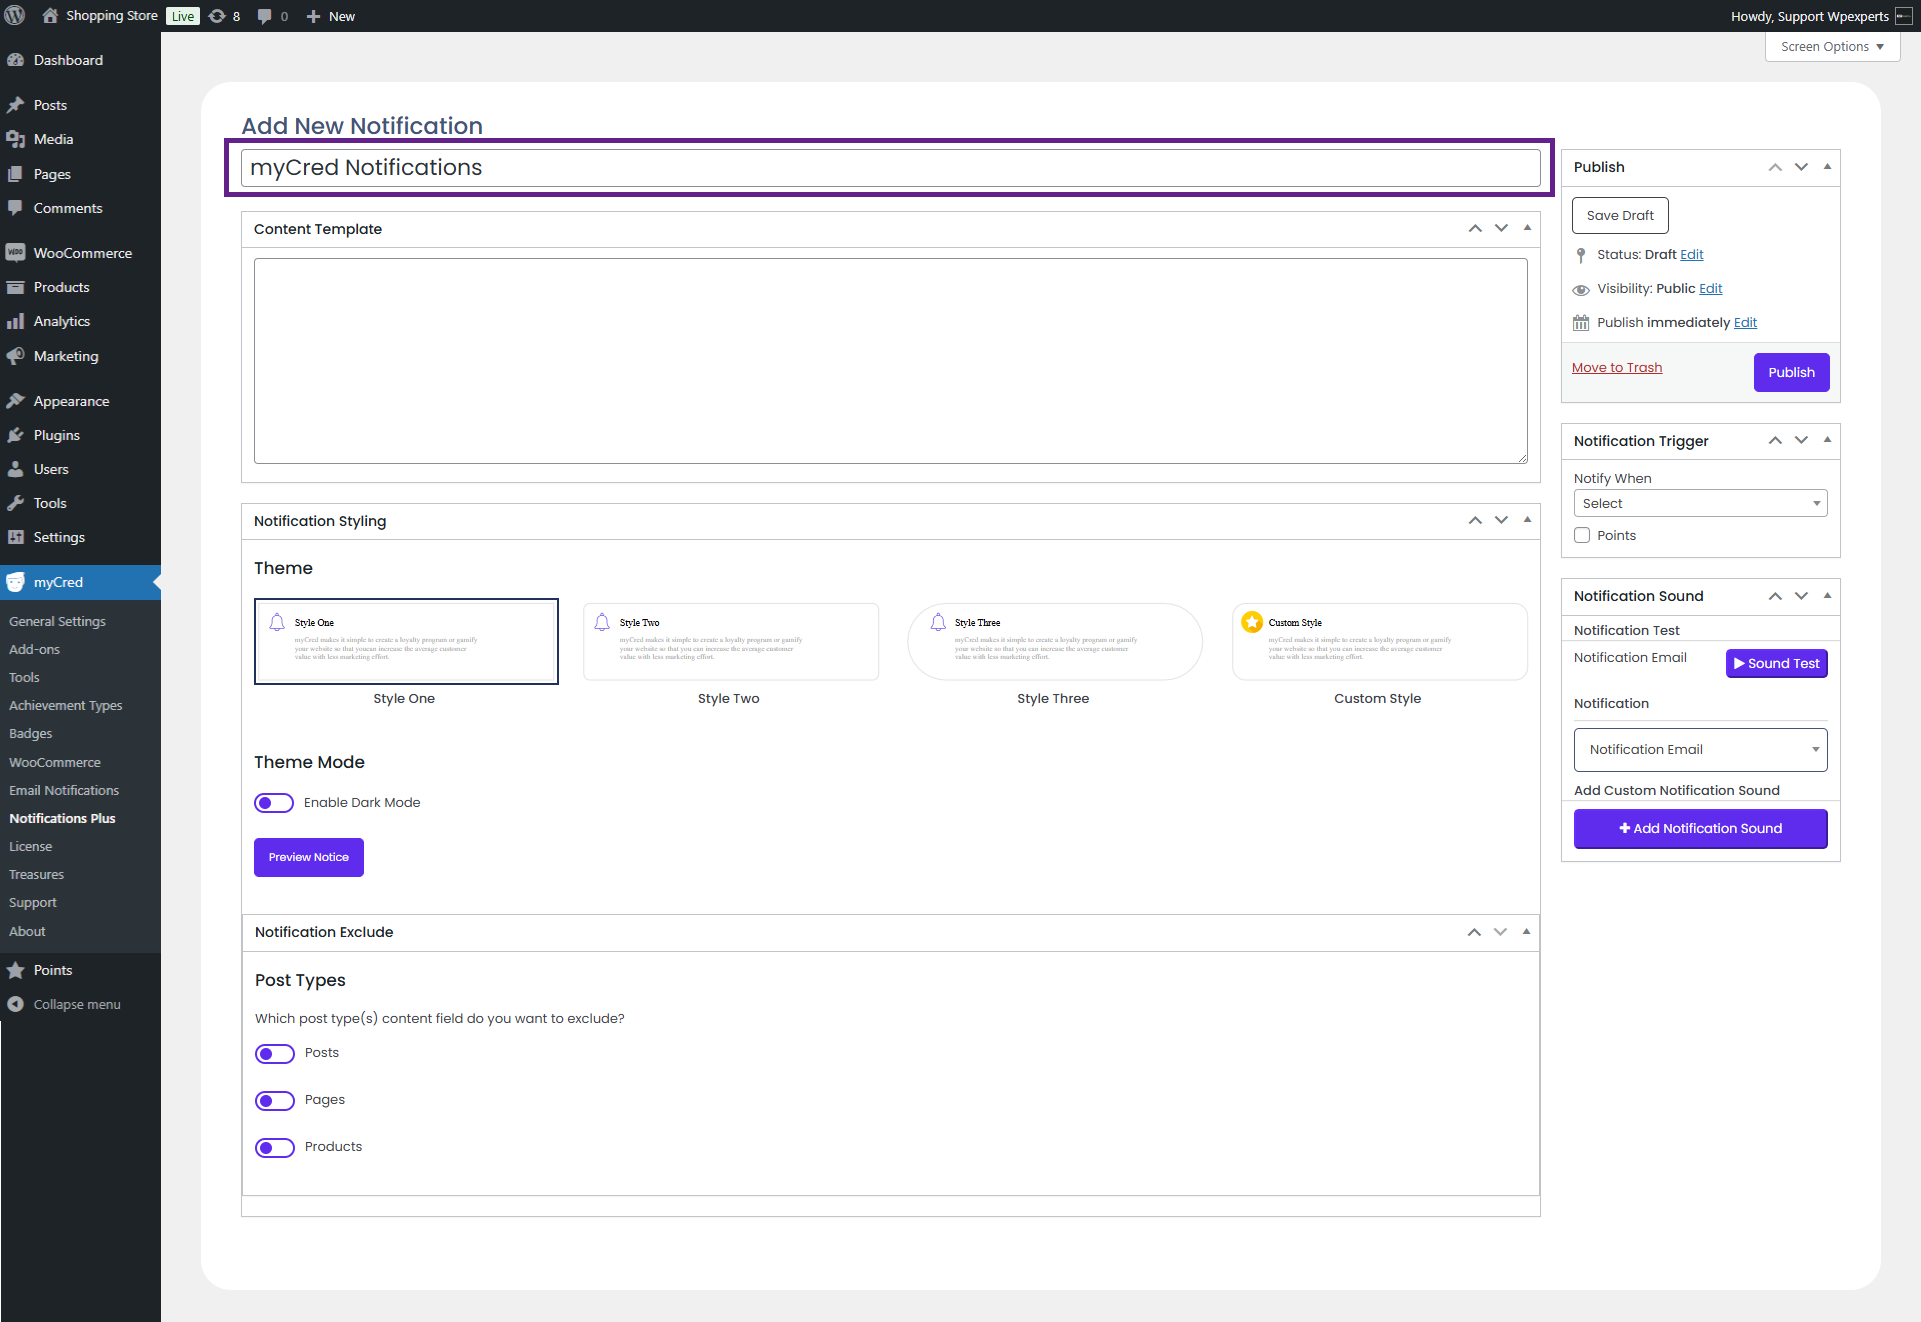
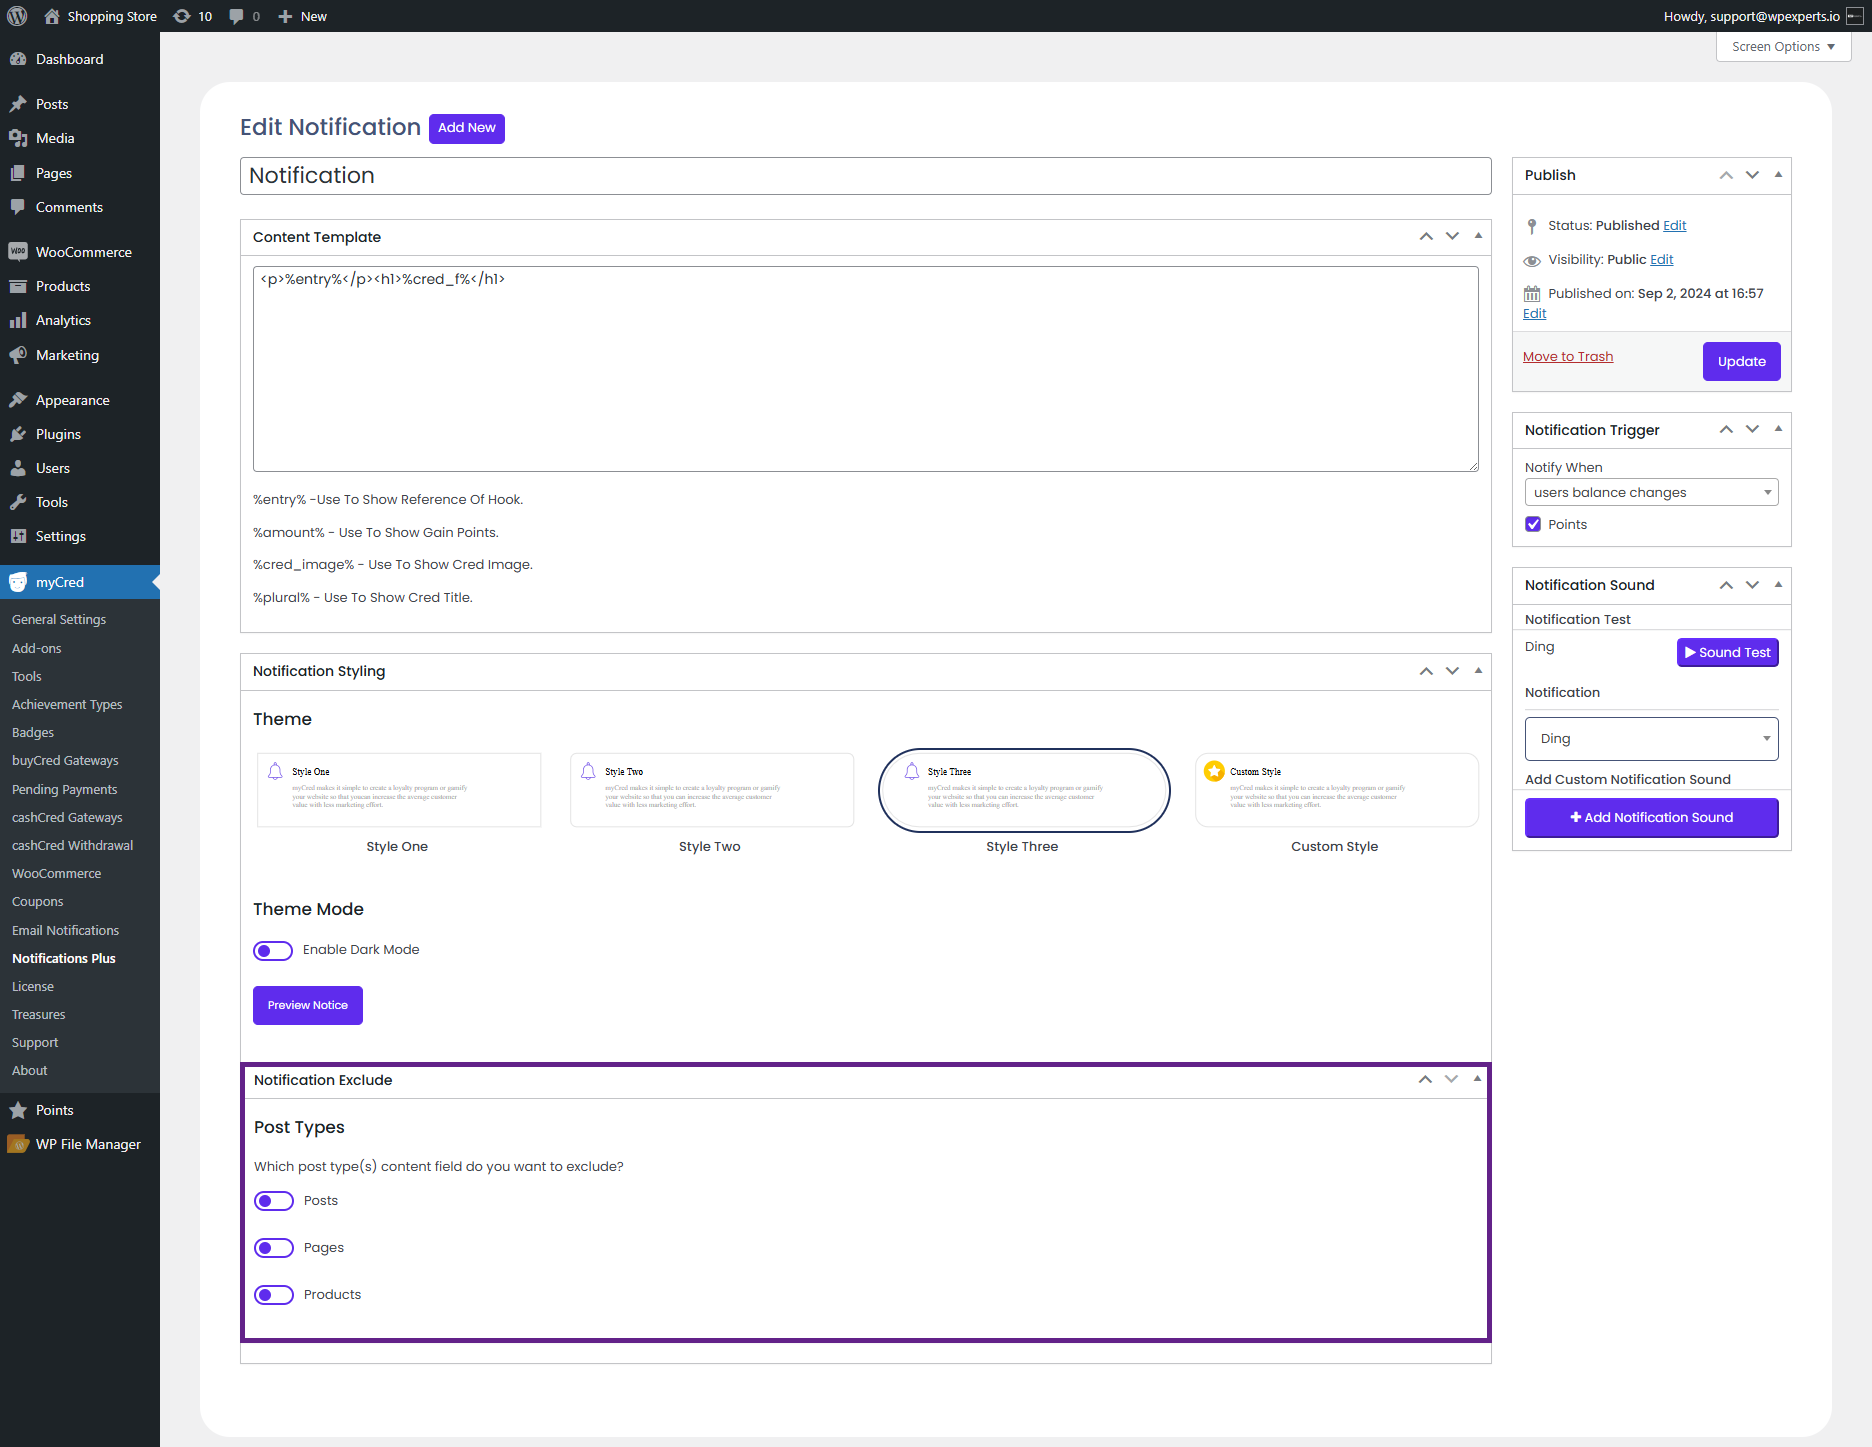
Enter a title for your notification.
Notification Trigger
The notification trigger feature allows the admin to notify users when a specific event occurs. The admin can also create custom events for notifications.
The following events trigger a popup notification on the frontend:
User’s Balance Changes: A notification appears when the user’s balance either increases or decreases.
User’s Balance Increases: A notification appears when the user’s balance increases.
User’s Balance Decreases: A notification appears when the user’s balance decreases.
User Gains a Badge: A notification appears when the user earns a badge.
User is Promoted to a Higher Rank: A notification appears when the user is promoted to a higher rank.
User is Demoted to a Lower Rank: A notification appears when the user is demoted to a lower rank.
Admin Manually Assigns a Rank: A notification appears when a rank is manually assigned to the user by the admin.
A Custom Event Occurs: A notification appears when the user completes a myCred reference-based event, such as visiting the website or logging in.
Backend Settings
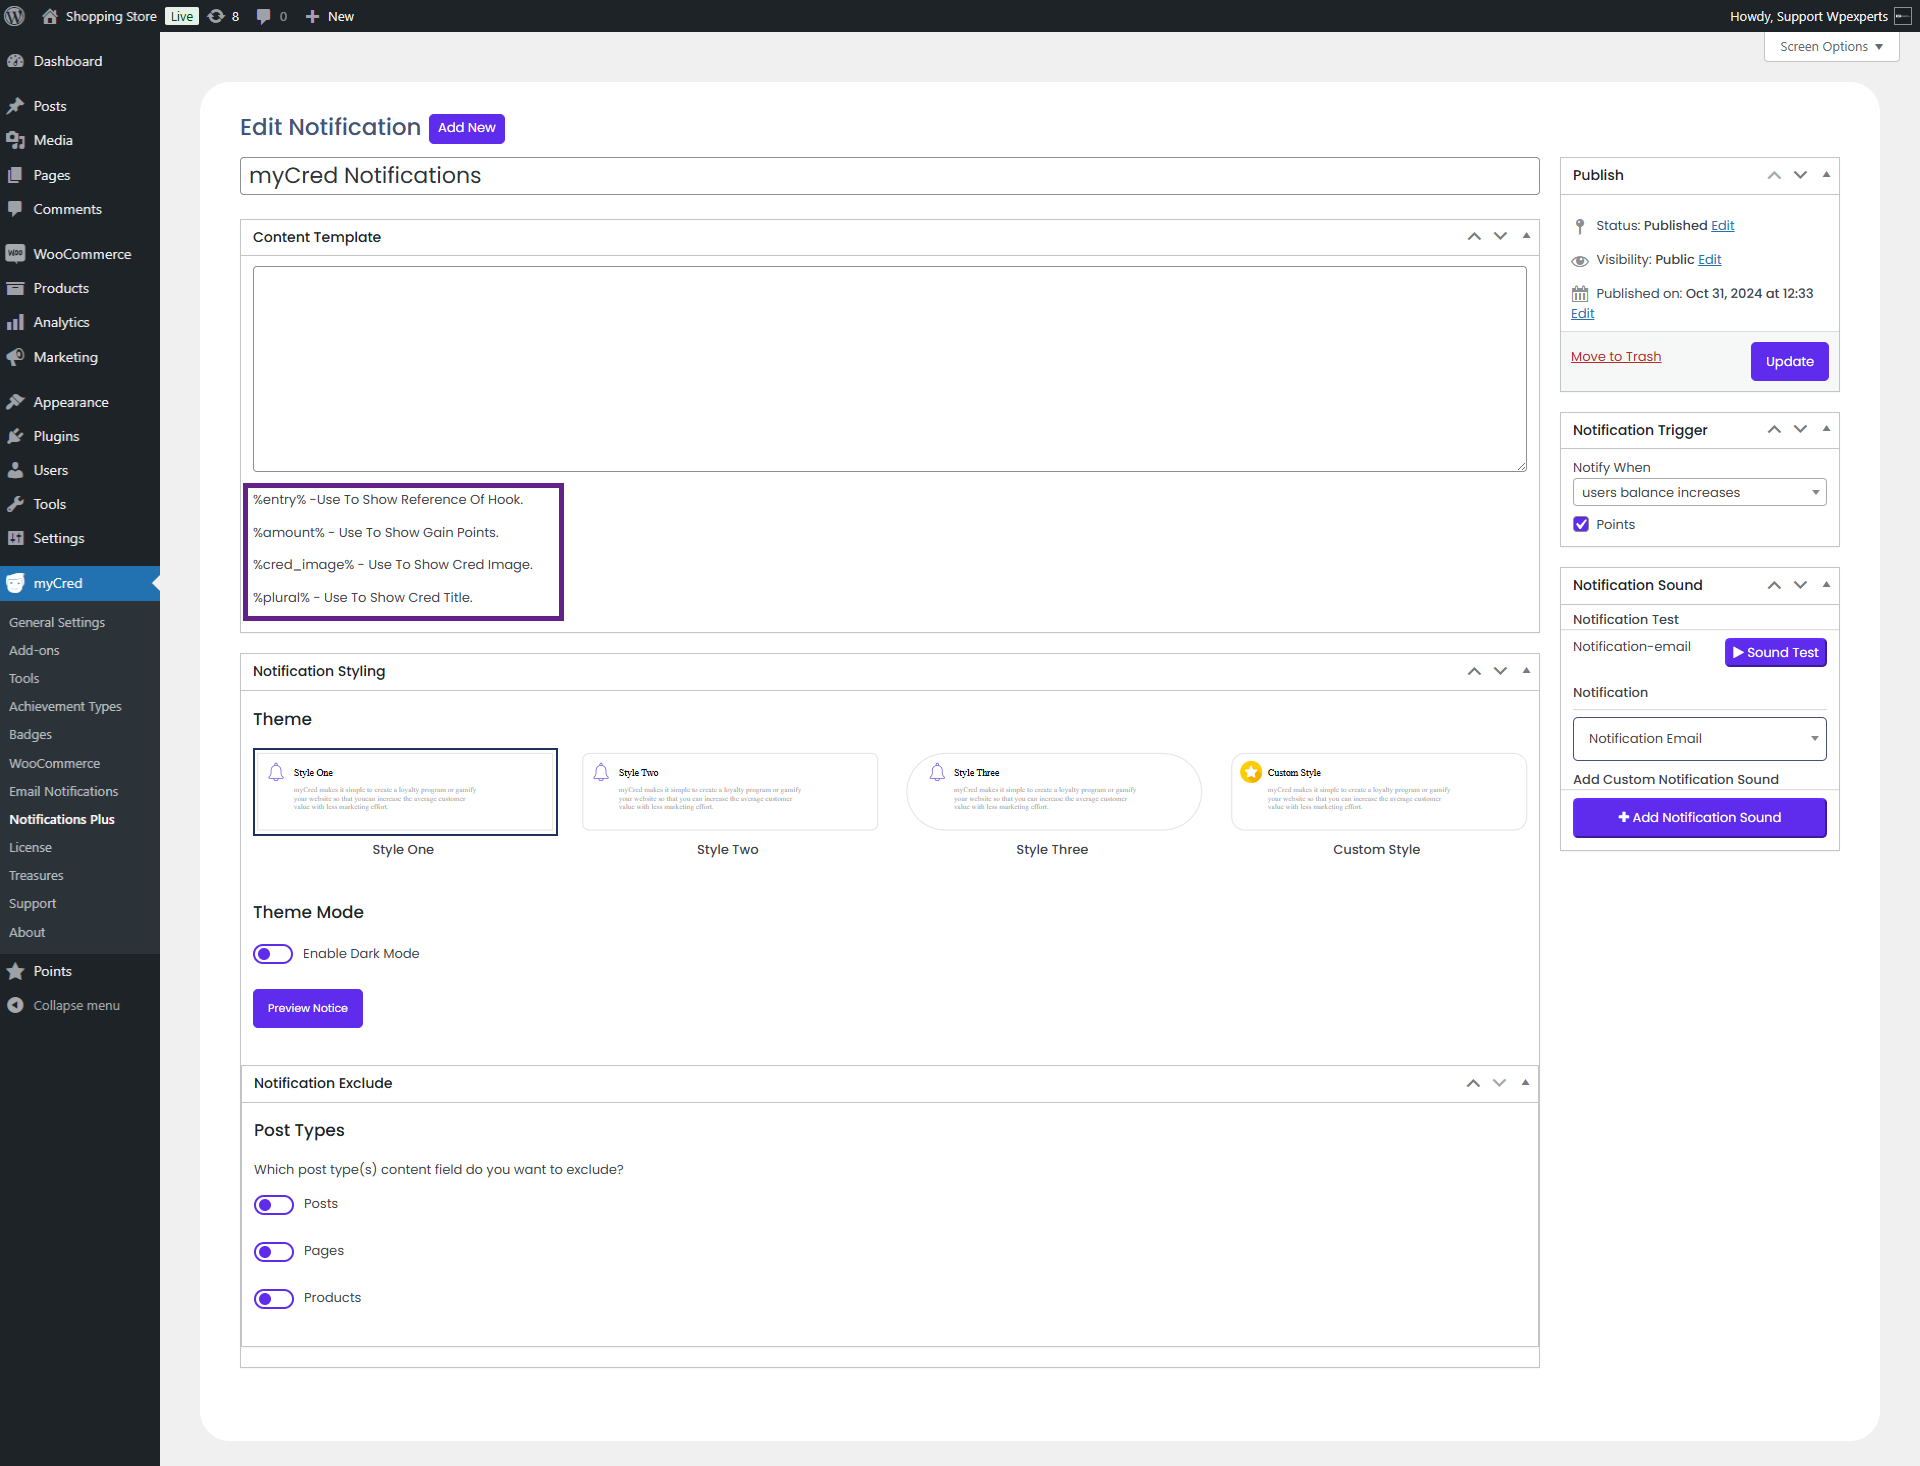
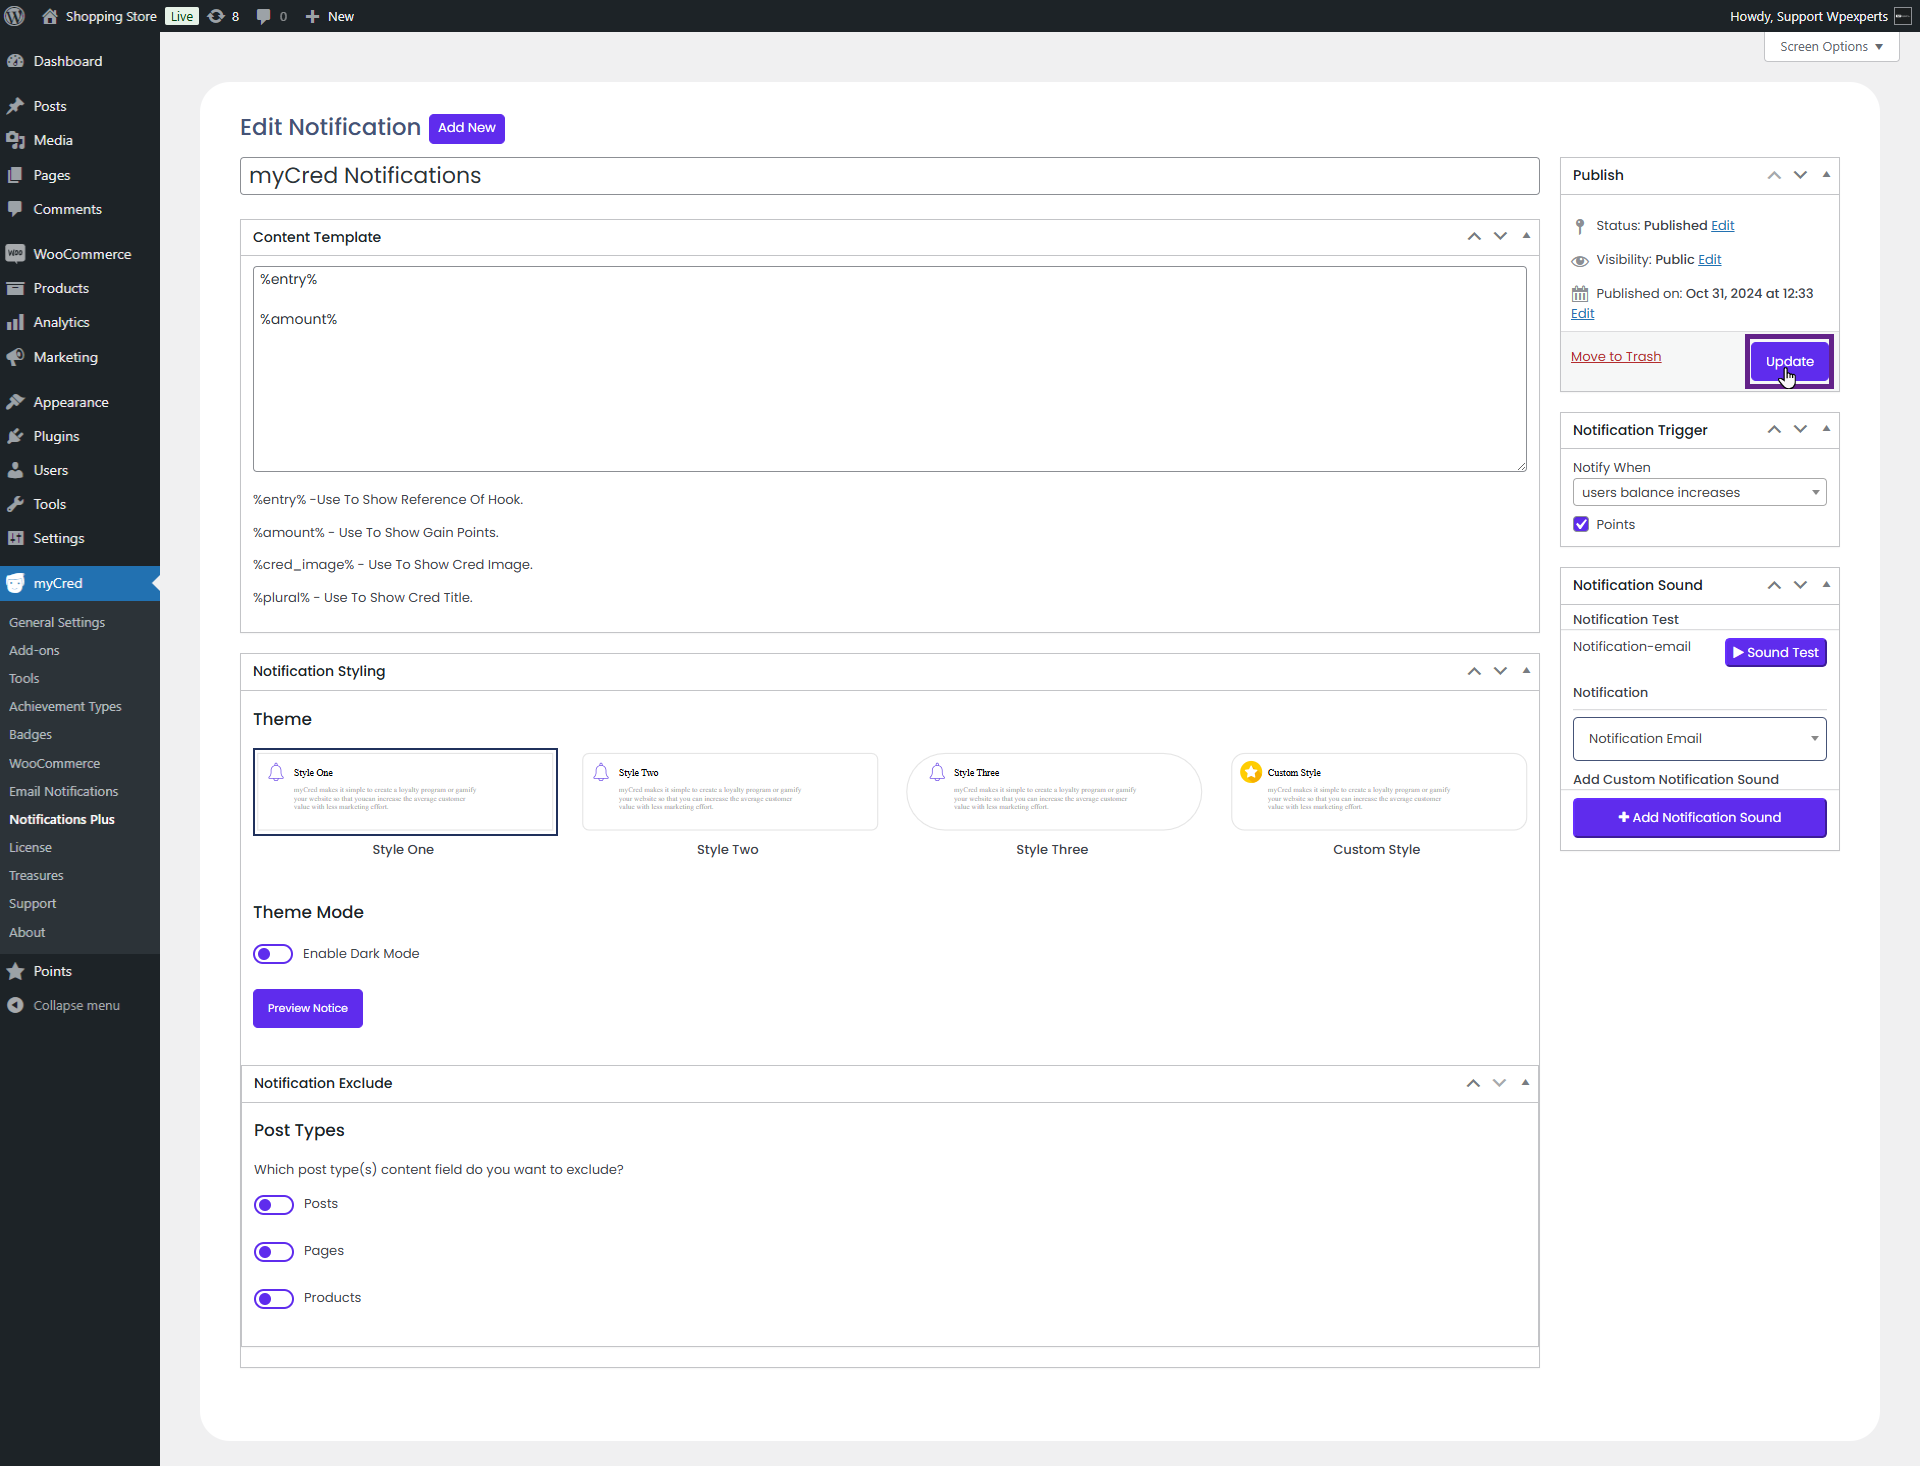
Choose the event from the Notification Trigger dropdown menu along with the point type.
When an event is selected from the dropdown menu, different template tags will appear for the corresponding events.
Add the desired templates in the Content Template section.
Click the Update button.
Frontend Impact
Note: In our case, we have activated points for each order hook in the backend. A notification popup will appear when an order is placed as the user’s balance increases.
Go to the website.
Place an order. Once completed, a notification will appear on the front end.
Notification Sound
The Notification Sound feature lets the admin alert users with sound effects when they receive notifications. Various sound effects are available in the notification dropdown menu.
Backend Settings
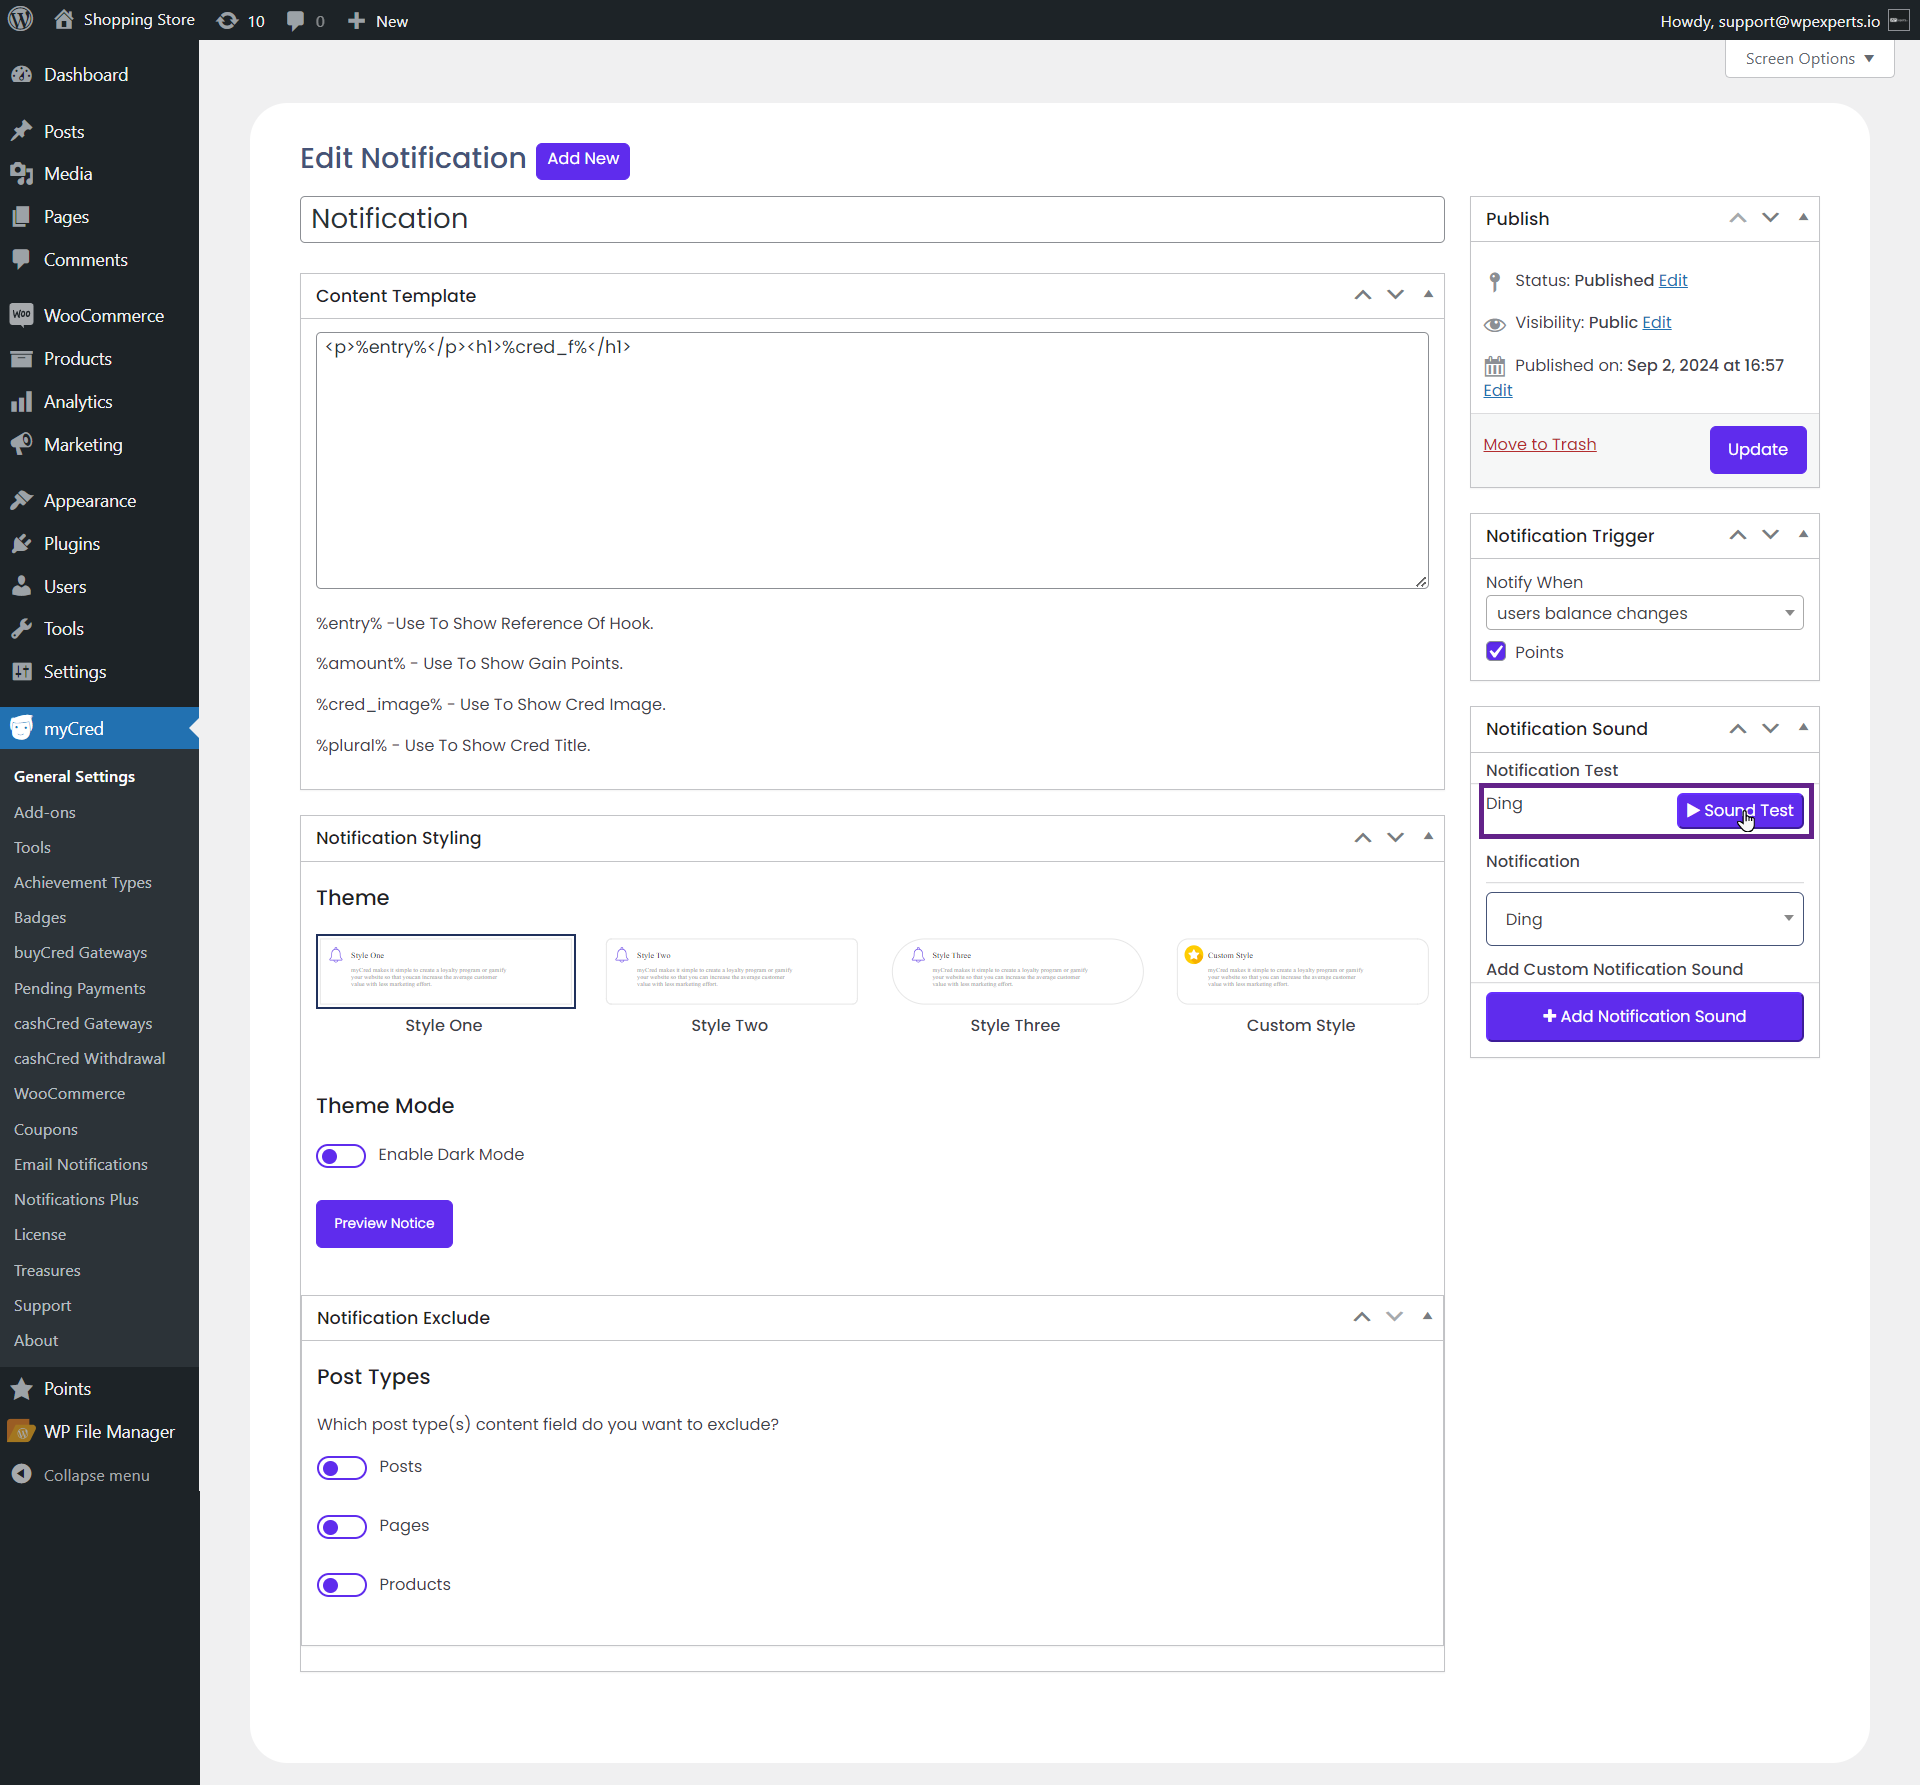
Choose a notification sound effect from the available options.
The admin can preview the sound before finalizing their choice of notification sound.
The admin can also add a custom notification sound.
Notification Styling
The admin can change the styling of the popup notification box or customize them.
Back-End Settings (Styling)
Go to Admin Dashboard > myCred > Notifications Plus.
Add or Edit a notification.
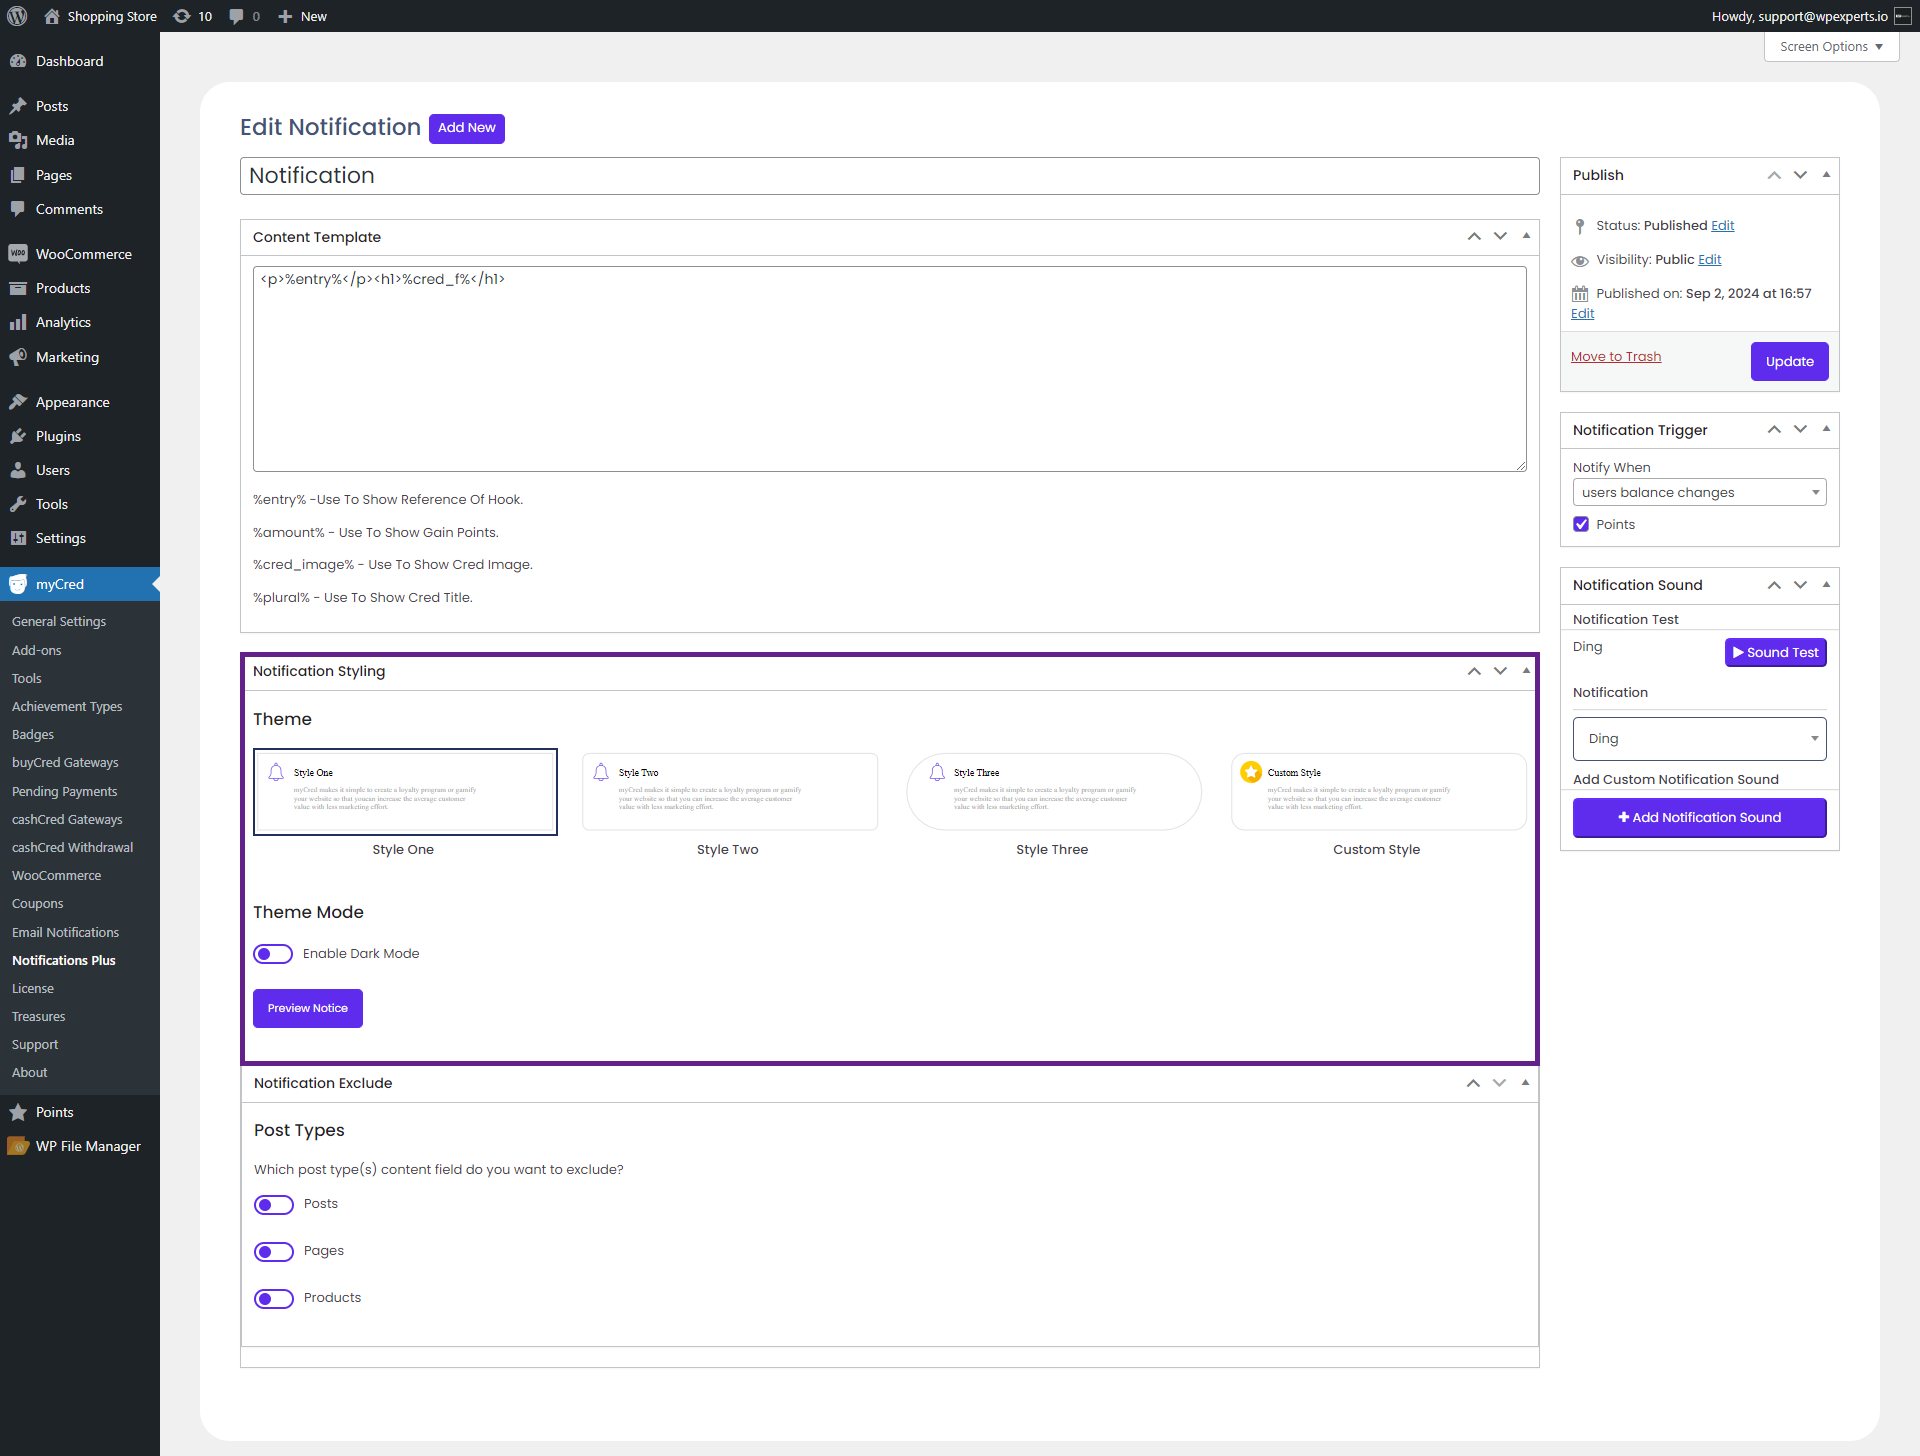
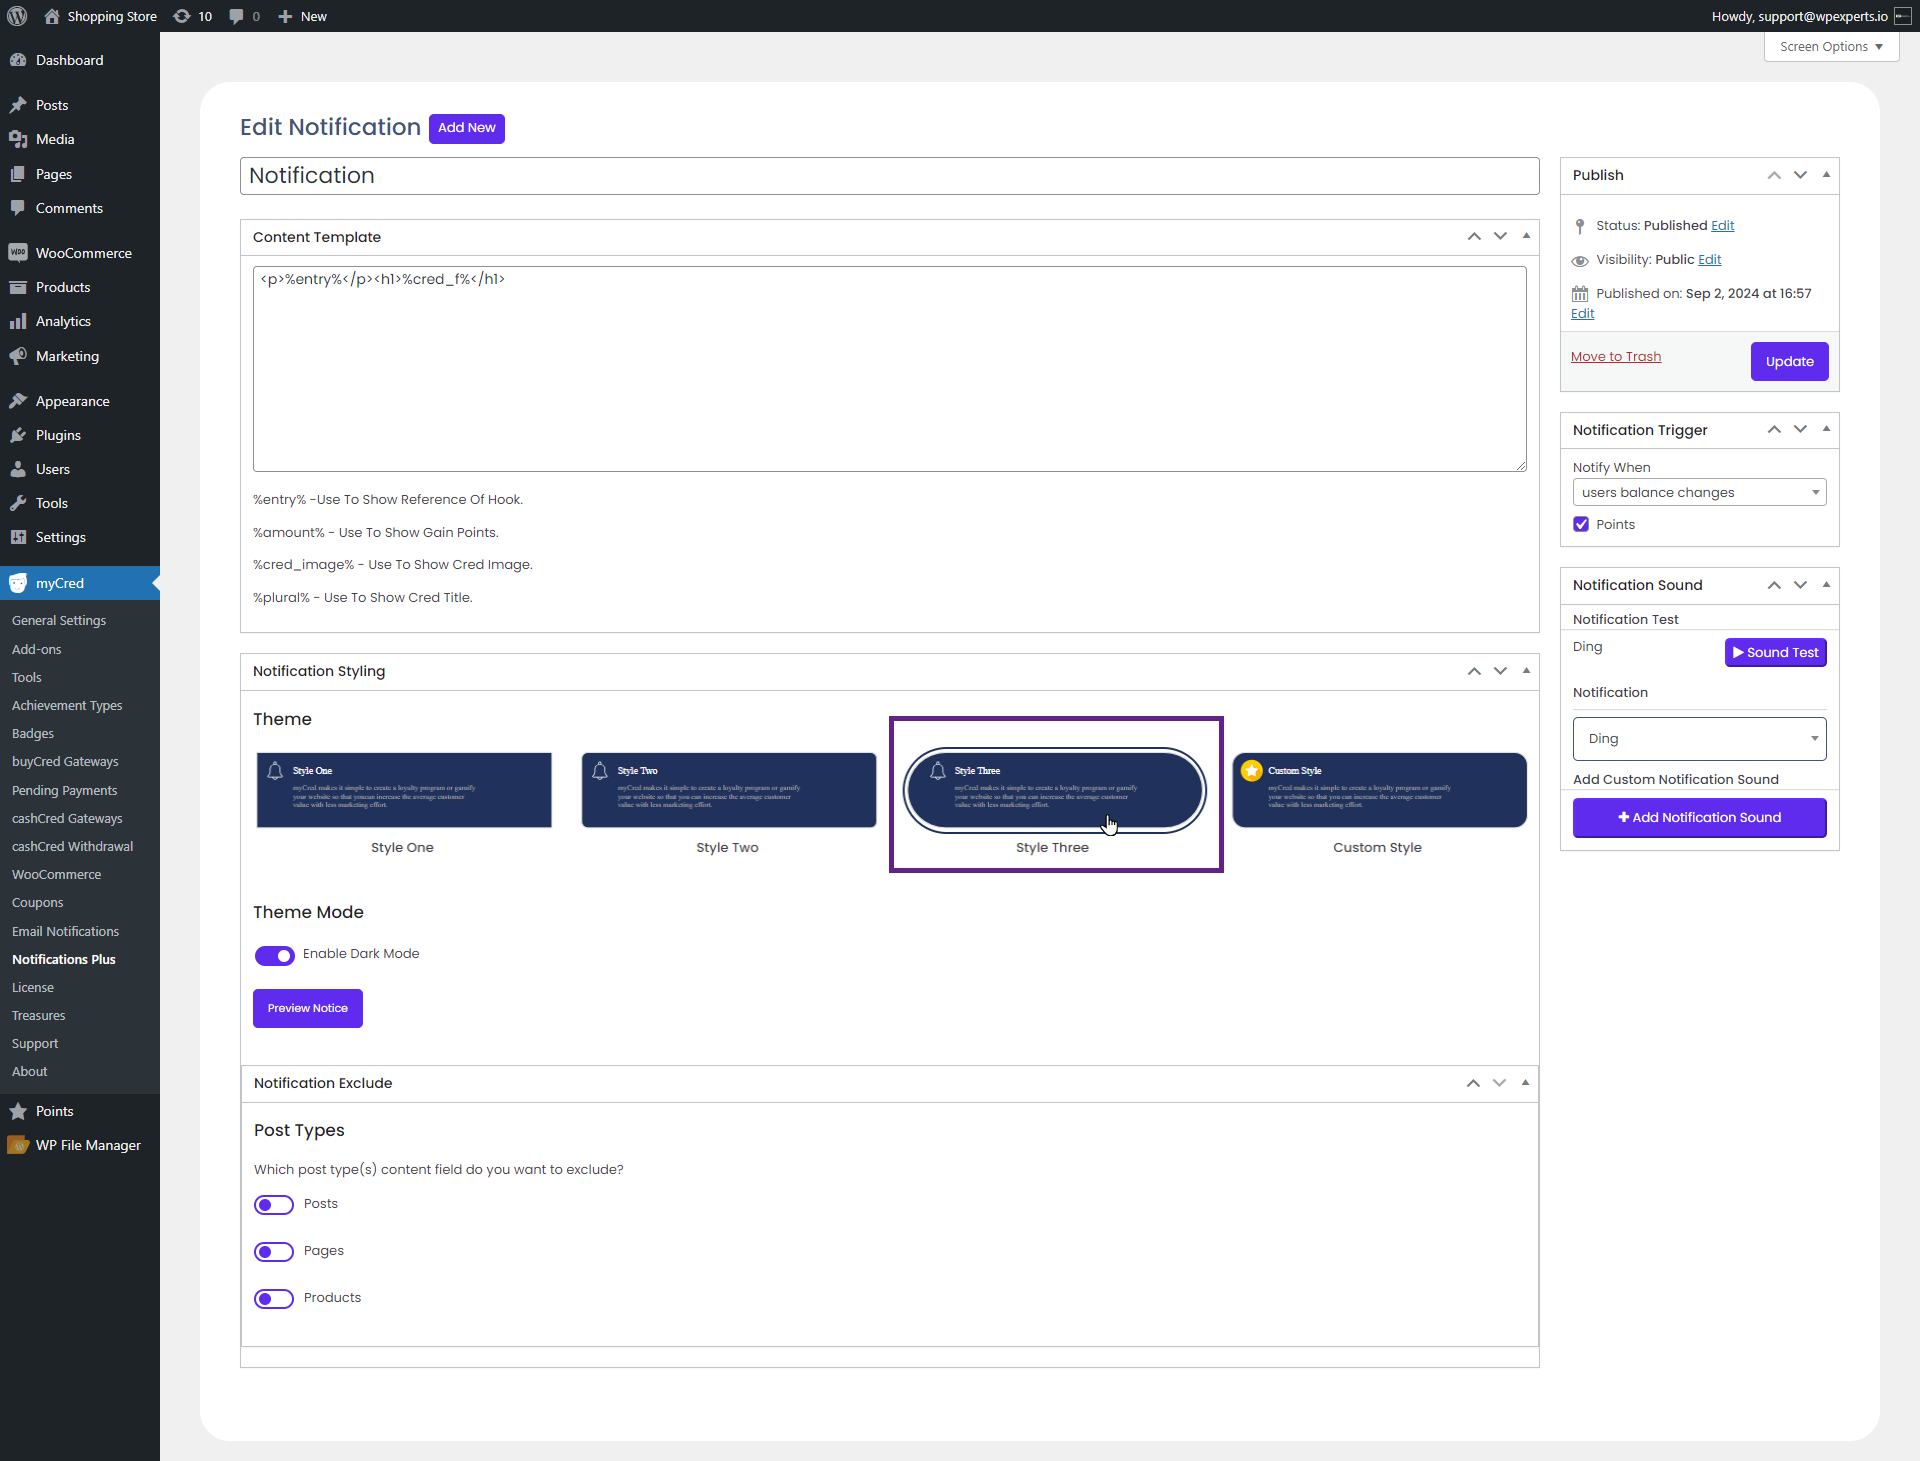
Navigate to the Notification Styling section.
The admin can select any notification style from the available options.
Front-End Impact (Styling)
Note: In our case, we have activated points for each order hook in the backend. When an order is placed, a notification popup will appear.
Go to the website.
Place an order.
After placing an order, a notification popup will appear.
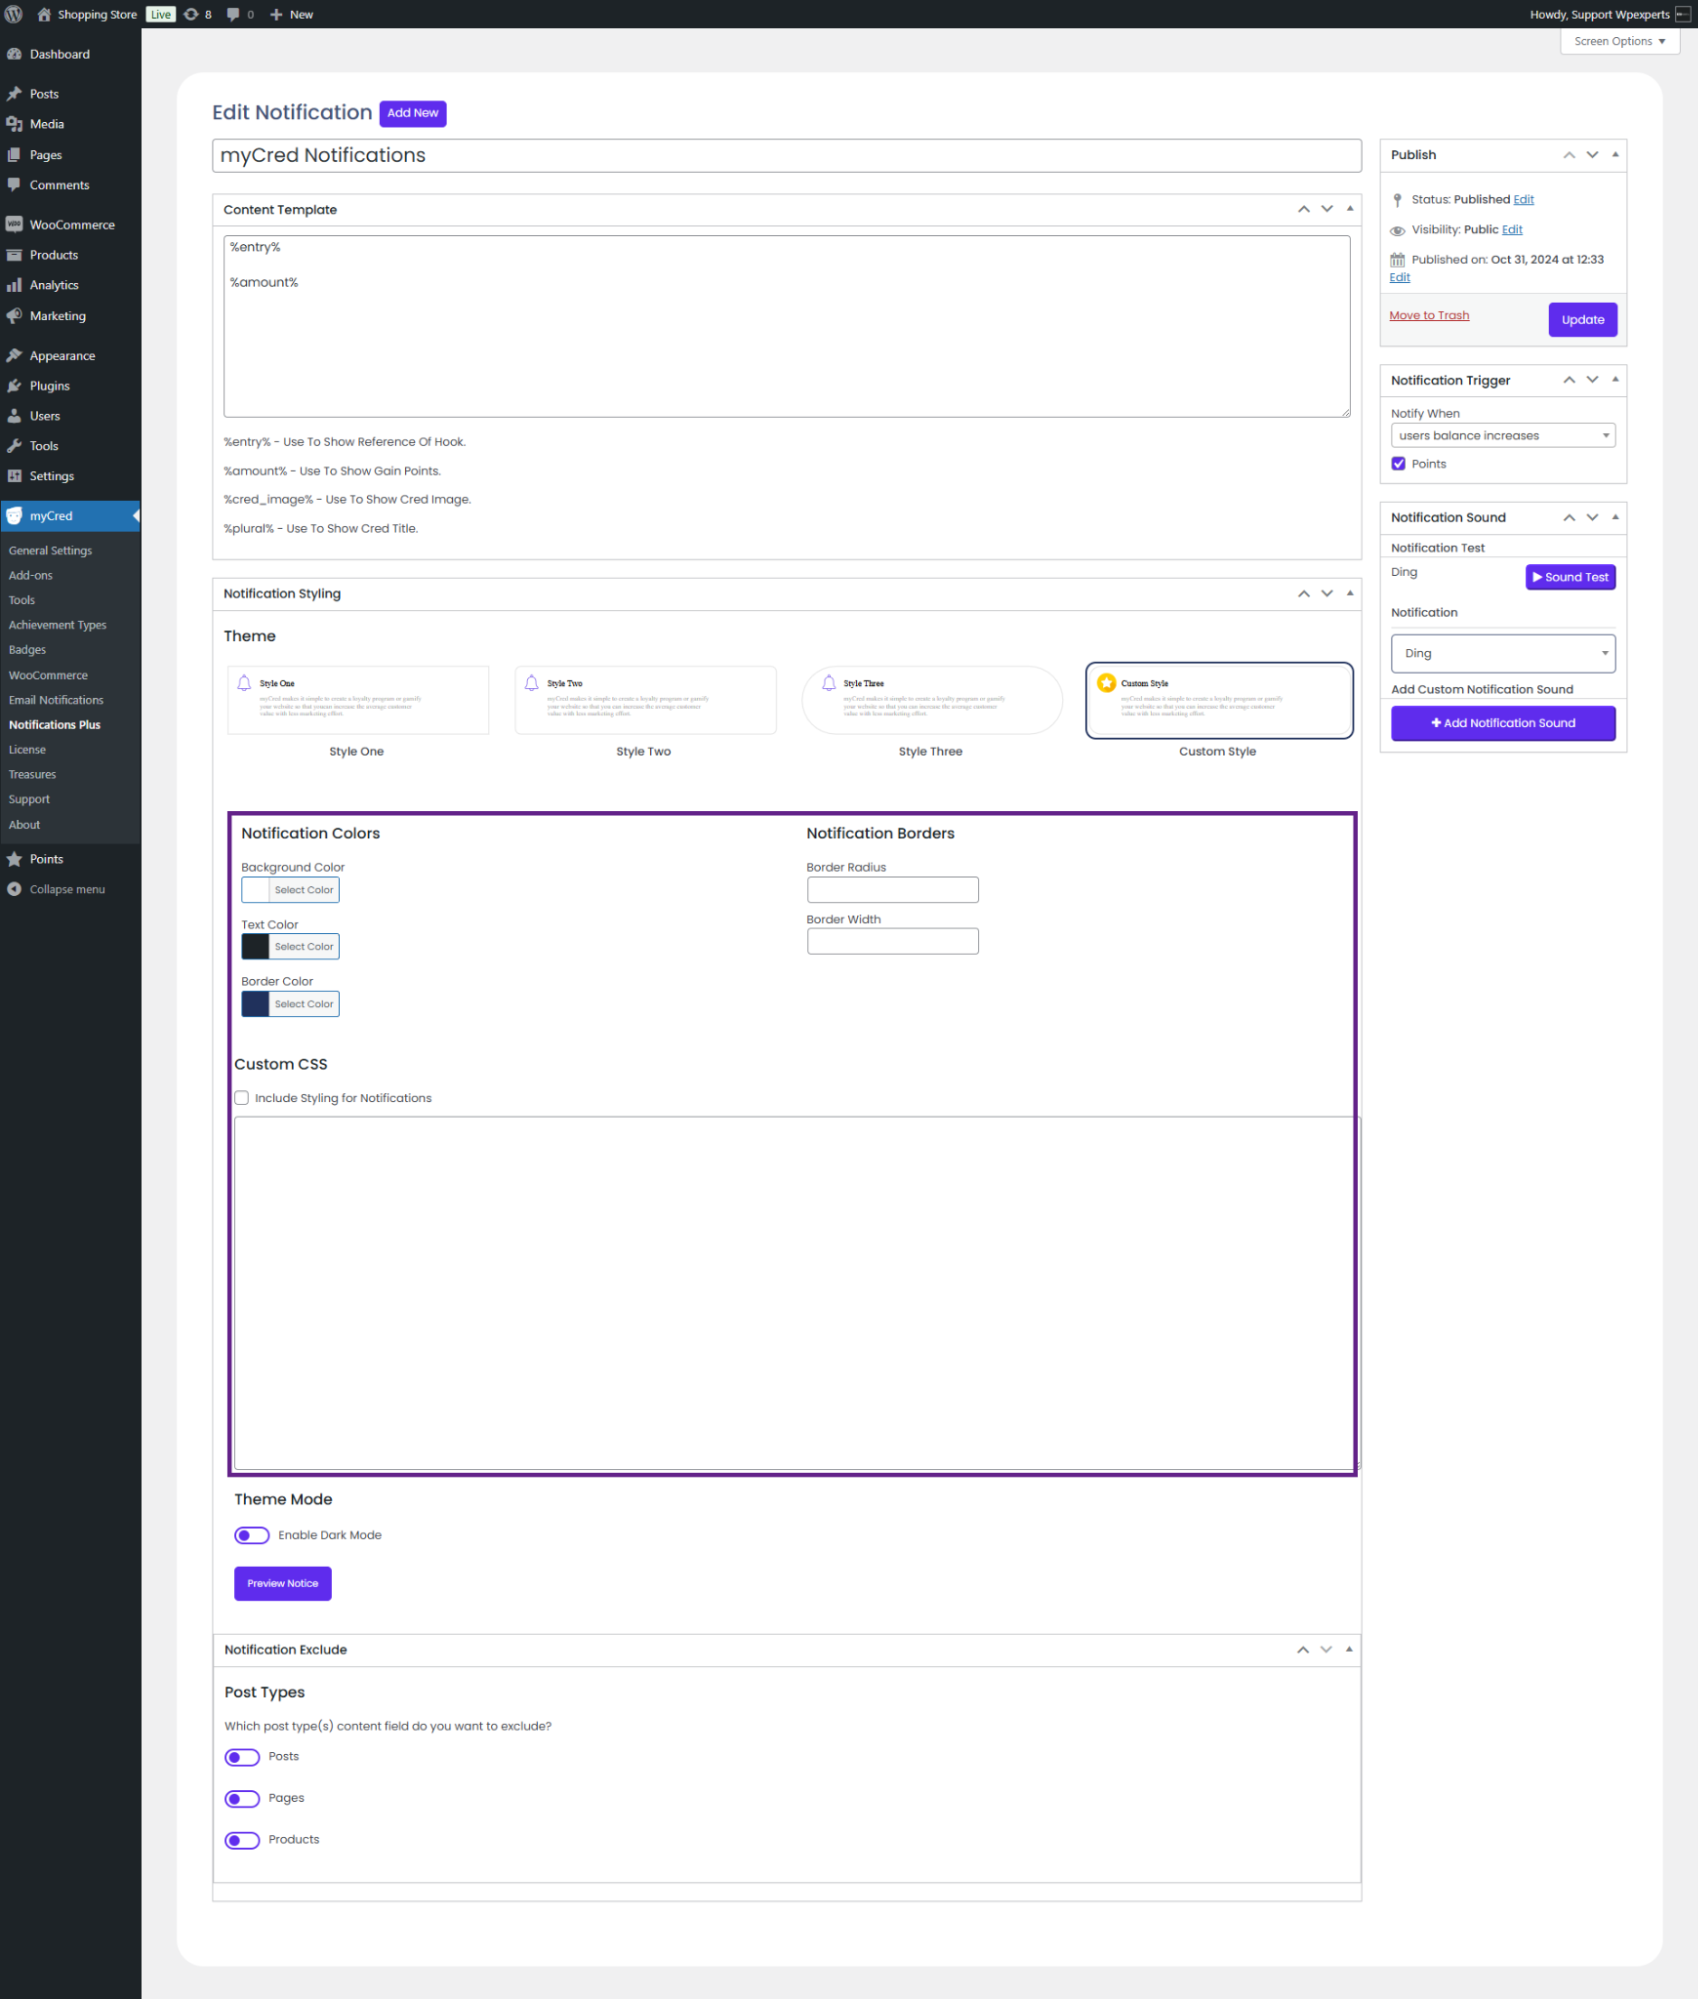
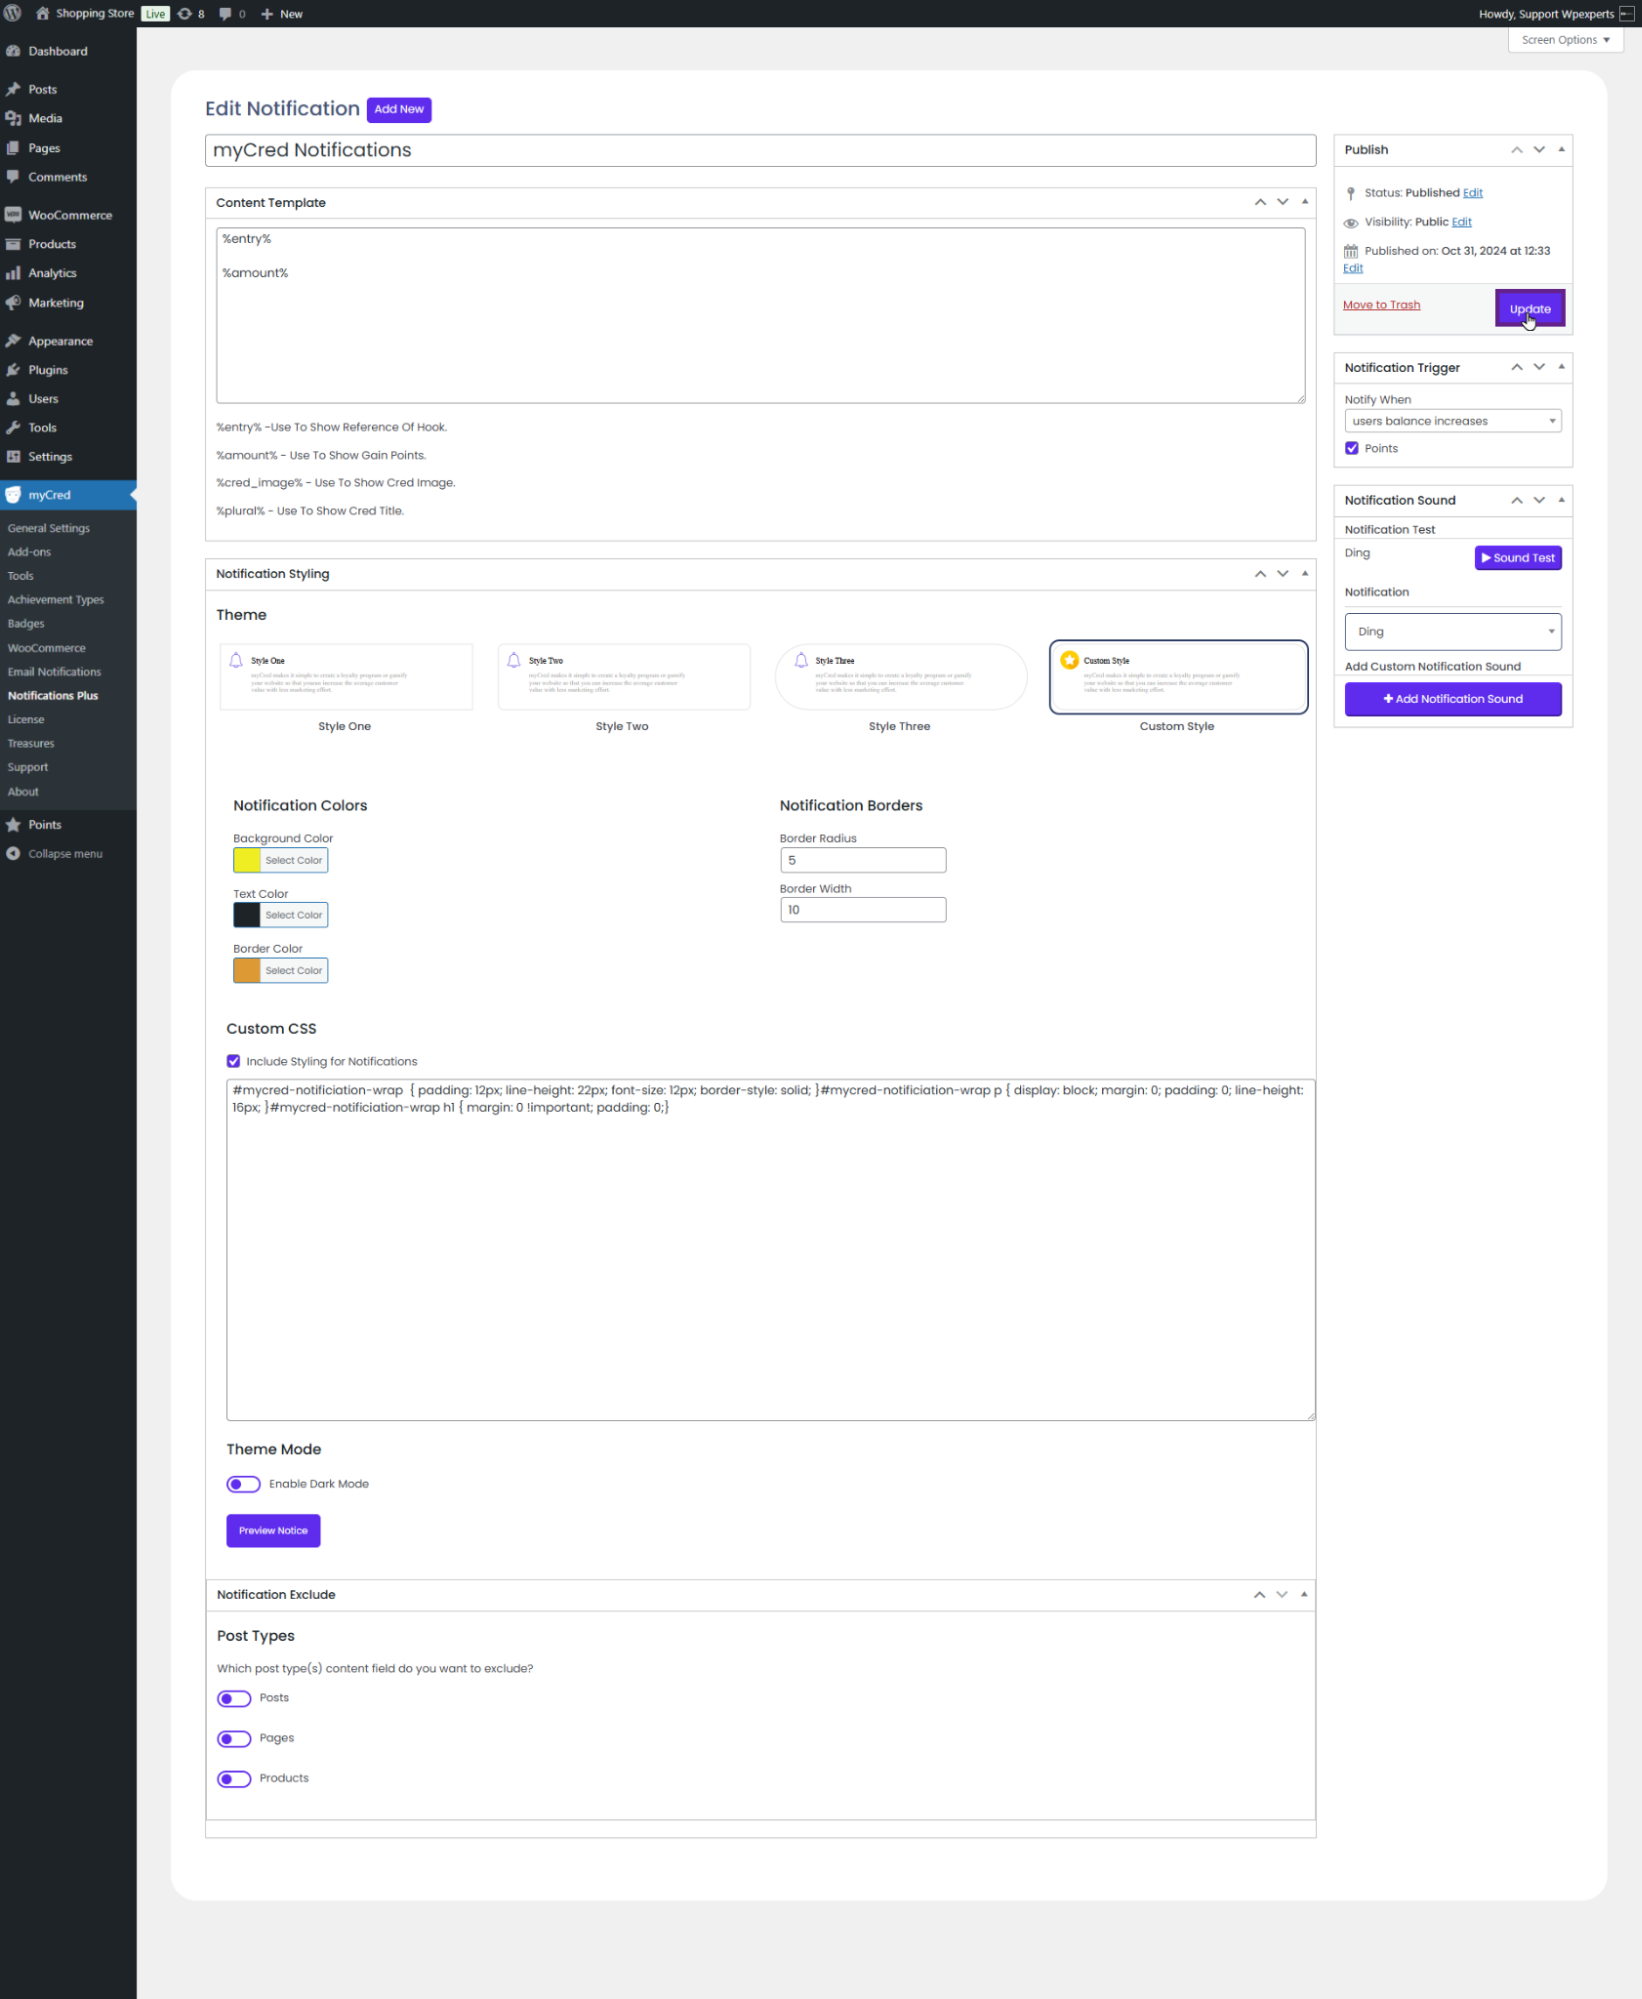
Back-End Settings (Custom Styling)
Navigate to the Notification Styling section.
Select the Custom Style option under the Theme section.
Once done, new options will appear.
Select your preferred color for the notification box and specify the desired borders.
The admin can also customize it using CSS.
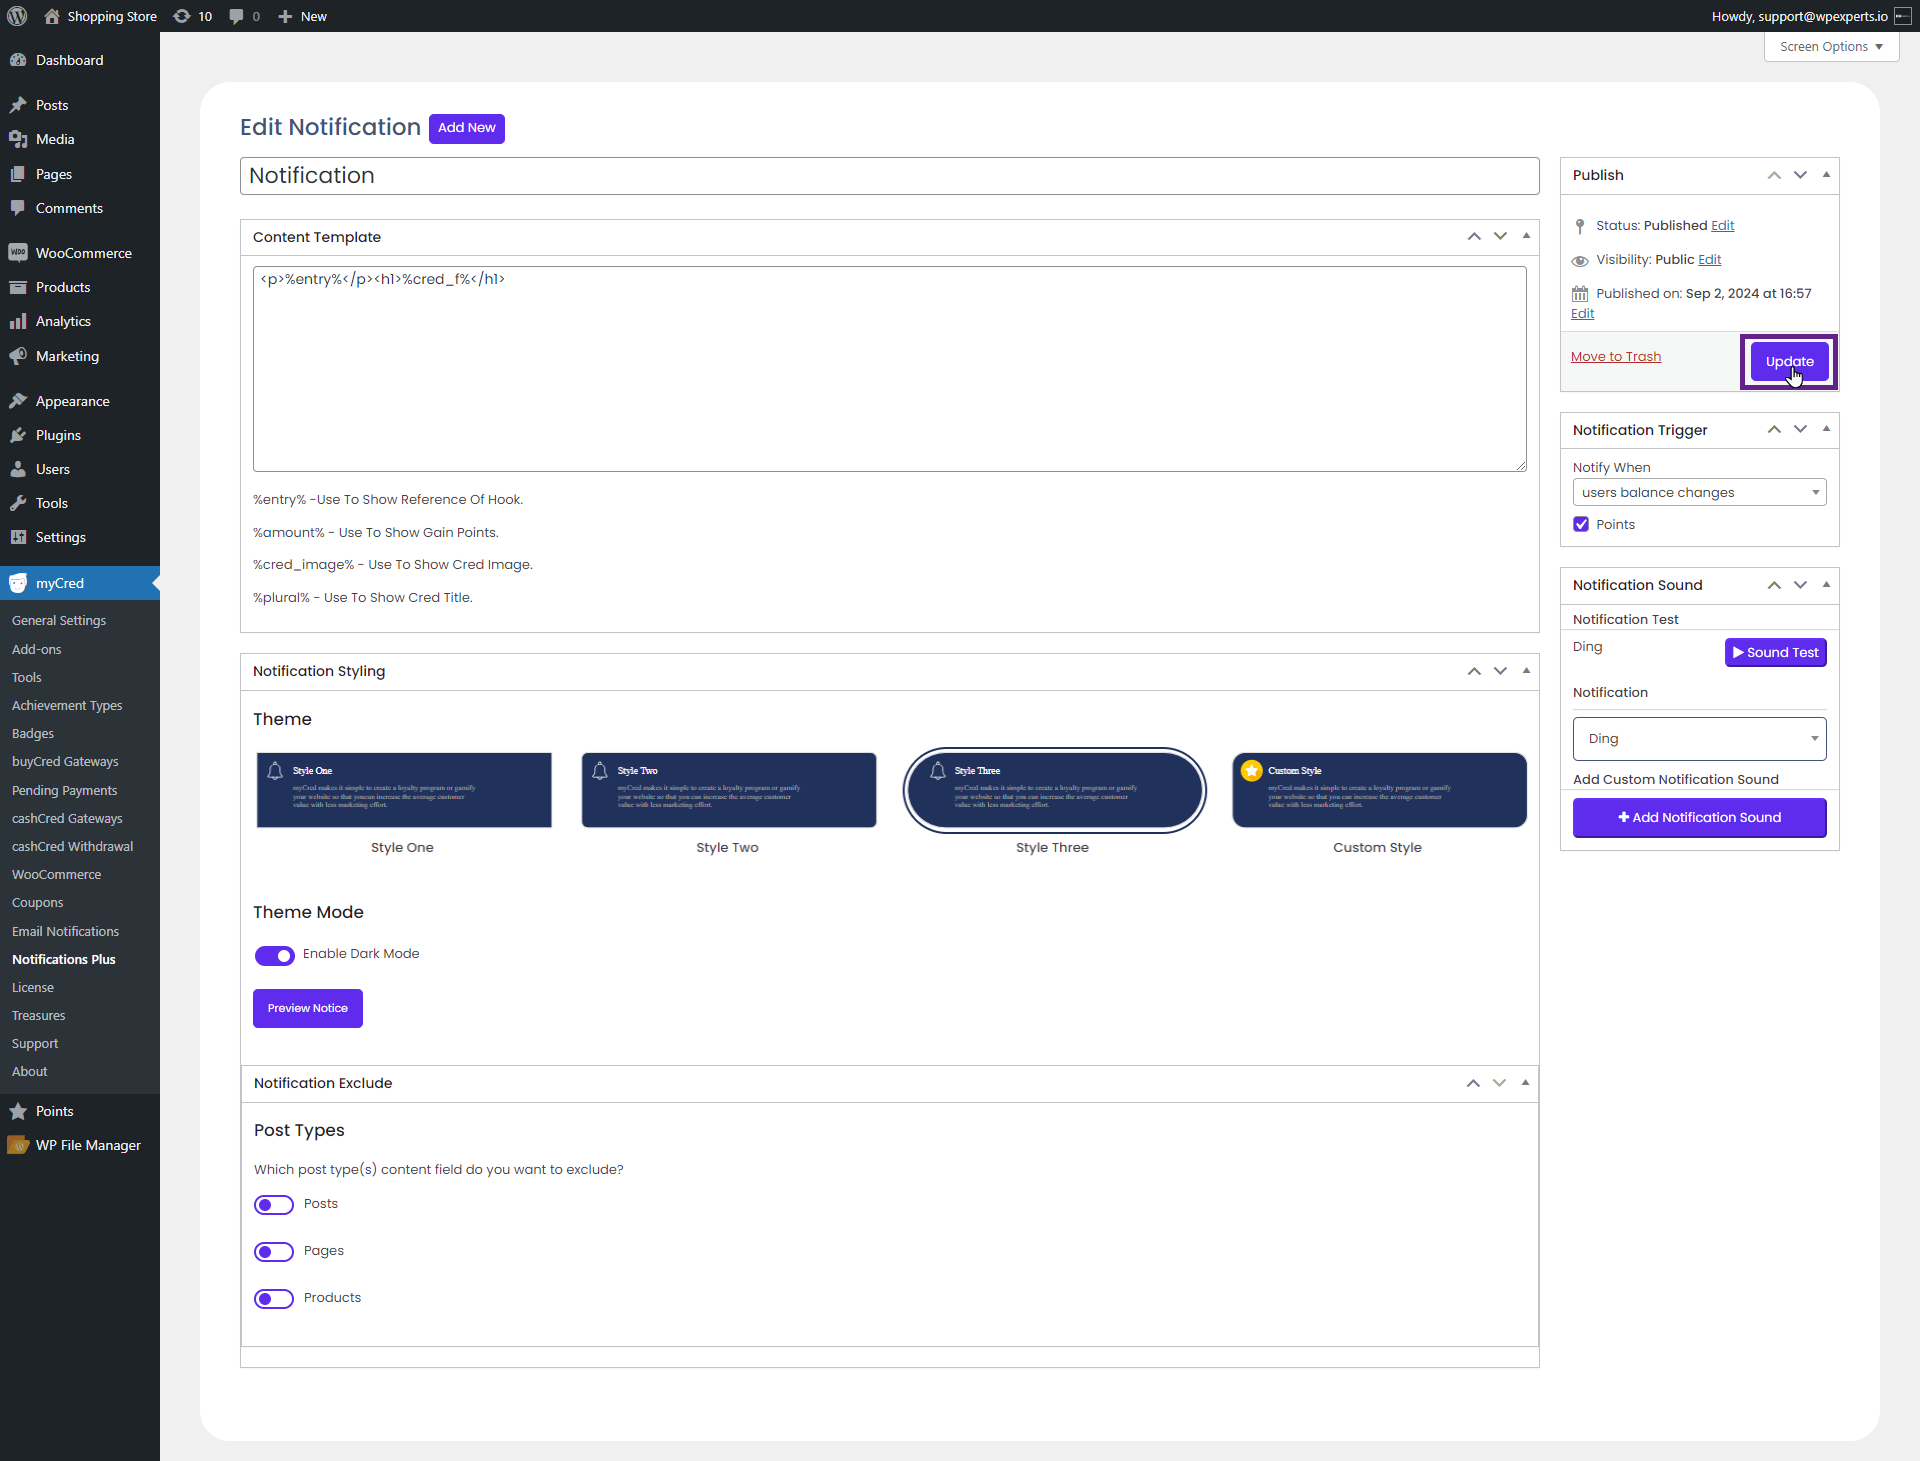
Now, save the changes.
Front-End Impact (Custom Styling)
Note: In our case, we have activated points for each order hook in the backend. When an order is placed, a notification popup will appear.
Go to the website.
Place an order.
After placing an order, a notification popup will appear.
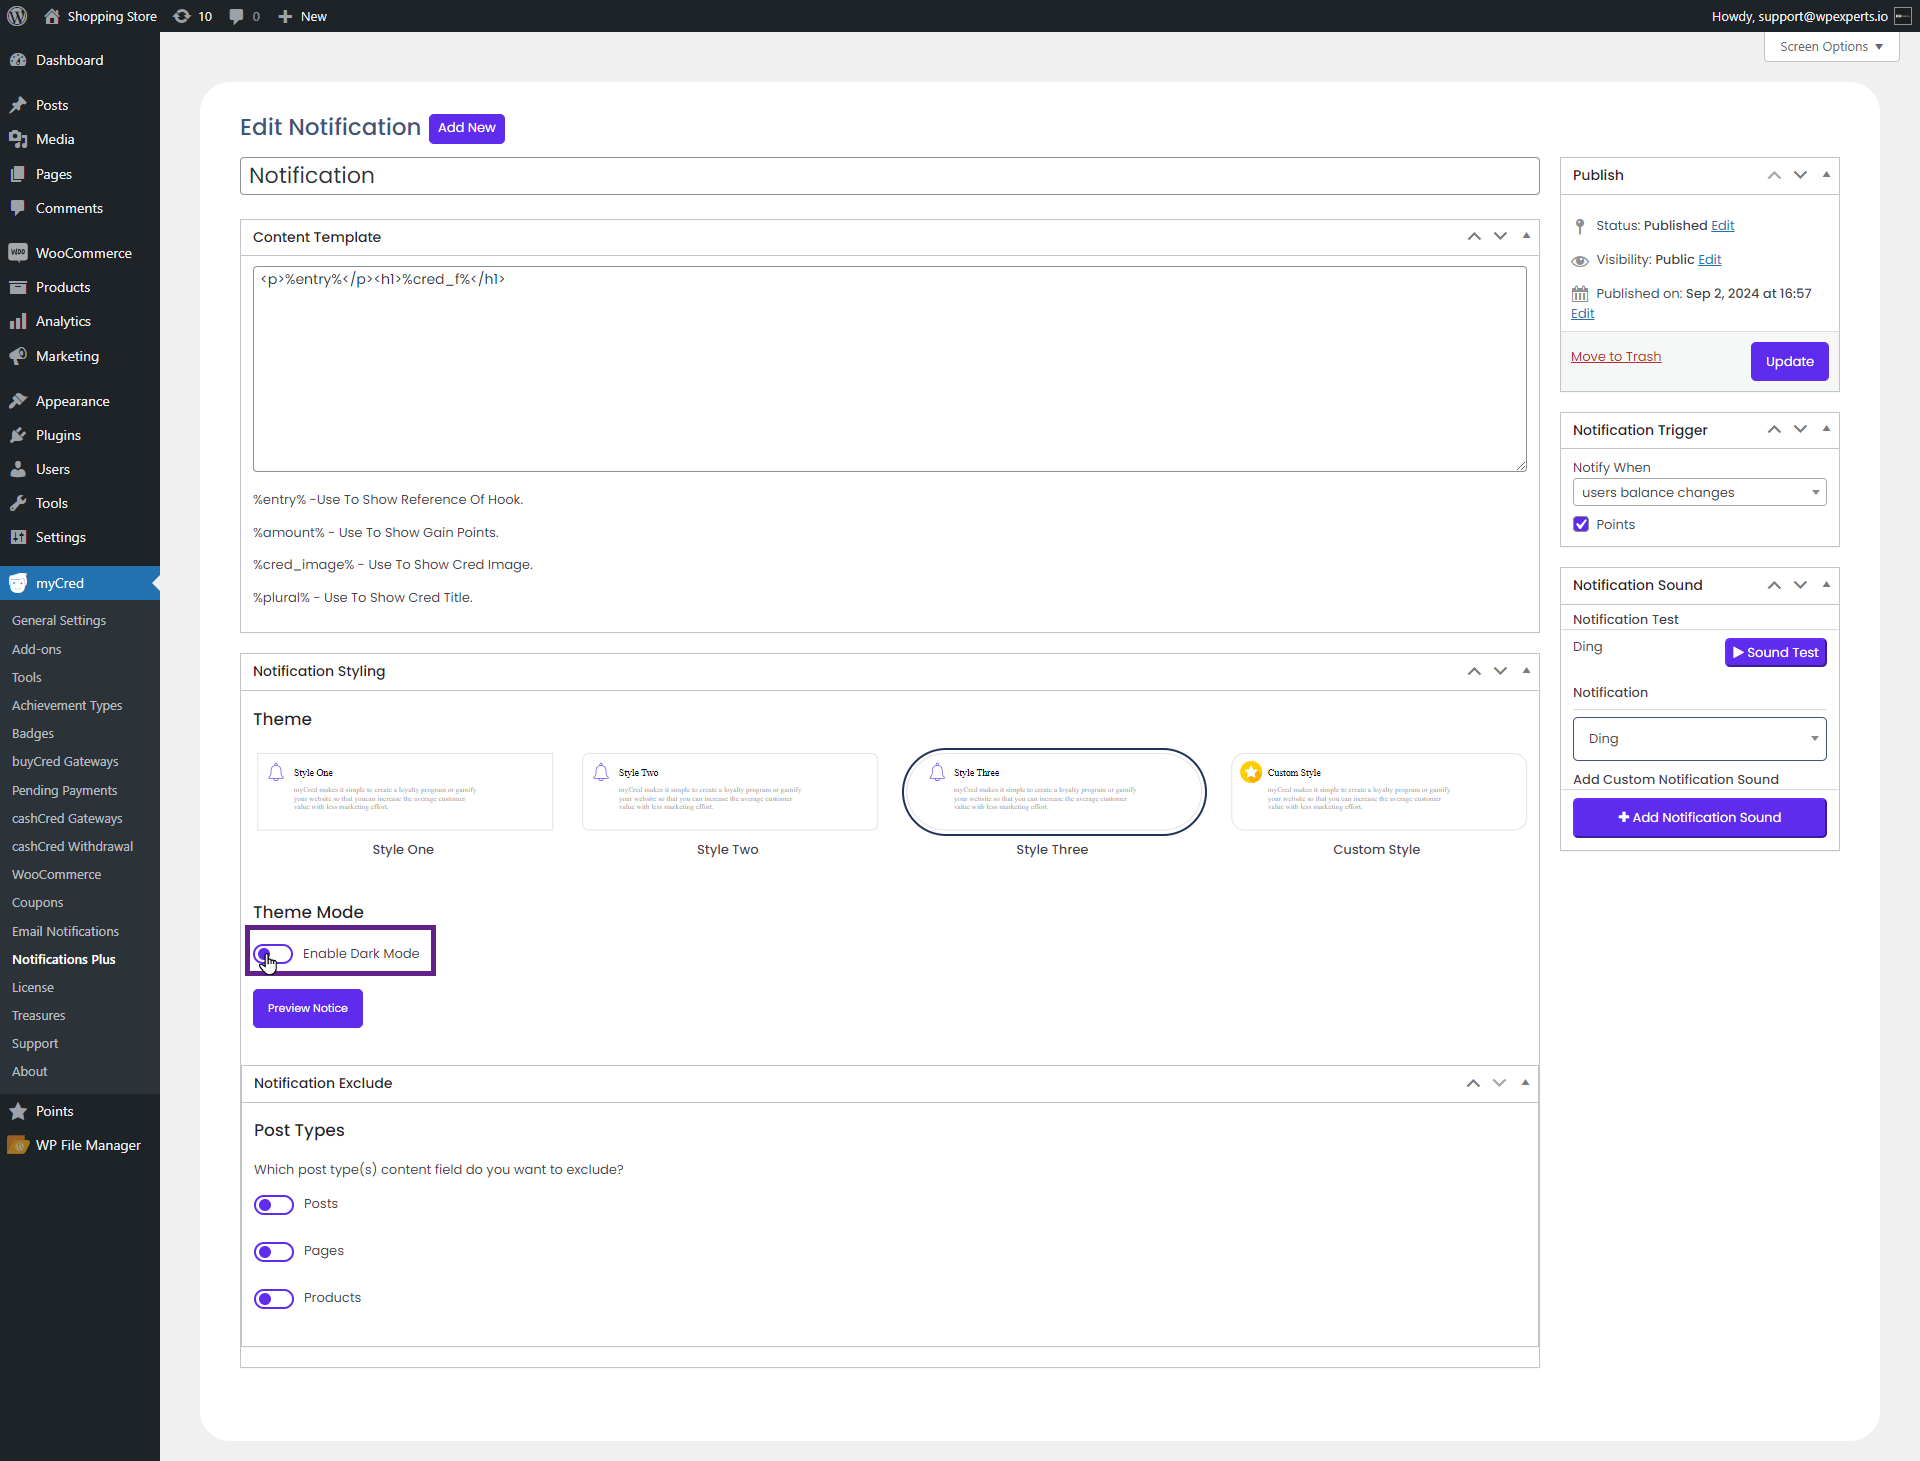
Back-End Settings (Enable Dak Mode)
Navigate to the Notification Styling section.
Select the Enable Daark Mode radio button.
Once enabled, all themes will switch to dark mode.
The admin can select any notification style from the available options.
Now, save the changes.
Front-End Impact (Enable Dark Mode)
Note: In our case, we have activated points for each order hook in the backend. When an order is placed, a notification popup will appear.
Go to the website.
Place an order.
After placing an order, a notification popup will appear in the dark mode.
Back-End Settings (Preview Notice)
The admin can preview the notification’s styling.
Navigate to the Notification Styling section.
Select the Preview Notice button.
After clicking, the admin can preview the notification box style.
Notification Exclude
The Notification Exclude feature enables the admin to exclude notifications from the following sections:
Posts
Pages
Products
Back-End Settings
Go to Admin Dashboard > myCred > Notifications Plus.
Add or Edit a notification.
Navigate to the Notification Exclude section.
Posts
From the Posts option, the admin can choose to exclude notifications from all posts or specific posts.
Note: In this case, we will exclude notifications from specific post
Enable the Posts radio button and select the Specific Posts option from the dropdown menu.
Front-End Impact
Note: In this case, we have selected the Points for Comments hook in the back-end.
Go to the website.
Navigate to the page containing posts.
Add a comment on the specific post that was selected in the backend.
As you can see, the user did not receive any notification after posting a comment.
Pages
From the Pages option, the admin can choose to exclude notifications from all pages or specific pages.
Note: In this case, we will exclude notifications from specific pages.
Enable the Pages radio button and select the Specific Pages option from the dropdown menu.
Front-End Impact
Note: In this case, we have selected the Points for viewing content hook in the back-end.
Go to the website.
Navigate to the Cart page.
As you can see, the user did not receive any notification after visiting to Cart page.
Products
From the Products option, the admin can choose to exclude notifications from all products or specific products.
Note: In this case, we will exclude notifications from specific products.
Enable the Products radio button and select the Specific products option from the dropdown menu.
Front-End Impact
Note: In this case, we have selected the WooCommerce Products Reviews hook in the back-end.
Go to the website.
Navigate to the Shop page.
Select the product specified in the backend.
As you can see, the user did not receive any points notification after reviewing the Belt product.