The admin can reward users with coupons upon achieving a specific rank or badge. Meanwhile, the User-Generated Coupon feature allows users to create their own coupons by redeeming points, within the limits set by the admin.
Please Note: For this feature to function, the Badges and Ranks add-ons must be activated. You can enable them by navigating to Admin Dashboard > myCred > Add-ons.
Back-End Settings (Badges)
Go to the Admin Dashboard > myCred > WooCommerce.
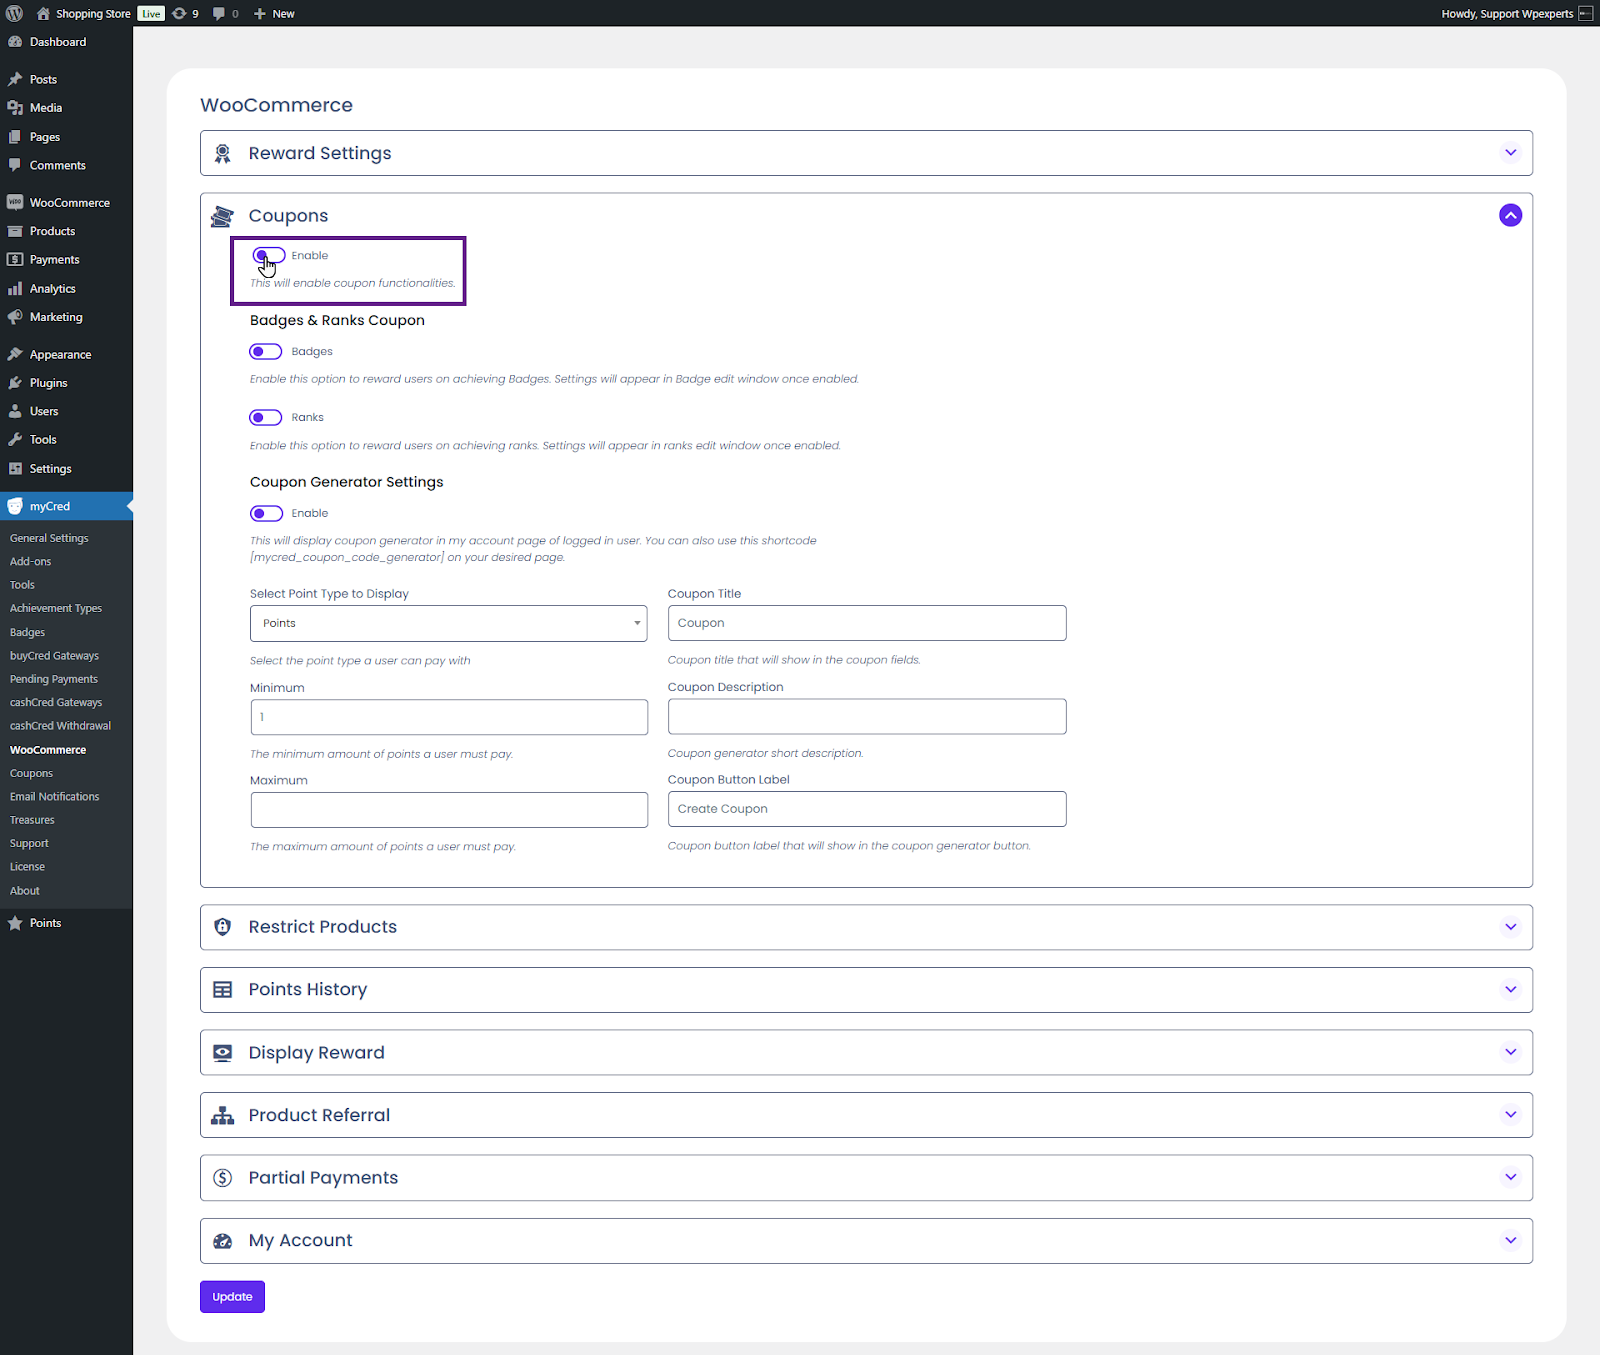
Navigate to the Coupons section.
Activate the Enable toggle button.
Next, enable the Badges toggle button.
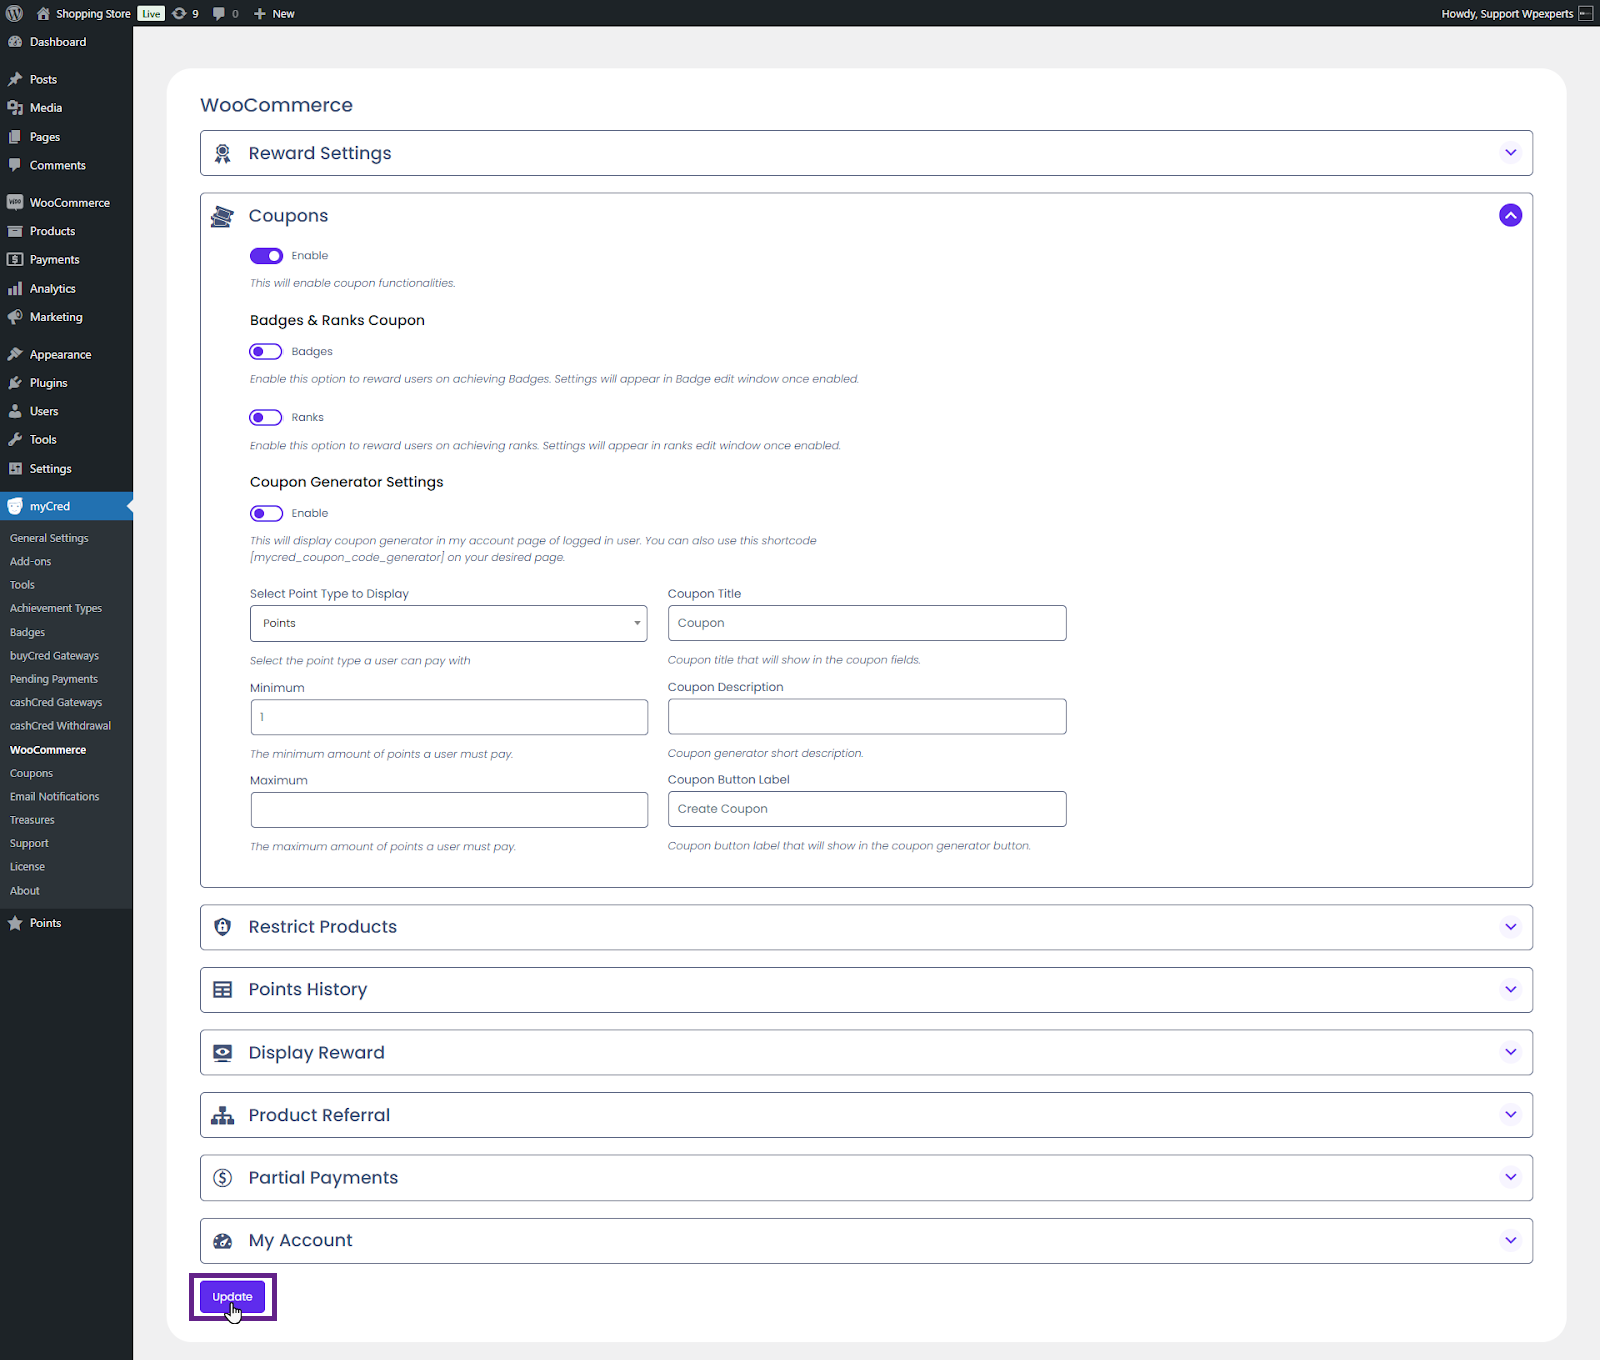
Once done, click the Update button.
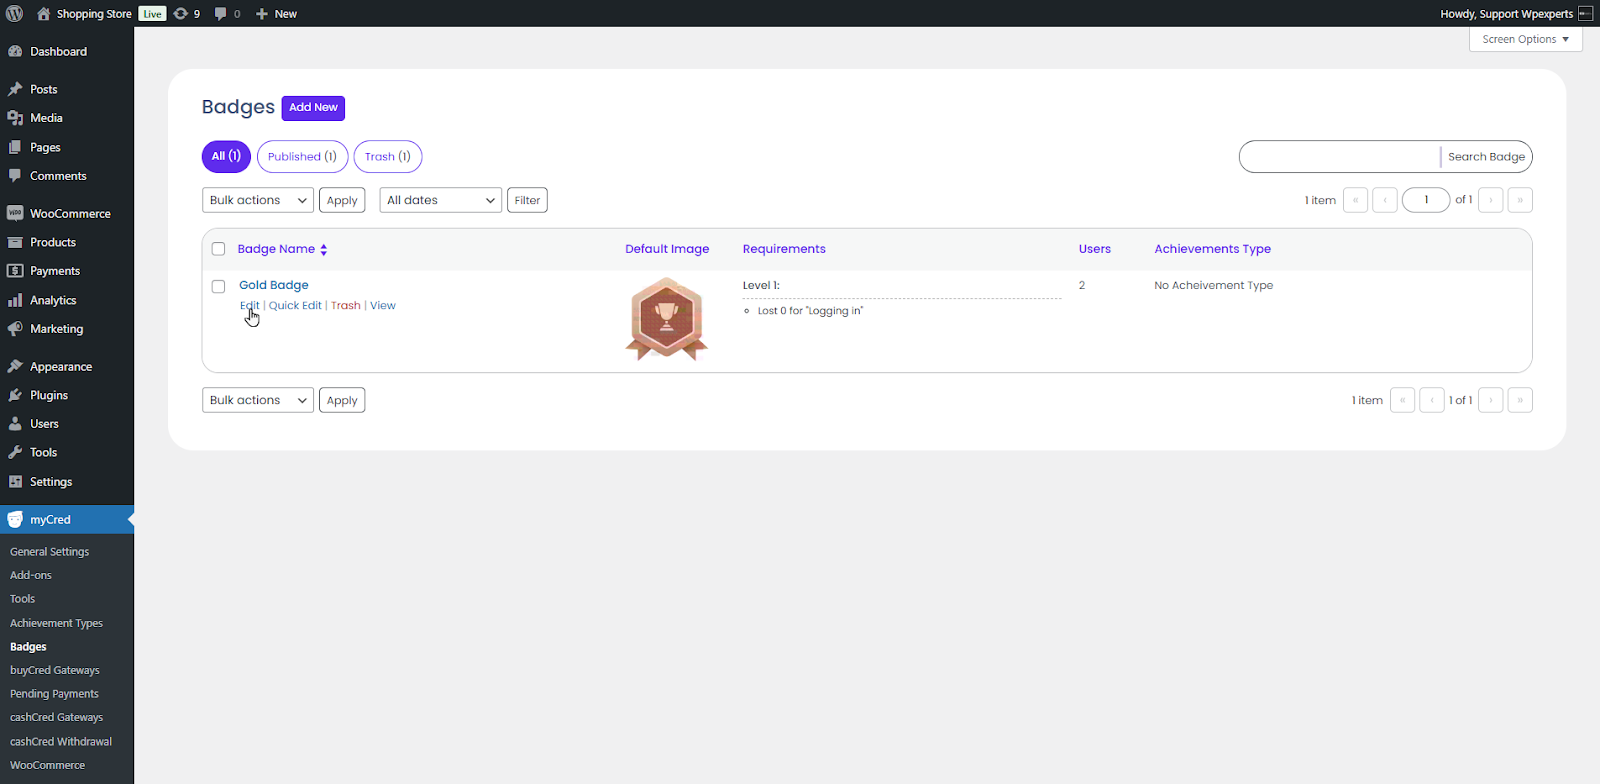
Now, navigate to Admin Dashboard > myCred > Badges.
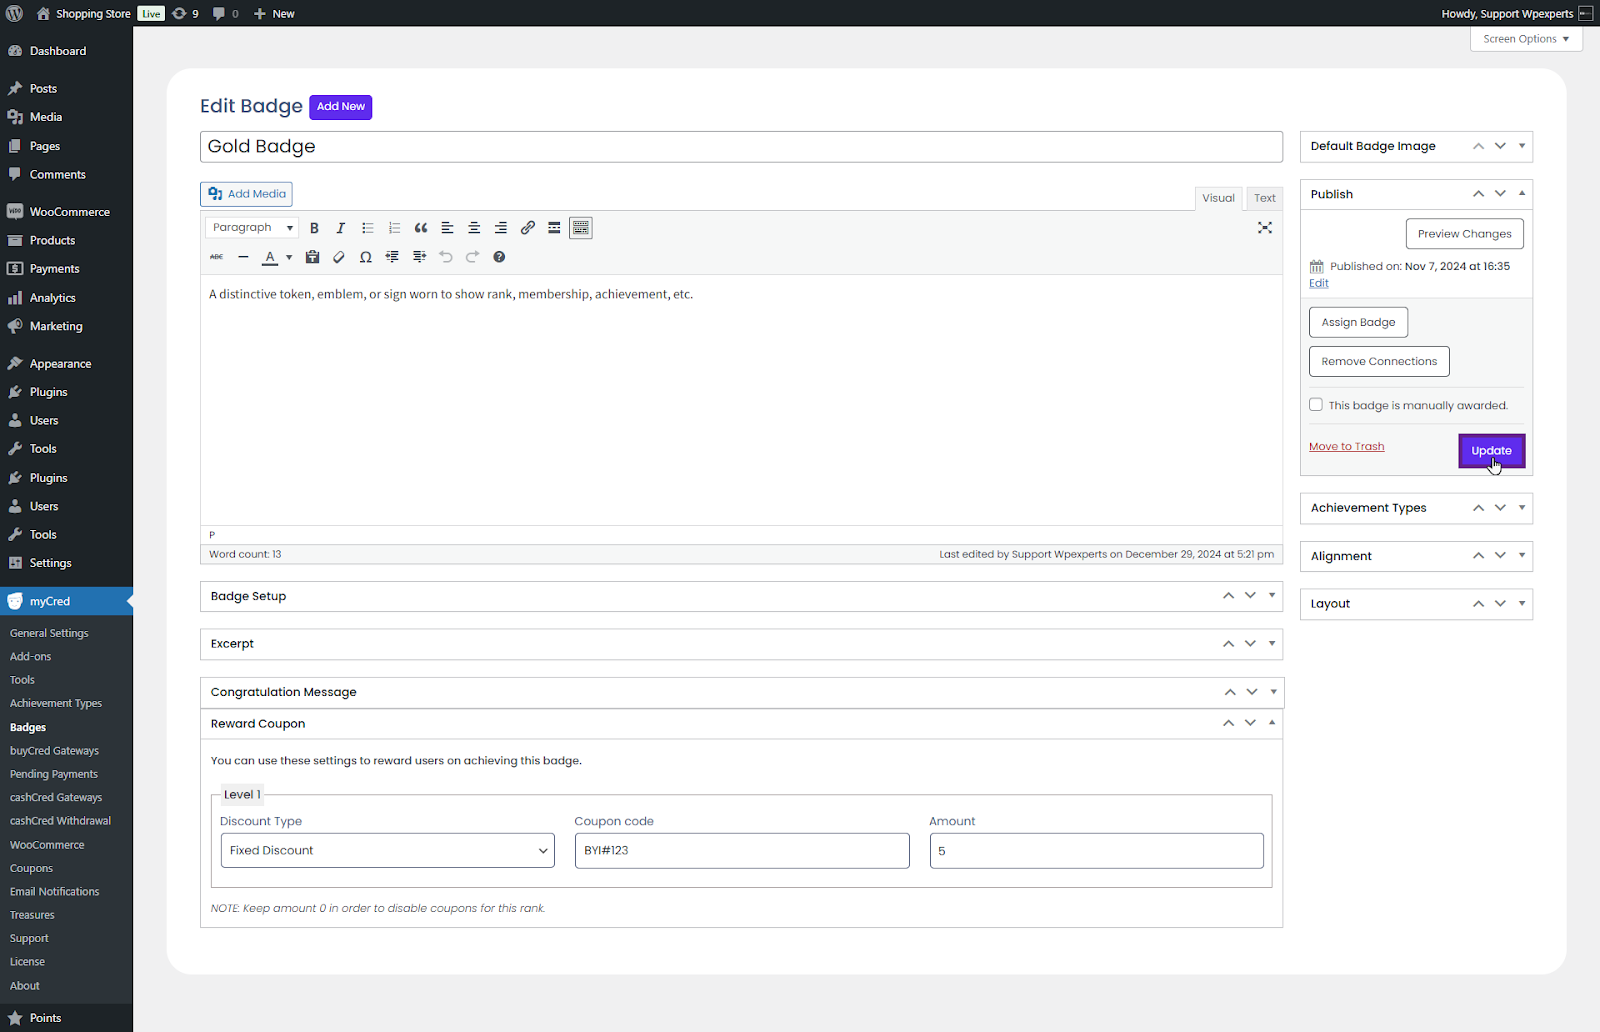
Add or Edit a badge.
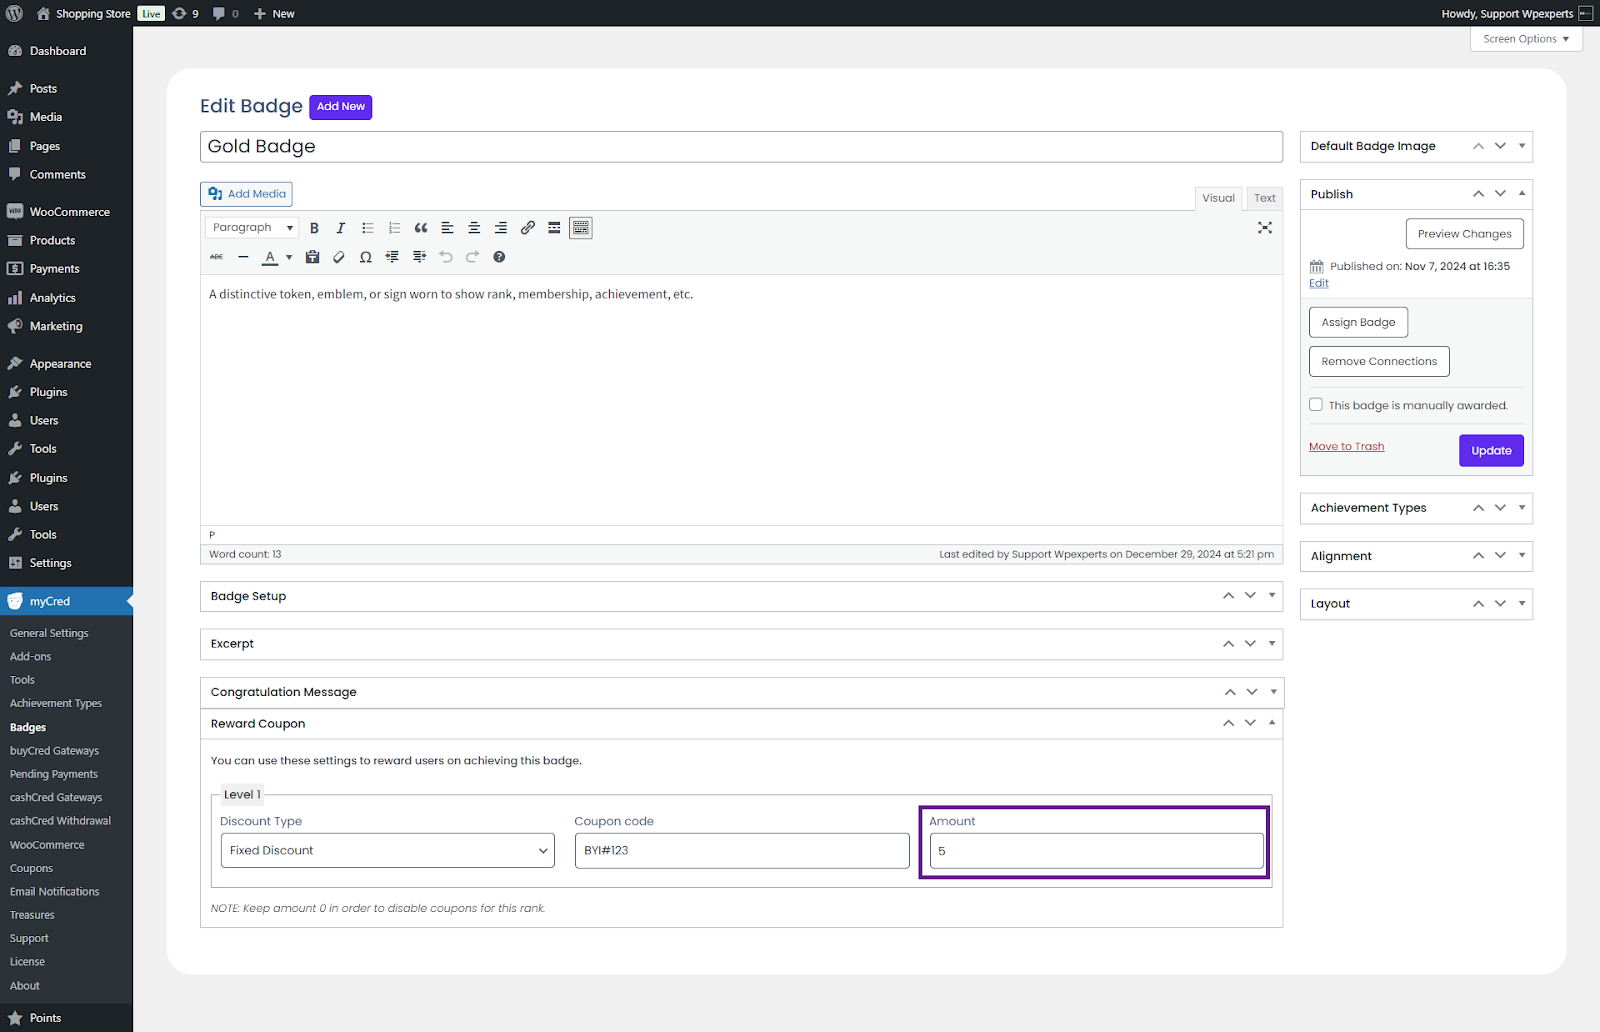
Scroll down to the Reward Coupon section.
Select the discount type from the Discount Type dropdown menu.
Discount Type can be set to Fixed discount for applying any fixed amount on a discount coupon, or Percentage discount can be set to apply a coupon discount, depending on the percentage specified.
Next, enter the coupon in the Coupon Code field.
The coupon code will consist of letters, numbers, or special signs. Consumers can enter these codes when checking out through WooCommerce to obtain a discount on the current purchase.
Enter the coupon amount in the Amount field.
Once done, click the Update button.
Front-End Impact (Badges)
Once done, click the Update button.
Sign in with the account that has obtained the required badge.
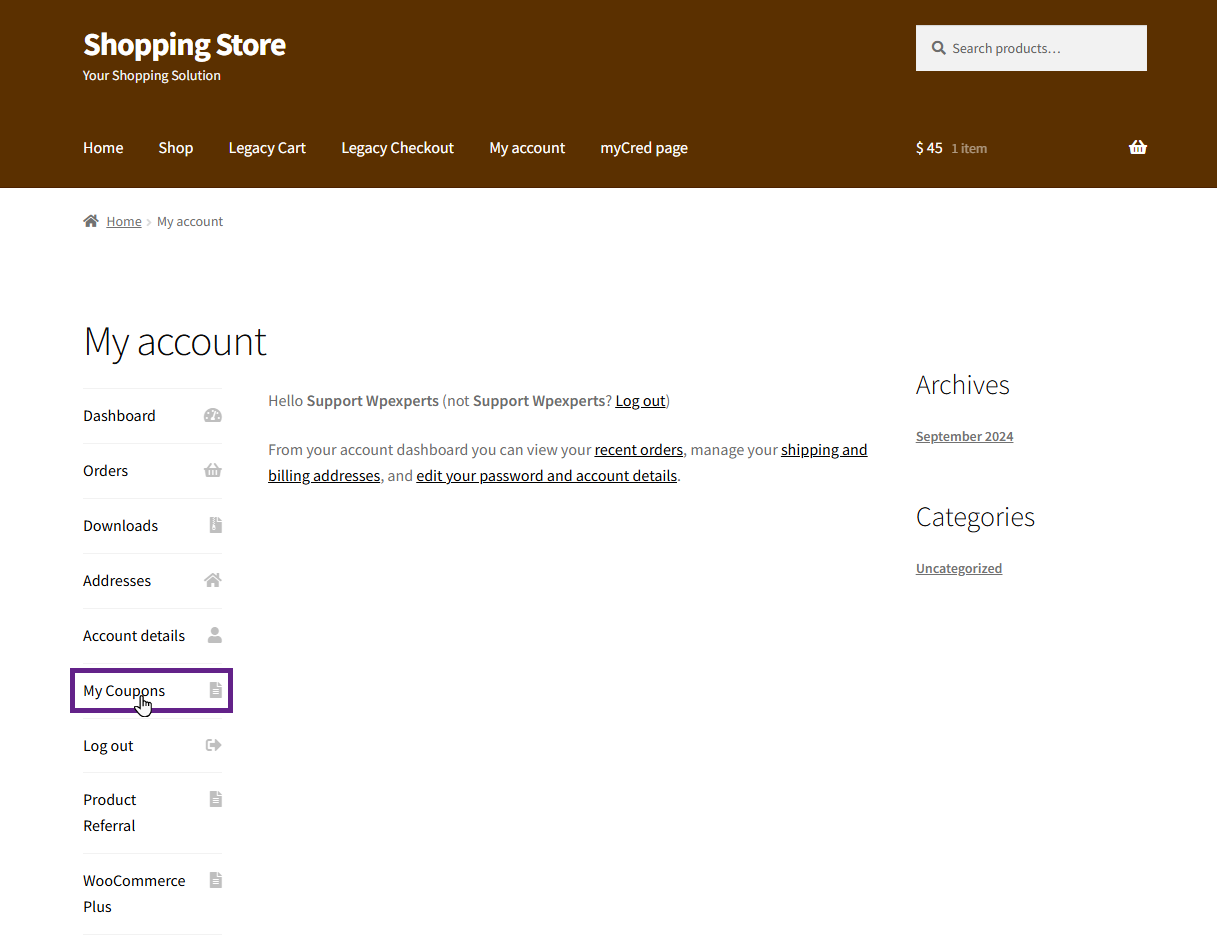
Navigate to the My Account page.
Click the My Coupons tab.
Copy the coupon code.
Note: To prevent repetition, the coupon code created in the backend settings will include a suffix at the end of the code in the My Coupon tab.
Next, add a product to your cart and apply the coupon code. Once applied, the coupon will automatically be added to the cart.
Back-End Settings (Ranks)
Go to the Admin Dashboard > myCred > WooCommerce.
Navigate to the Coupons section.
Enable the coupons toggle button.
Next, enable the Ranks toggle button.
Once done, click the Update button.
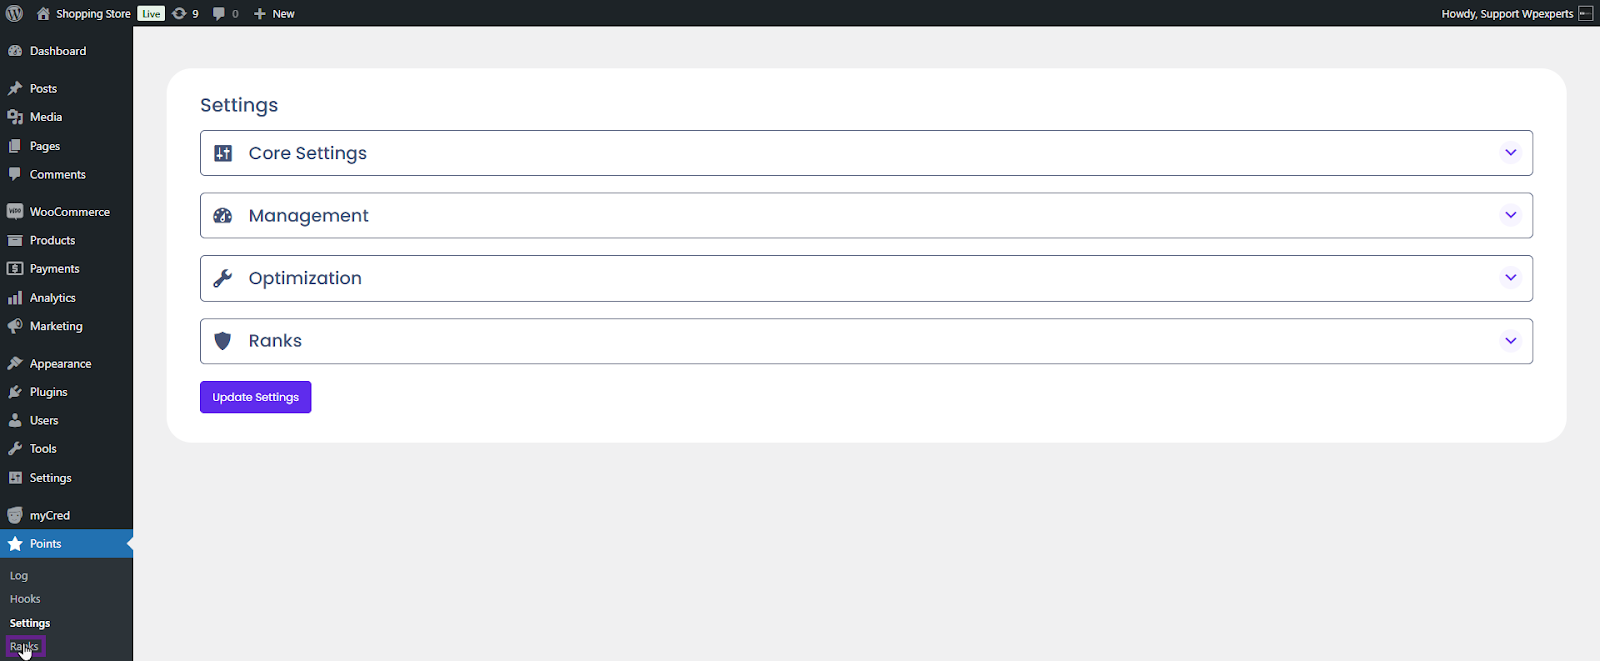
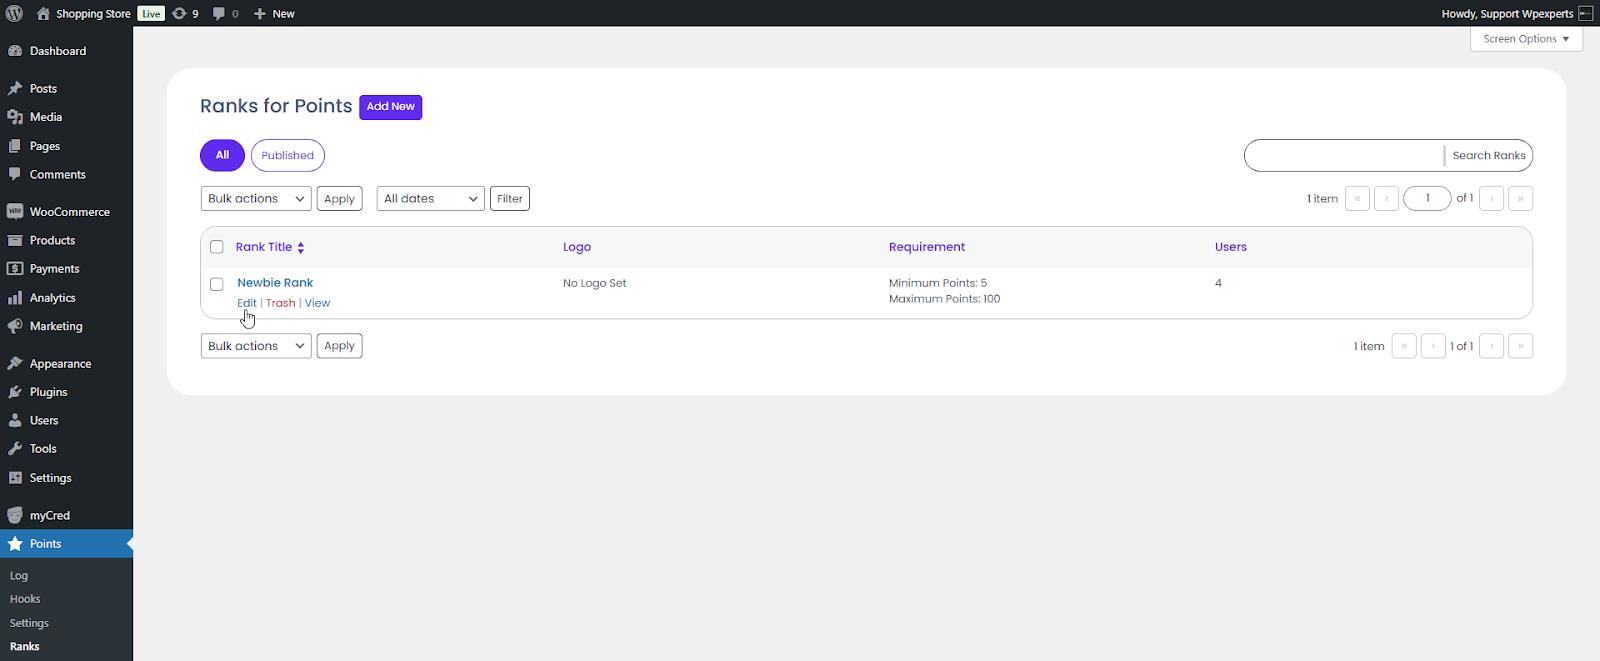
Now, navigate to Admin Dashboard > Points > Ranks.
Add or Edit a rank.
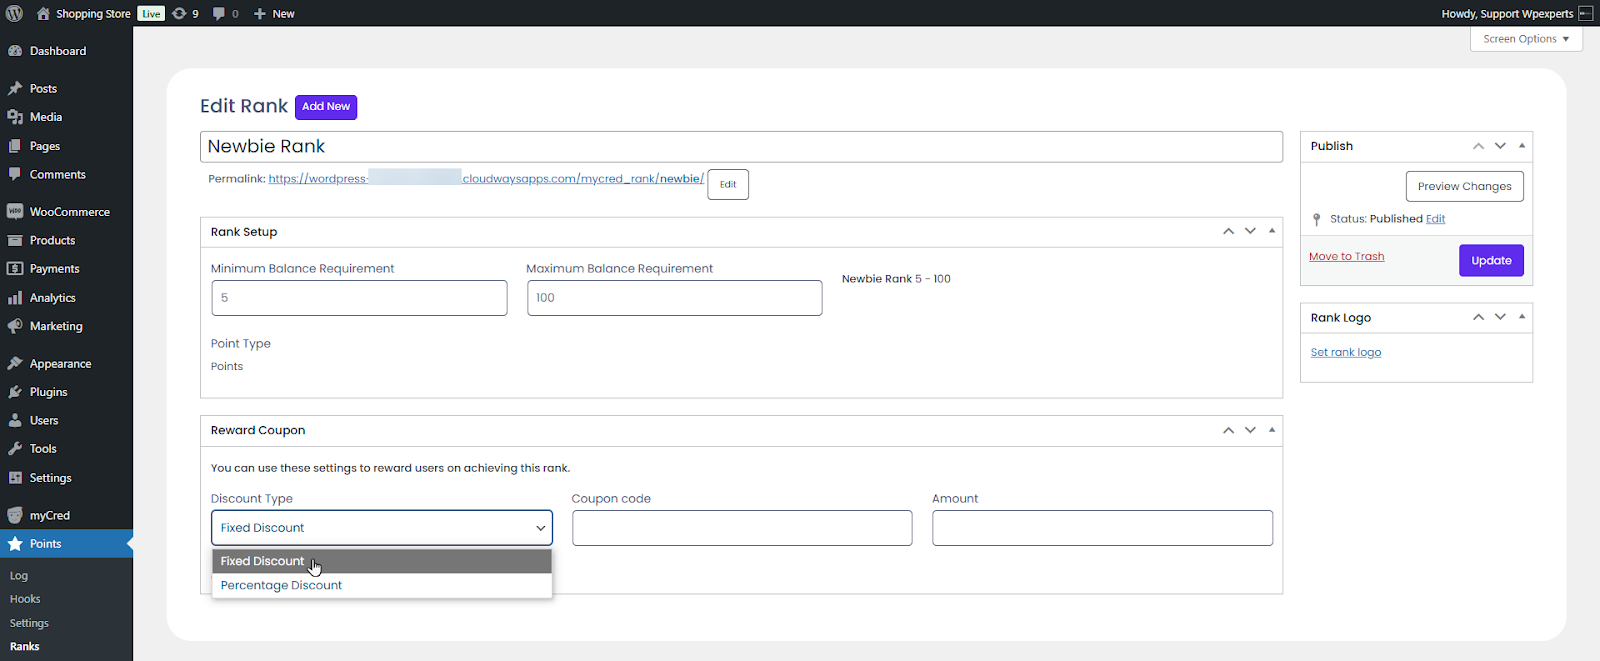
Select the discount type from the Discount Type dropdown menu.
Discount Type can be set to Fixed discount for applying any fixed amount on a discount coupon, or Percentage discount can be set to apply a coupon discount, depending on the percentage specified.
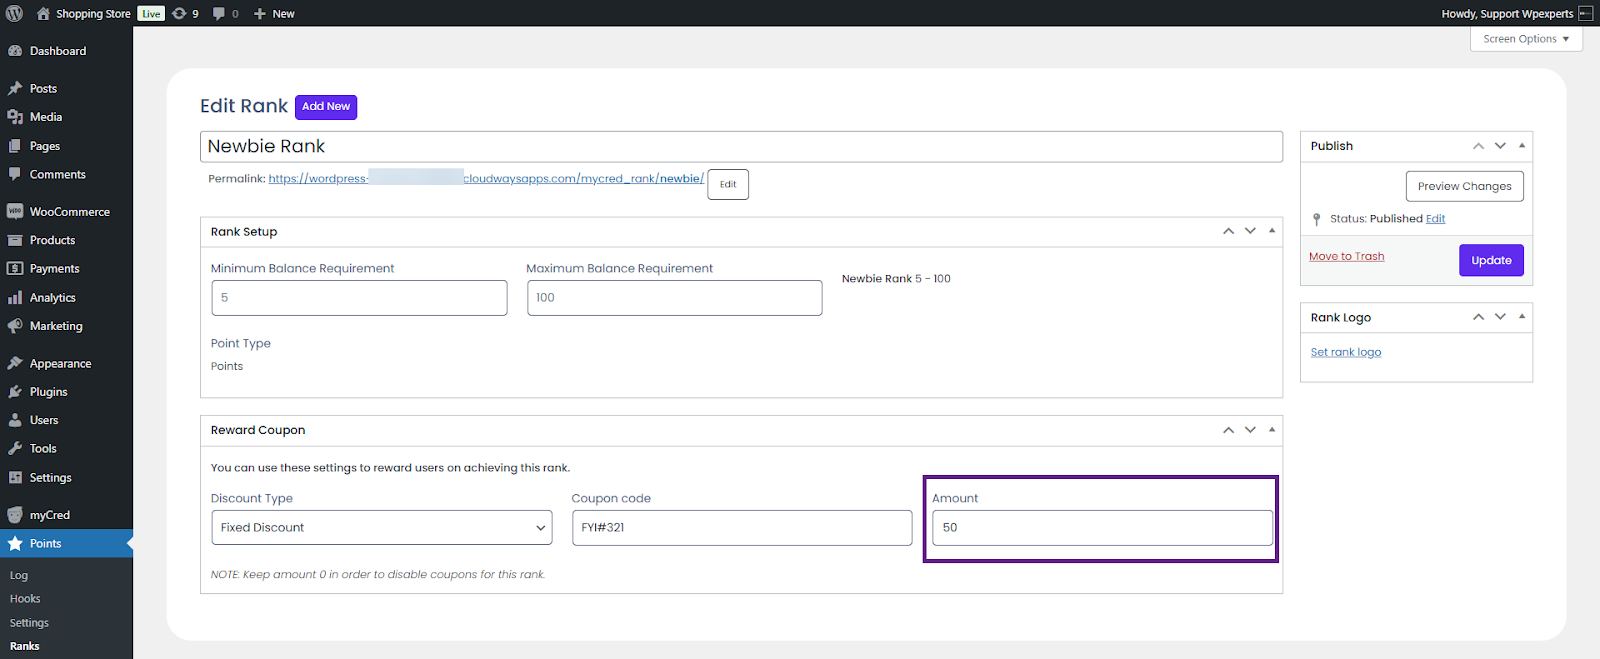
Next, enter the coupon in the Coupon Code field.
The coupon code will consist of letters, numbers, or special signs. Consumers can enter these codes when checking out through WooCommerce to obtain a discount on the current purchase.
Enter the coupon amount in the Amount field.
Once done, click the Update button.
Front-End Impact (Ranks)
Go to the website.
Sign in with the account that has obtained the required rank.
Navigate to the My Account page.
Click the My Coupons tab.
Copy the coupon code.
Note: To prevent repetition, the coupon code created in the backend settings will include a suffix at the end of the code in the My Coupon tab.
Next, add a product to your cart and apply the coupon code. Once applied, the coupon will automatically be added to the cart.
Coupon Generator
The coupon generator also comes with its own shortcode. You can use the shortcode [mycred_coupon_code_generator] on any page where you want it to appear.
Back-End Settings
Go to the Admin Dashboard > myCred > WooCommerce.
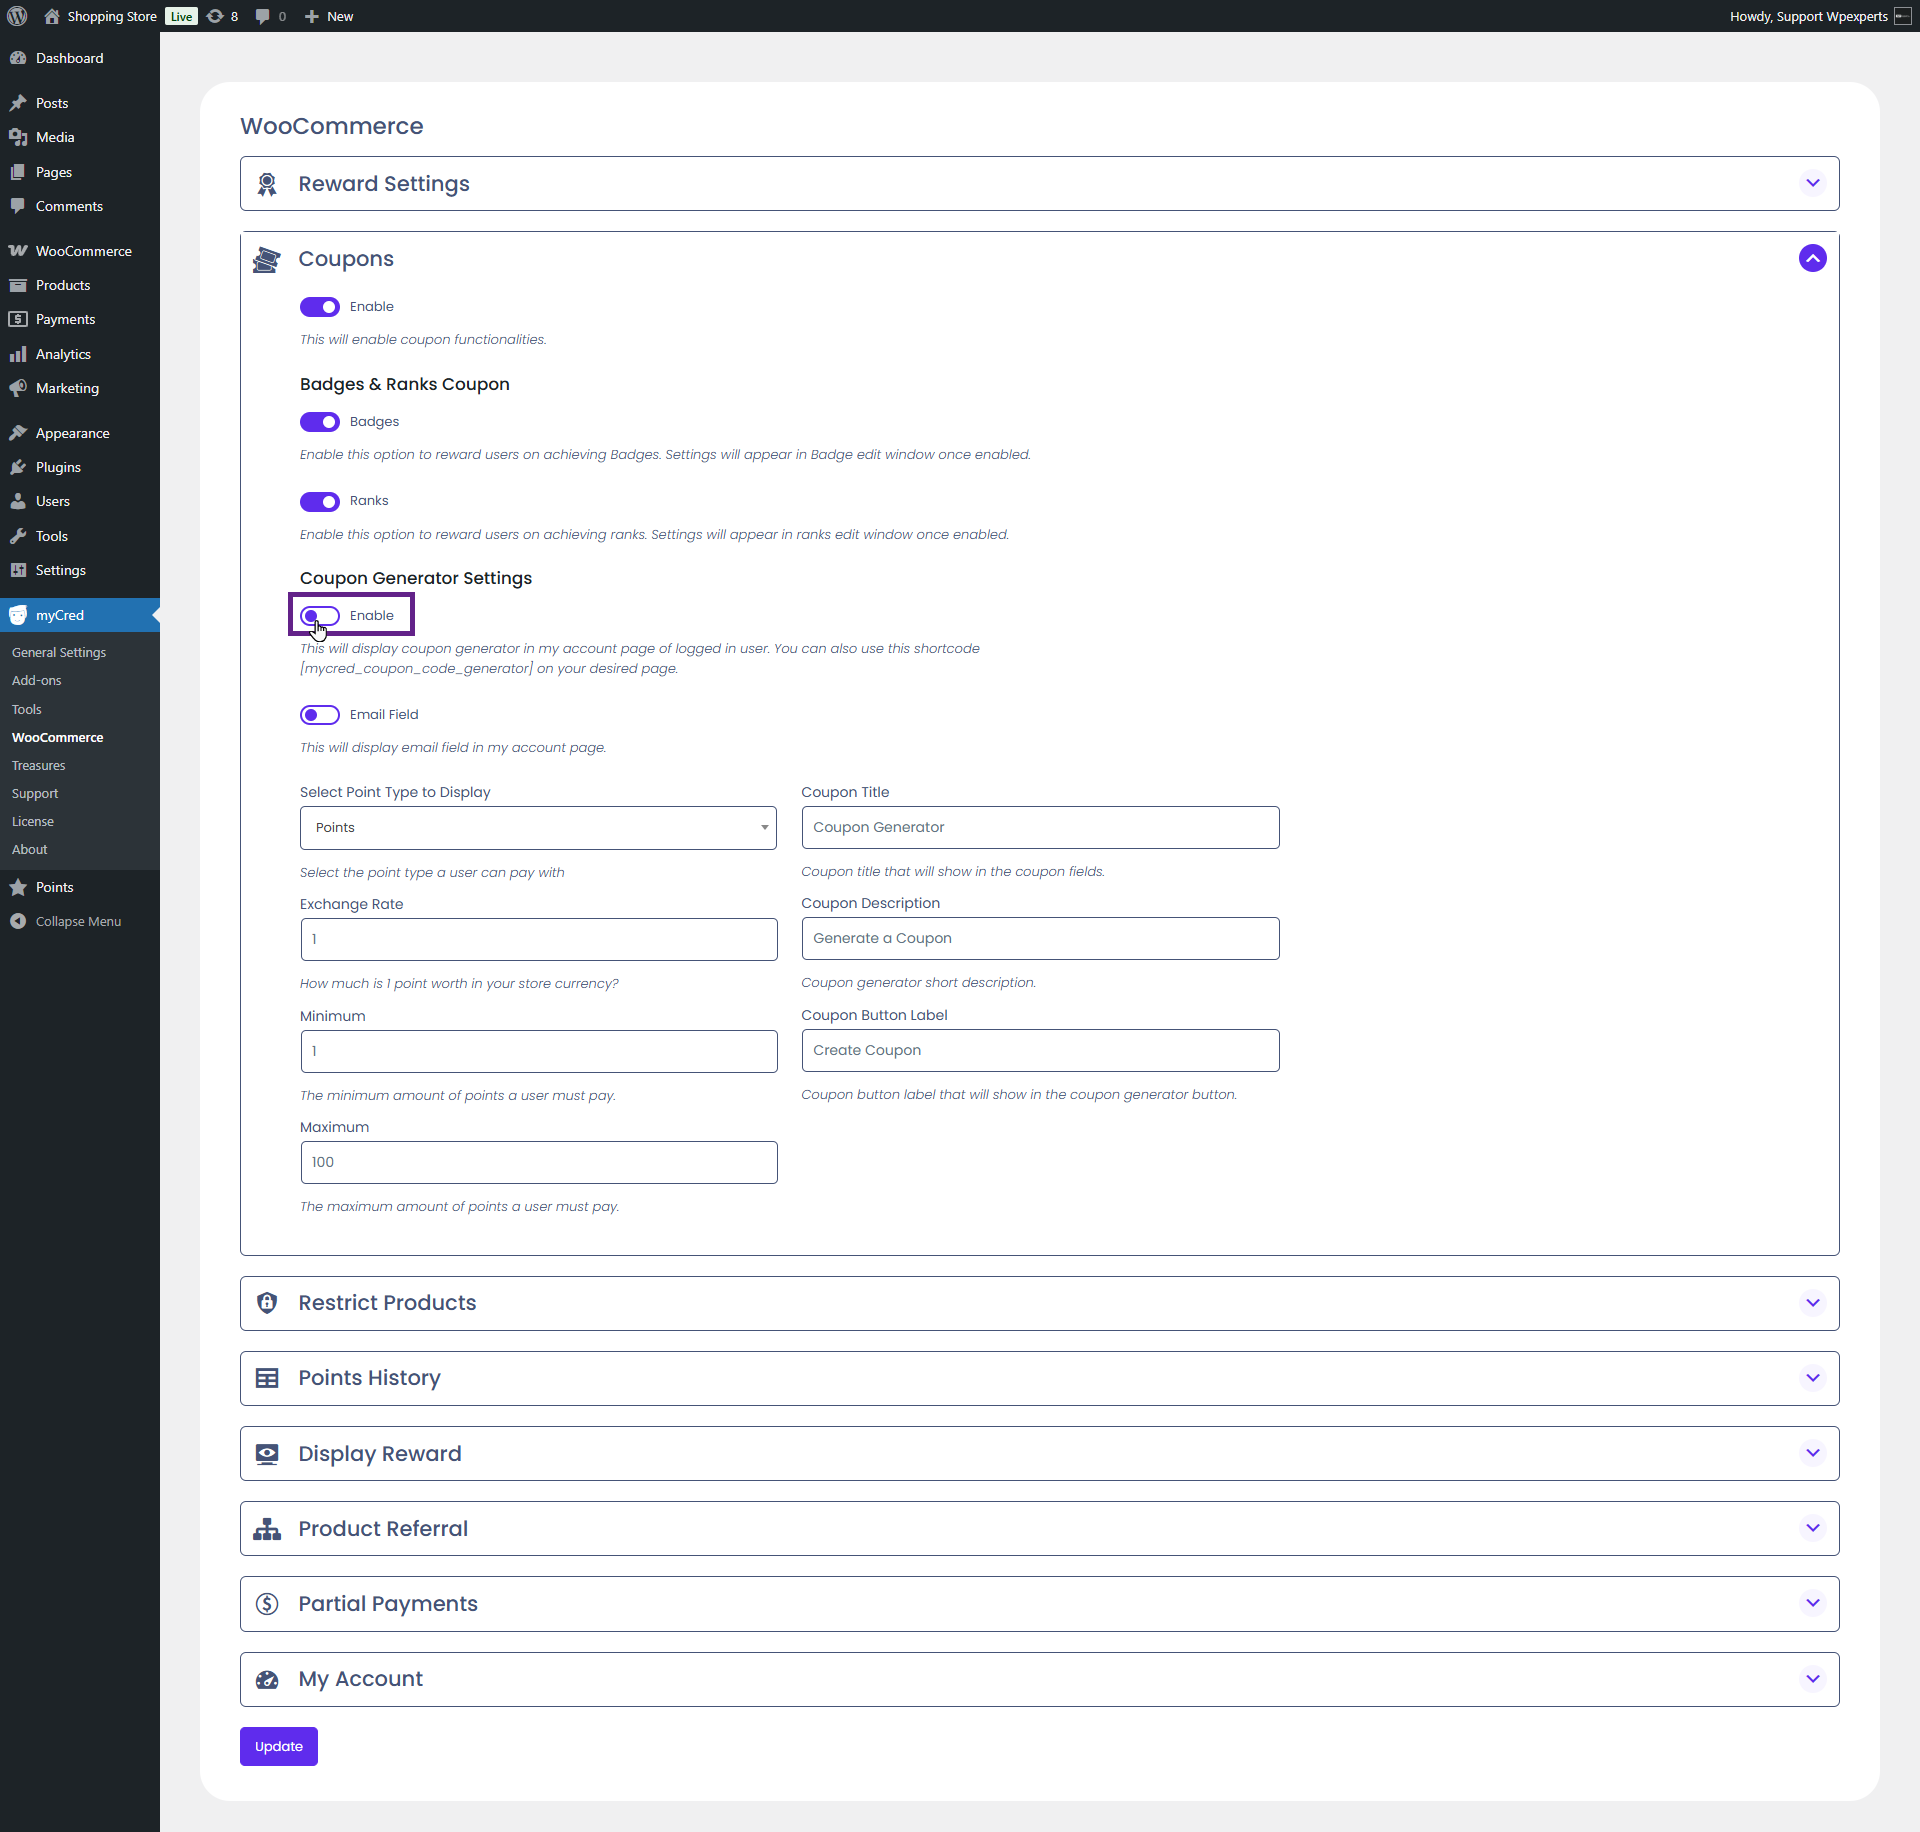
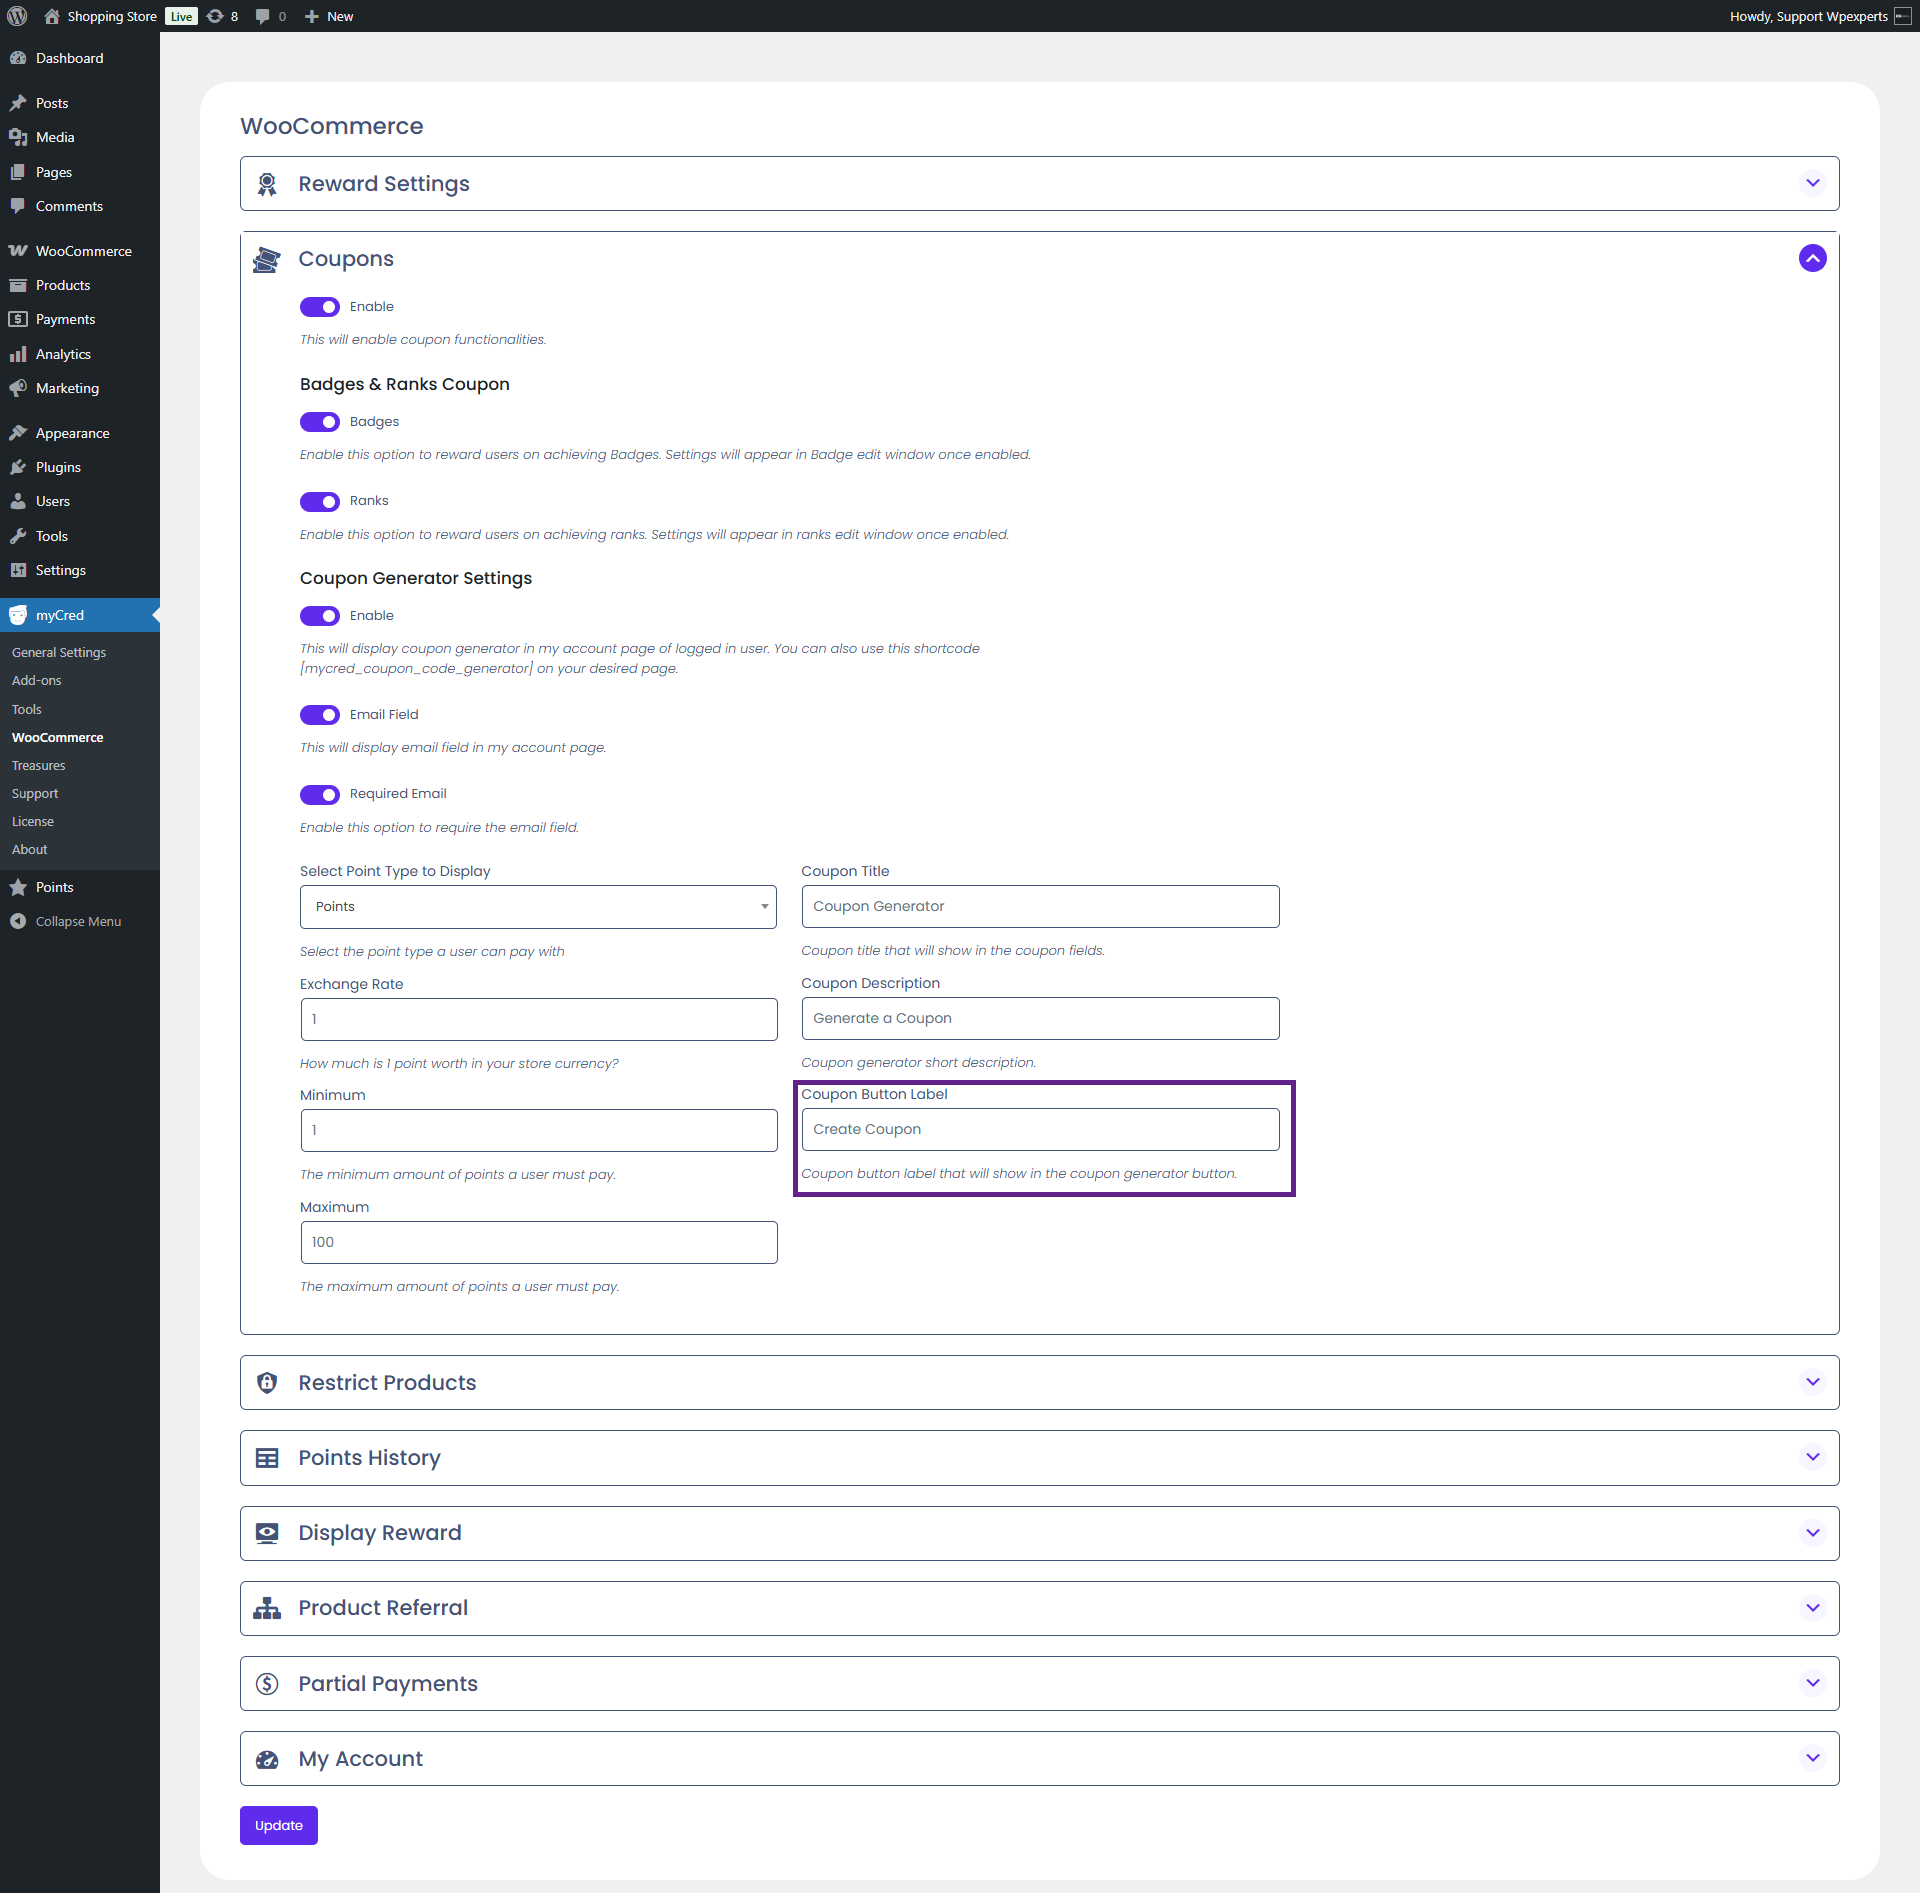
Navigate to the Coupons section.
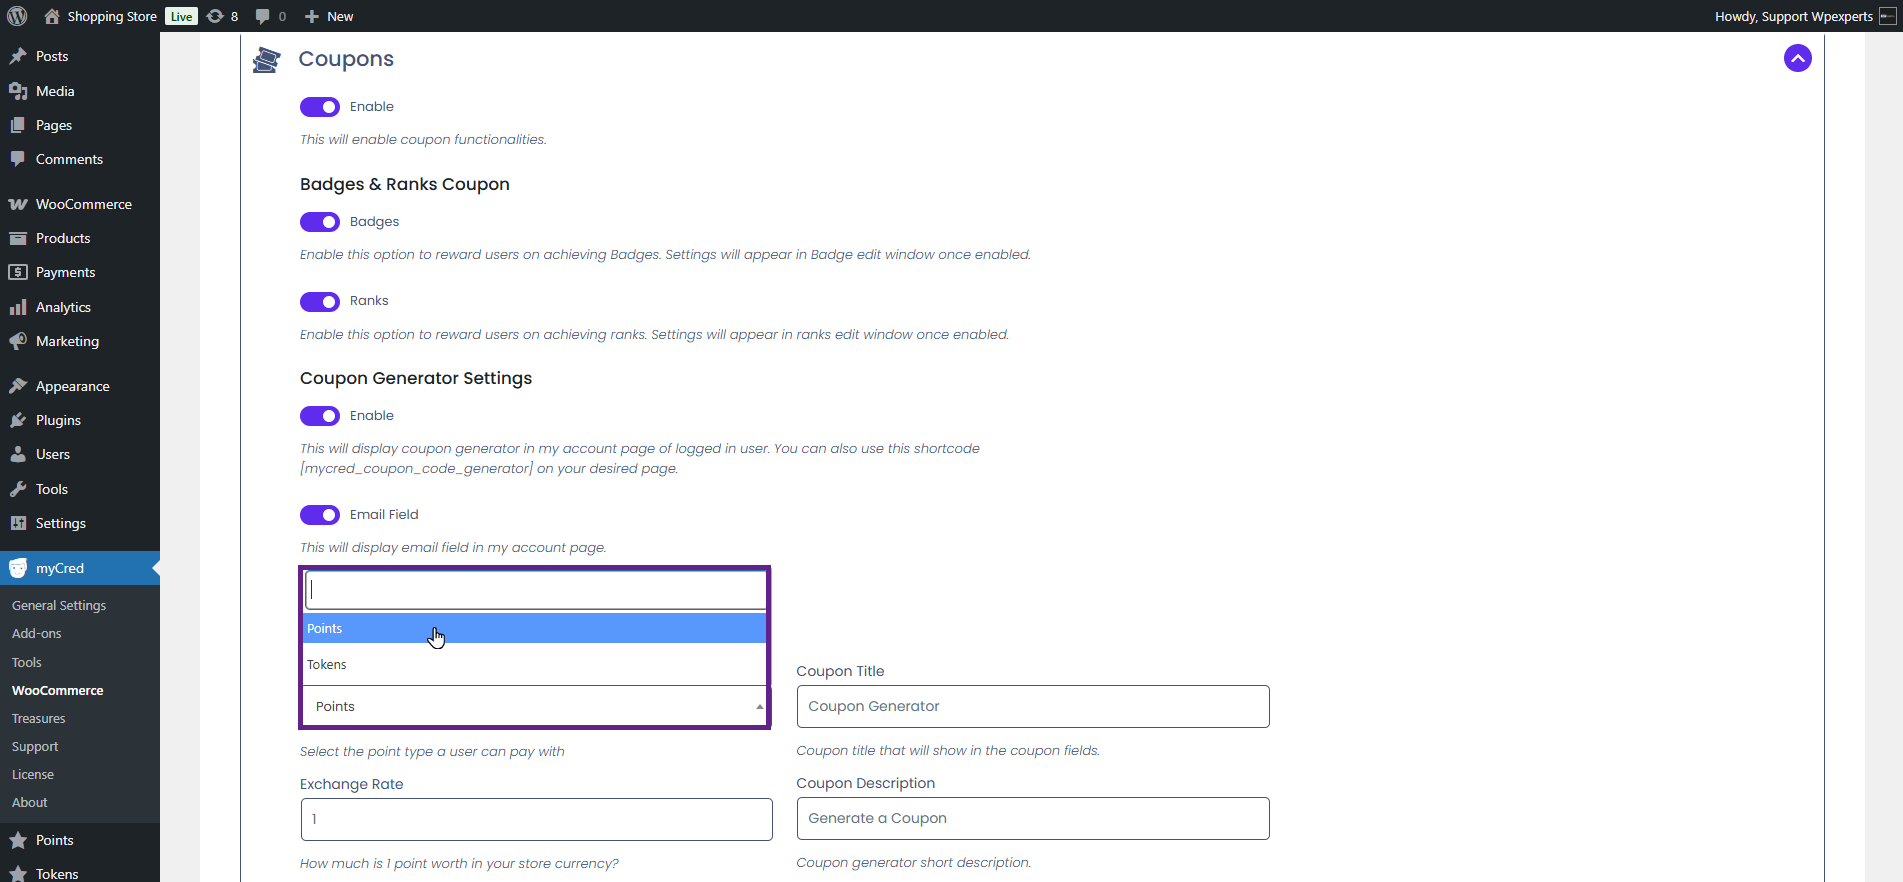
Next, enable the Coupon Generator Settings toggle button.
Now, select the point type from the Select Point Type to Display dropdown menu.
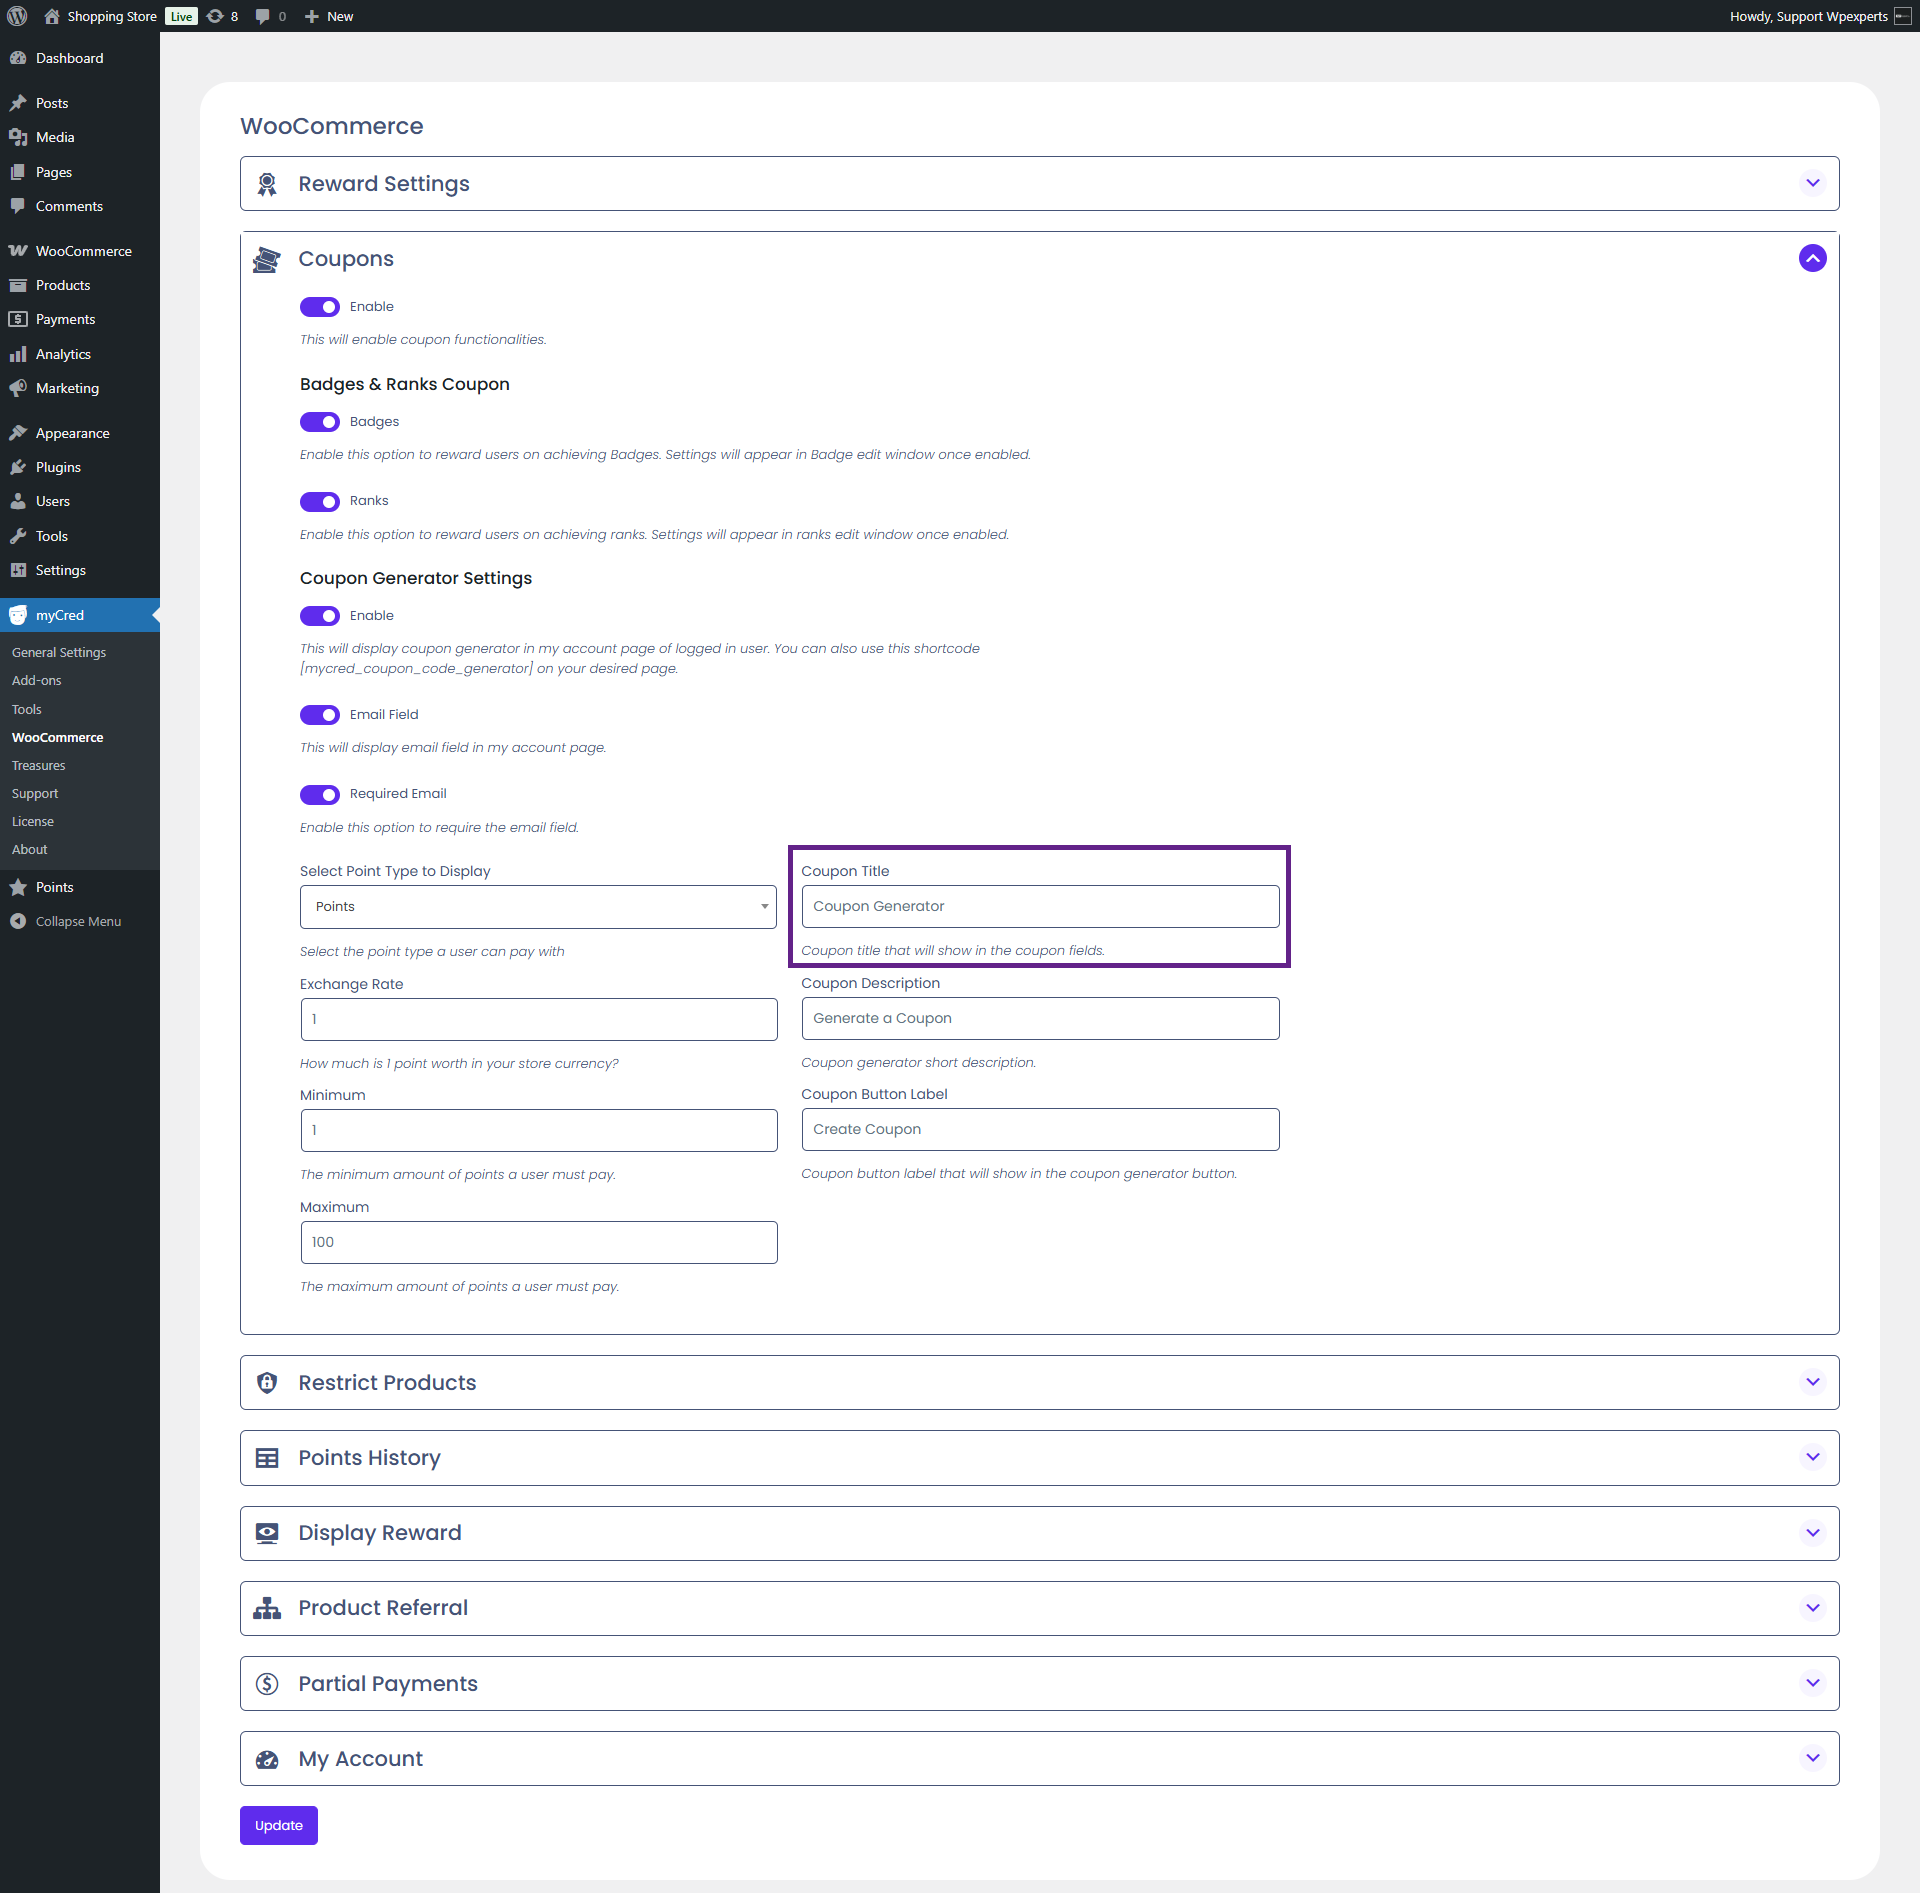
Next, enter the coupon title.
Set the exchange rate.
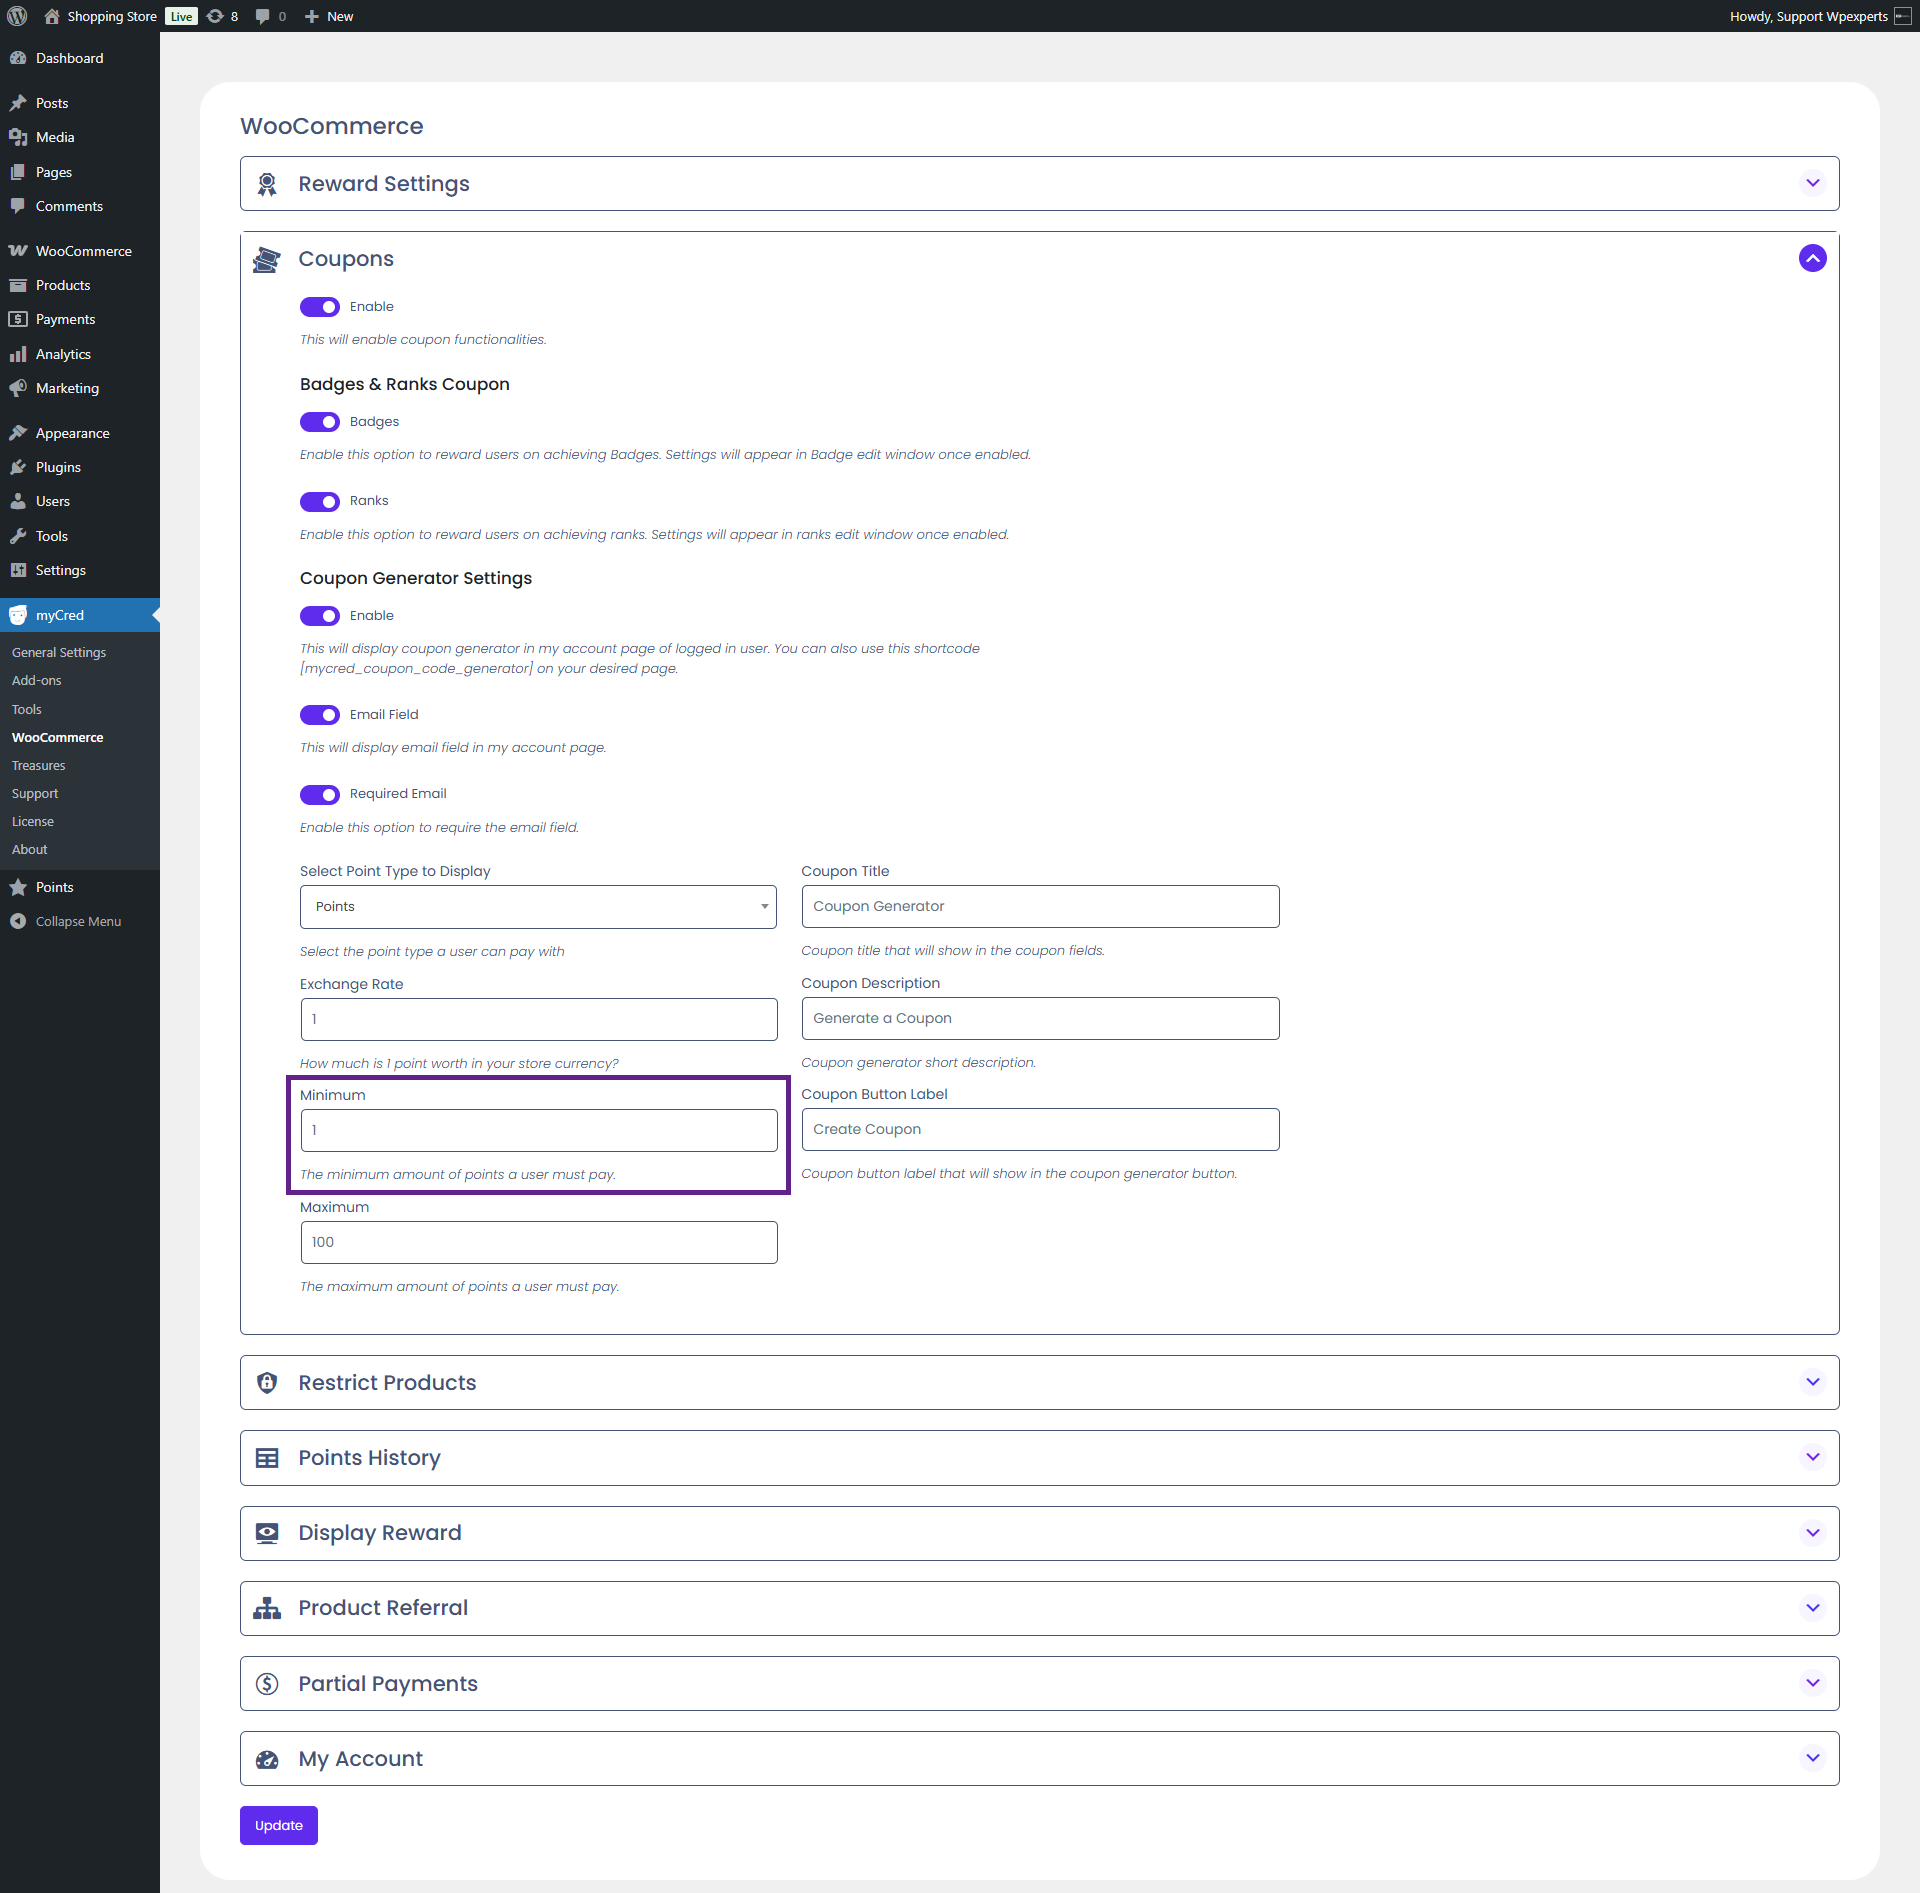
Now, set the minimum amount.
After that, set the maximum amount.
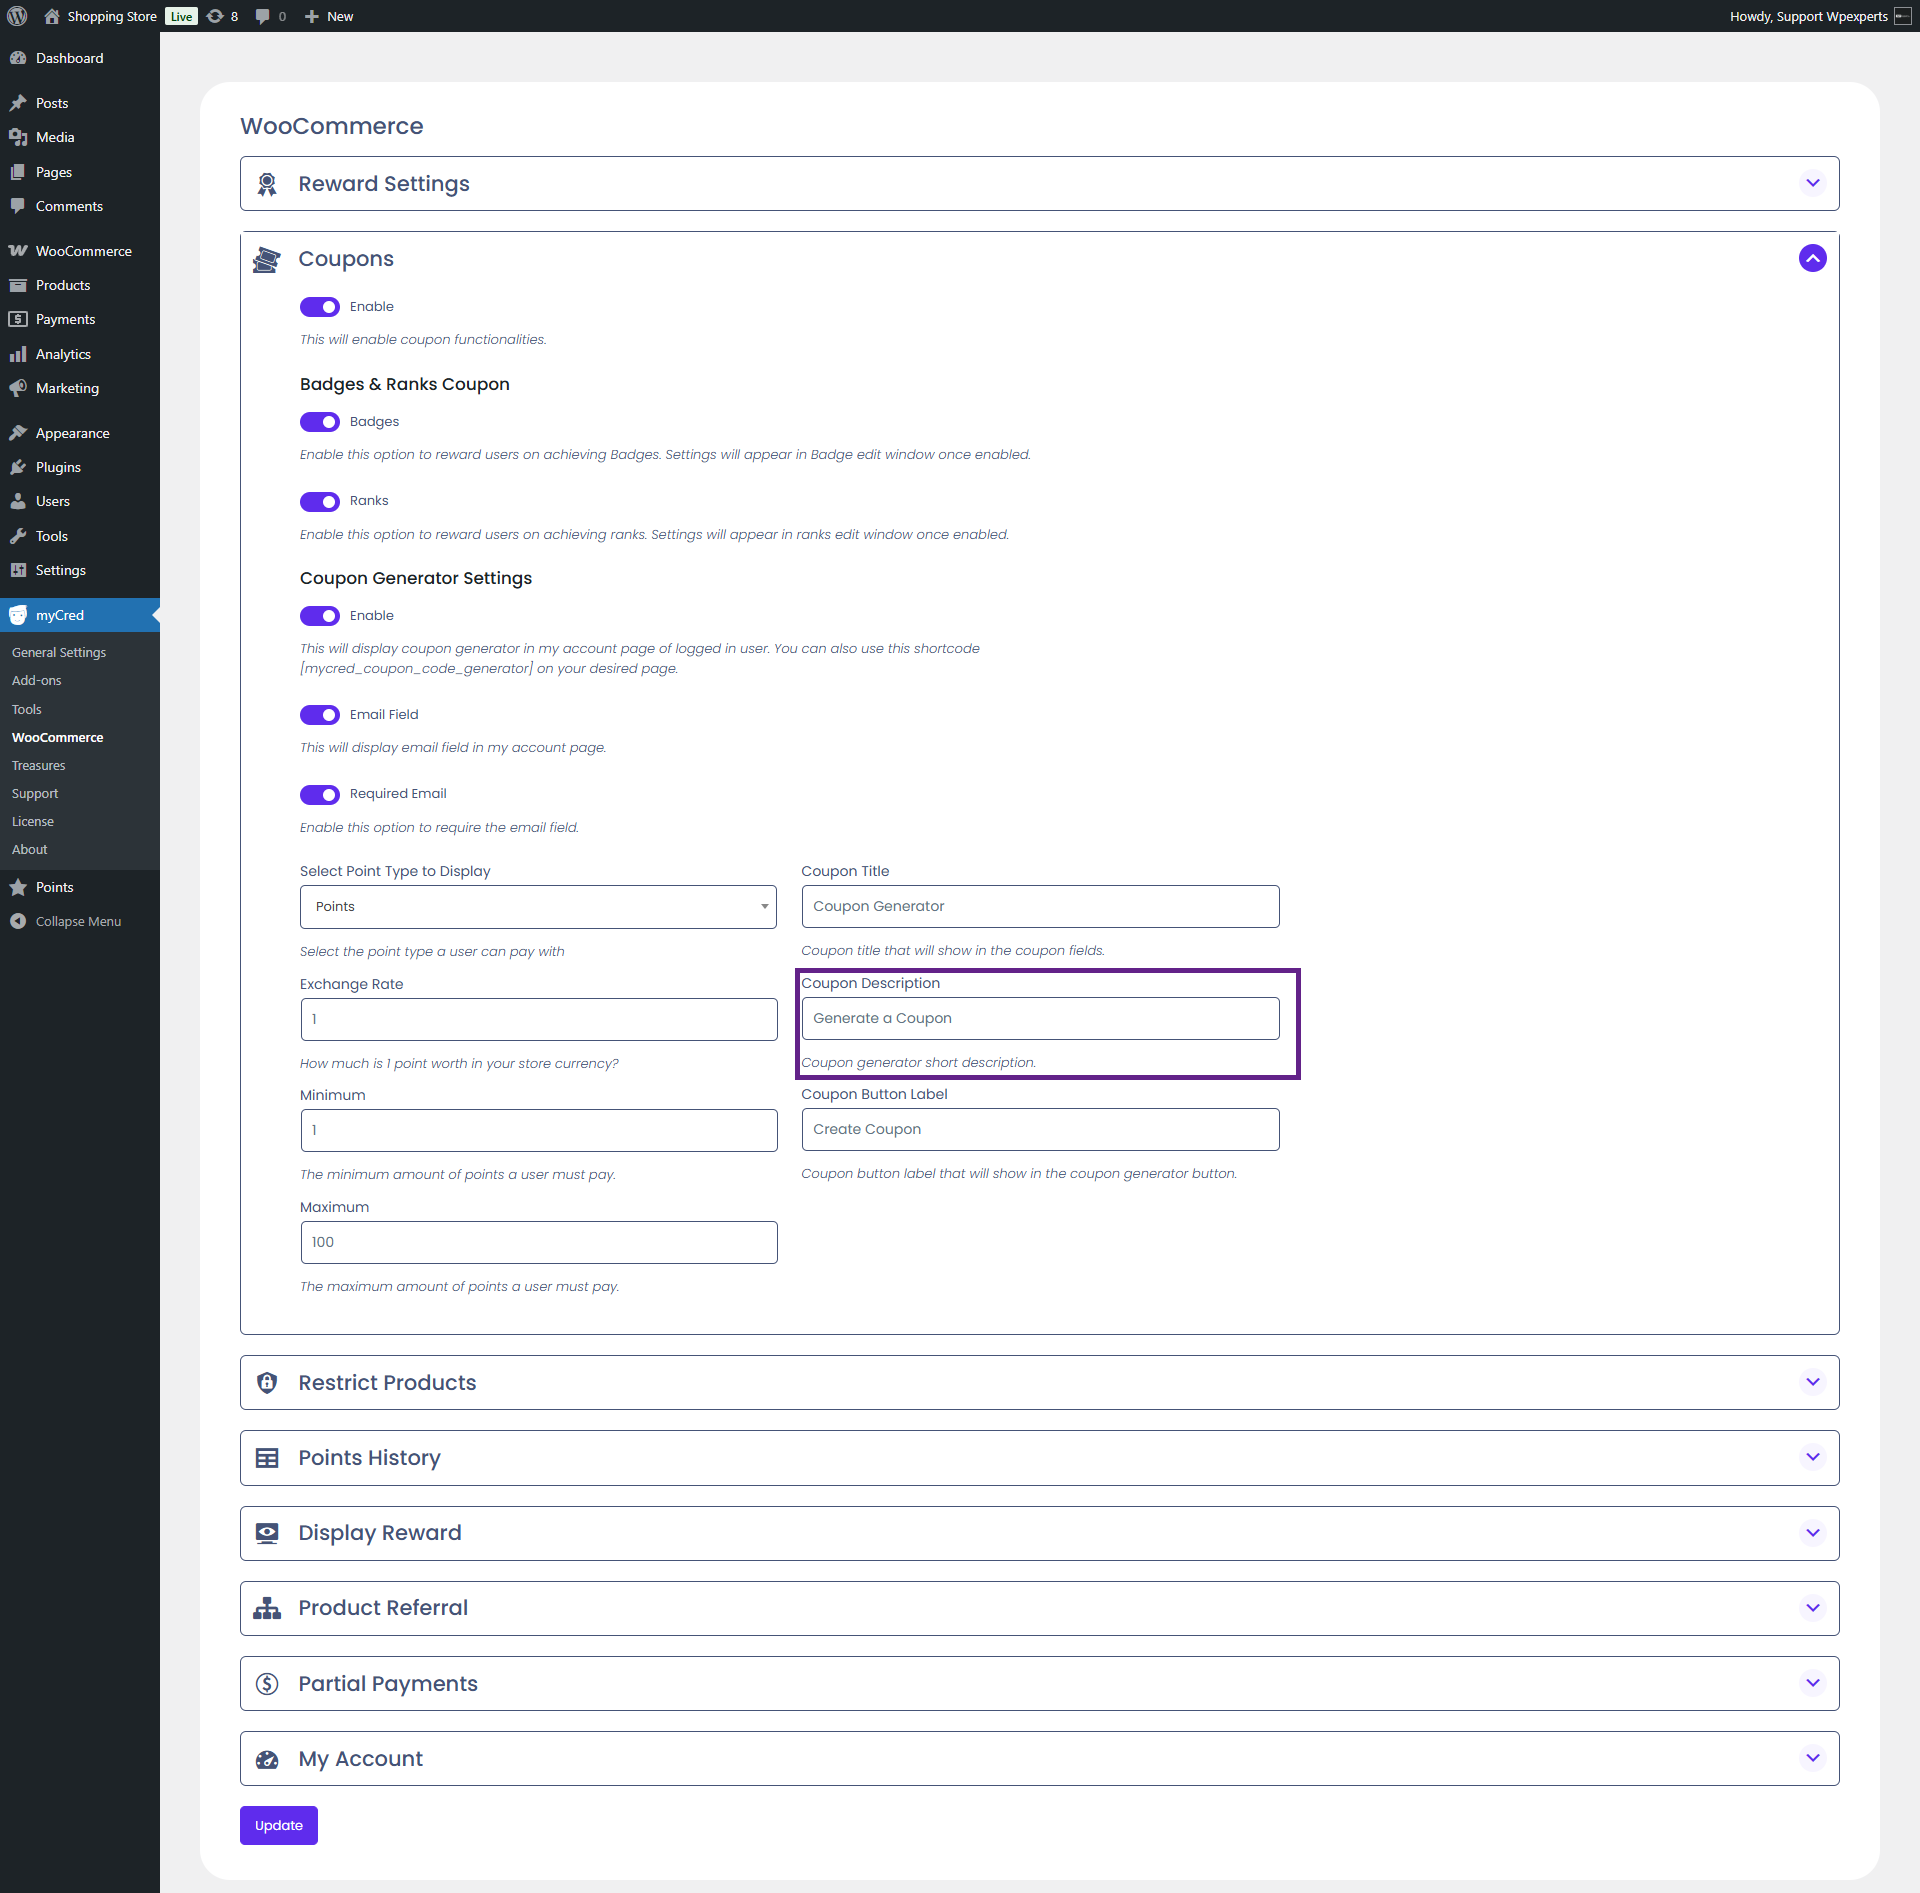
Next, enter the coupon description.
Finally, specify the coupon button label.
Once done, click the Update button.
Front-End Impact
Go to the website.
Navigate to the My Account page.
Click the My Coupons tab.
Next, enter the amount in the Amount field and click the Create Coupon button. Once you click this button, a coupon will be generated.
The created coupon becomes visible after reloading the page.
Note: The generated coupon amount is $50 because, on the backend, 1 point is equal to 1 dollar set in the exchange rate field—so 50 points means $50.
The expiry date for coupons can be configured via the Admin Dashboard > Marketing > Coupons.
Now, add a product to your cart, then apply the generated coupon to avail of the discount.
If the user’s balance is lower than the minimum amount set by the admin, they cannot create coupons.
Remove Coupons
The Remove Coupons feature allows users to delete unused coupons from their My Account page.
Front-End Impact
Go to the website.
Navigate to the My Account page.
Next, navigate to the My Coupons tab.
Click the Delete button to remove the unused coupons.
Email-Restricted Coupons
This feature allows users to associate coupons with specific email addresses, ensuring only the intended recipient can redeem them. It is also available through the Coupon Generator shortcode, with new attributes to enable or disable the Email and Required Email fields.
Back-End Settings
Go to the Admin Dashboard > myCred > WooCommerce.
Next, navigate to the Coupons section.
Activate the Email Field toggle button. Once enabled, a Required Email toggle button will appear. Turn on the Required Email toggle as needed.
Back-End Settings (Coupon Generator Shortcode)
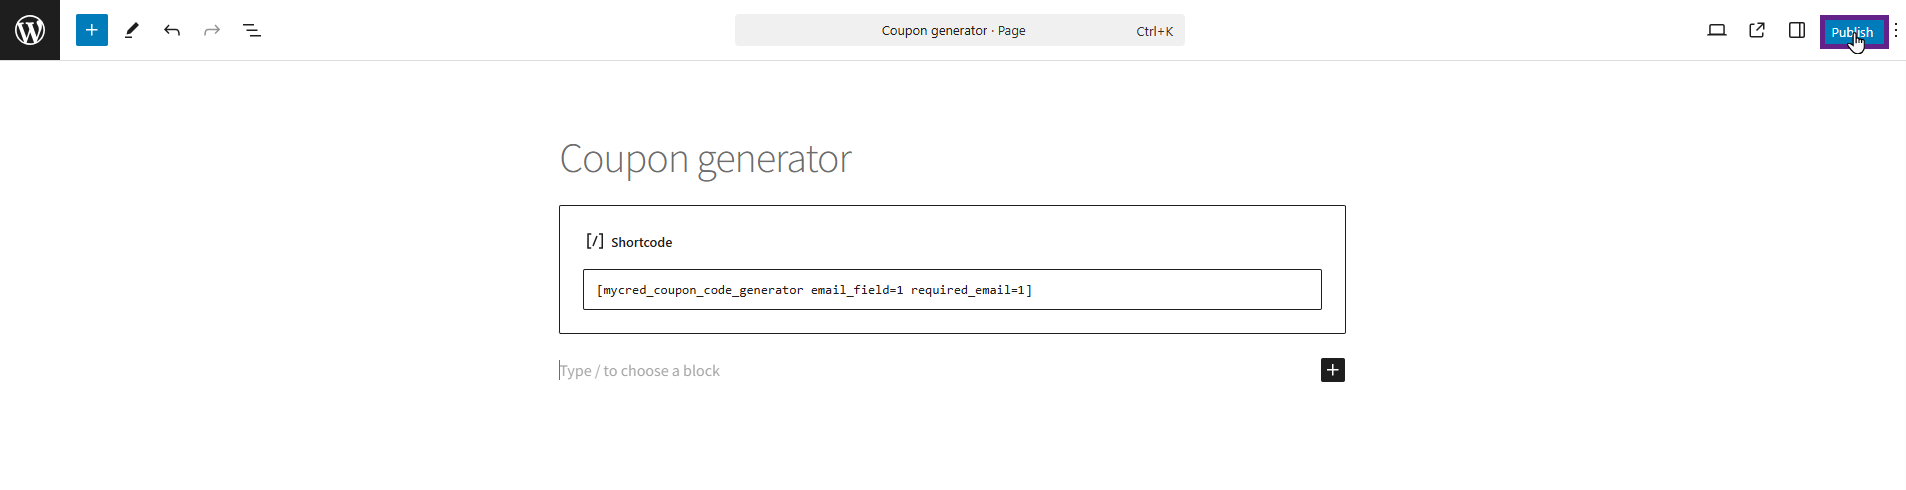
Go to Admin Dashboard > Pages > Add New Page.
Include these attributes (email_field=1, required_email=1) in the Coupon Generator shortcode.
Please note: 1 represents On, while 0 represents Off.
Once done, click the Publish button.
Front-End Impact
Go to the website.
Navigate to the Coupon Generator page.
Enter an email and generate a coupon.
Please Note: Only the email address provided at the time of coupon creation can redeem that particular coupon. In this case, the provided email address is logged into the account.
Navigate to the Shop page and add a product to your cart.
Paste the generated coupon and click the Apply Coupon button. Once applied, the discount will take effect.