Before we begin, it is important that you make sure your WordPress installation meets the minimum requirements in order to use myCred. Your web server must run PHP 7.0 or higher and your WordPress version must be 4.8 or higher as of version 2.4.
Install via your Website
Installing myCred from your wp-admin area.
Step 1
Navigate to the Plugins > Add New
On the plugins page, you’ll see the “Search Plugins” field on the right side.
Type the myCred into the search field and hit enter.
Make sure to choose the myCred plugin with the token icon and the author “myCred”.
Click on the “Install Now” button in the top right corner.
Step 2
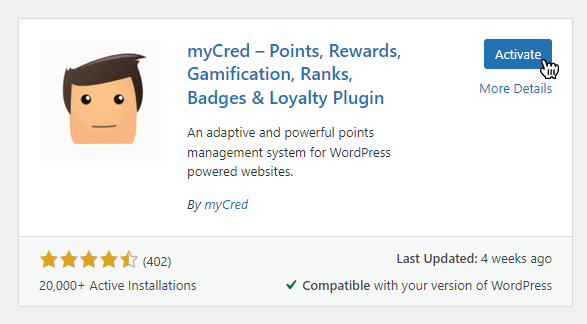
Once the plugin has been successfully installed, then activate the plugin by clicking on the activate button or go to the Plugins page, find out the myCred, and activate it.
myCred activation.
Setting up default point type.
Step 3
As the myCred plugin has been successfully installed and activated user will be redirected to the Core Settings of the default point type. The Core Settings tab involves what points are called, how they are presented and the capabilities used to identify administrators.
Install via FTP
If you prefer you can download a fresh copy of myCred from the WordPress repository, unzip the downloaded file and upload it to your wp-content/plugins/ folder. After the plugin has been uploaded then head over to the WordPress Admin Dashboad > Plugins page and activate the plugin.