myCred-Zapier Settings
myCred-Zapier Settings
Create a Zapier Account
*You must have a Zapier Account to use the myCred-Zapier add-on.
- Go to URL: https://zapier.com/sign-up/
- Create an account.
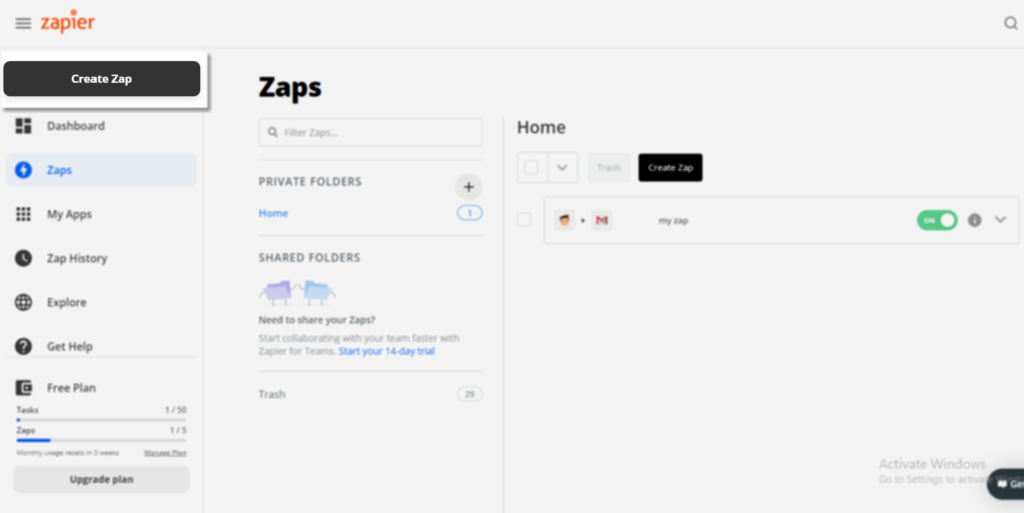
Create a Zap
- Log in to your Zapier account and create a Zap. Zaps allow you to send data between Zapier and myCred.
Select an app event
- On the “Trigger” page, search for myCred in the App Event search bar.
- A trigger is an event that starts your Zap.

Select a trigger event
- After selecting myCred as your event app, you will be able to see the following trigger events:
- Earned Points – Triggers when a user earns points.
- Deducted Points – Triggers when a user loses points.
- Earned Badges – Triggers when a user earns badges.
- Earned Ranks – Triggers when a user earns ranks.
- Lost Ranks – Triggers when a user lost ranks.

Sign in to your myCred account
- Click on the “sign in to myCred” button

- A pop-up window will appear.
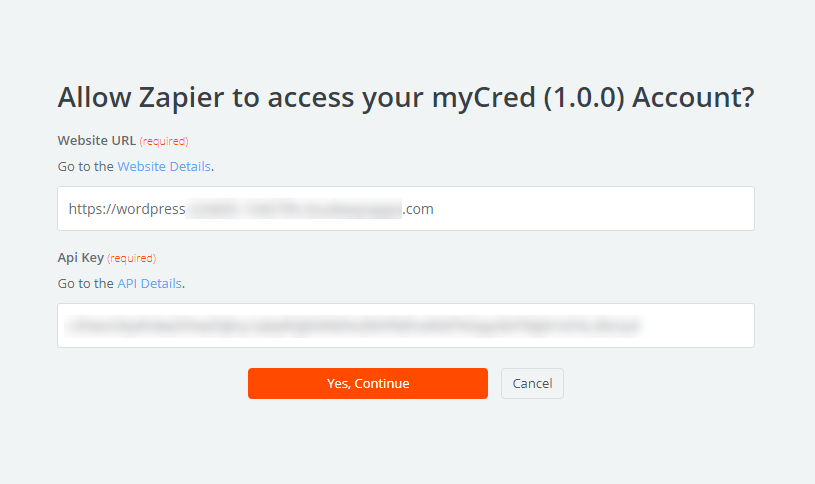
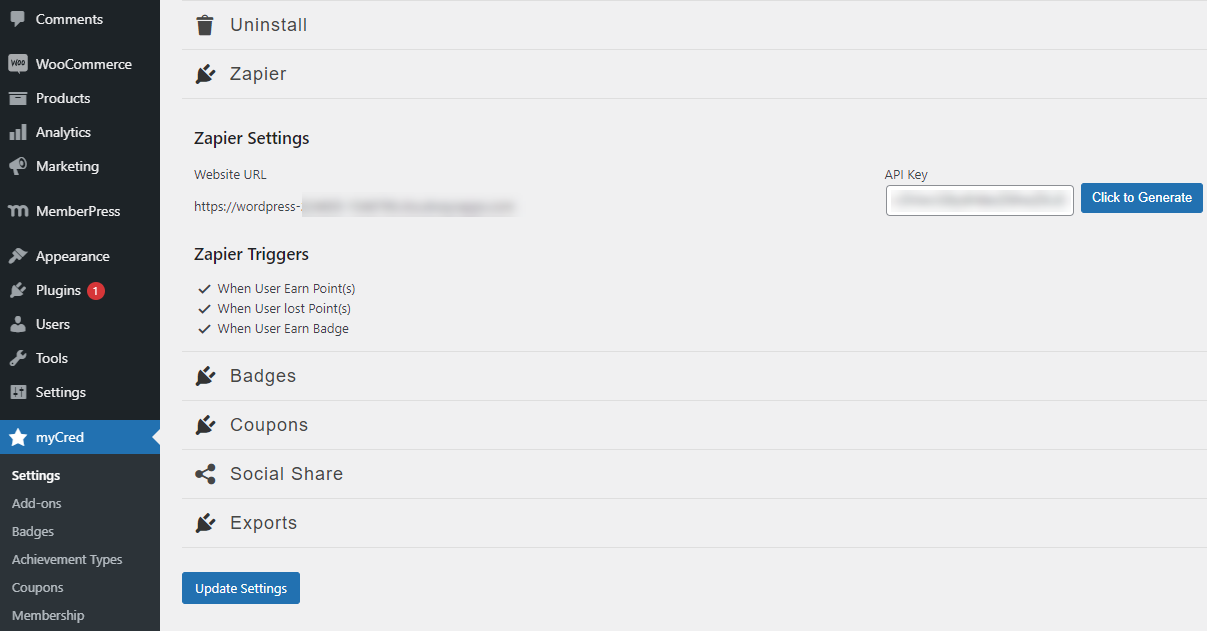
Retrieve Website URL and API Key from your website
- Go to your website > Admin Dashboard > myCred > Settings > Zapier
- Click on the “Click to Generate” button
- Click on the “Update Settings” button
- Copy Website URL and API Key.
- Enter your Website URL and API Key.
- Click on the “Continue” button.

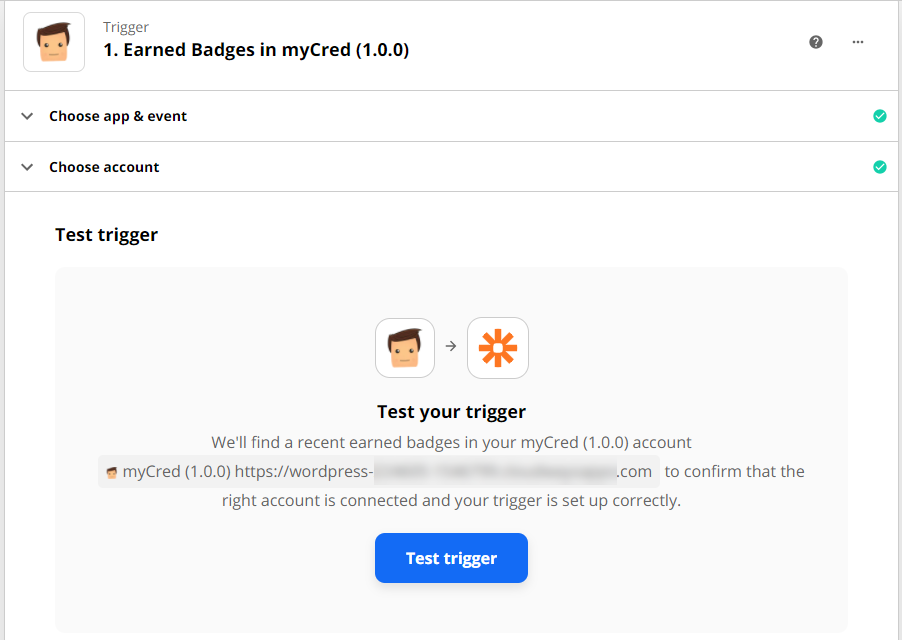
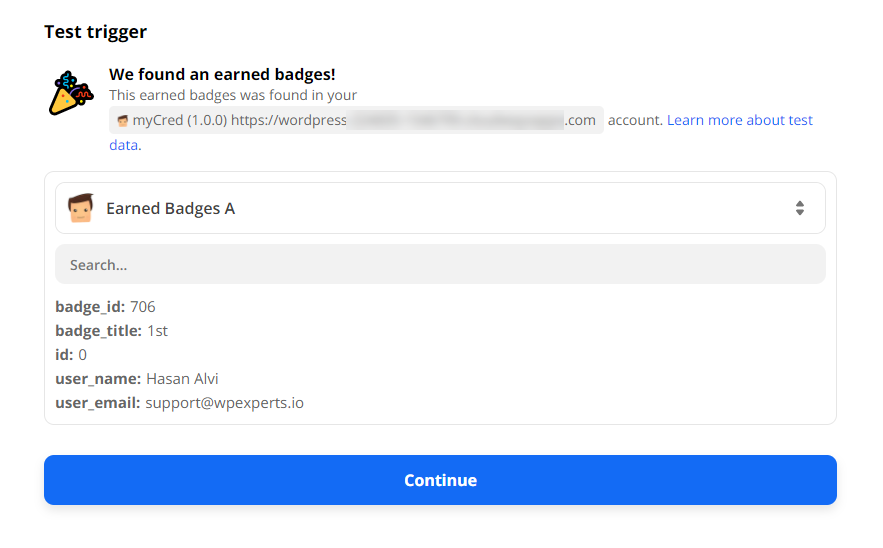
Test Event Trigger
- Click on the “Test Trigger” to view your last event log.
- Test trigger result.
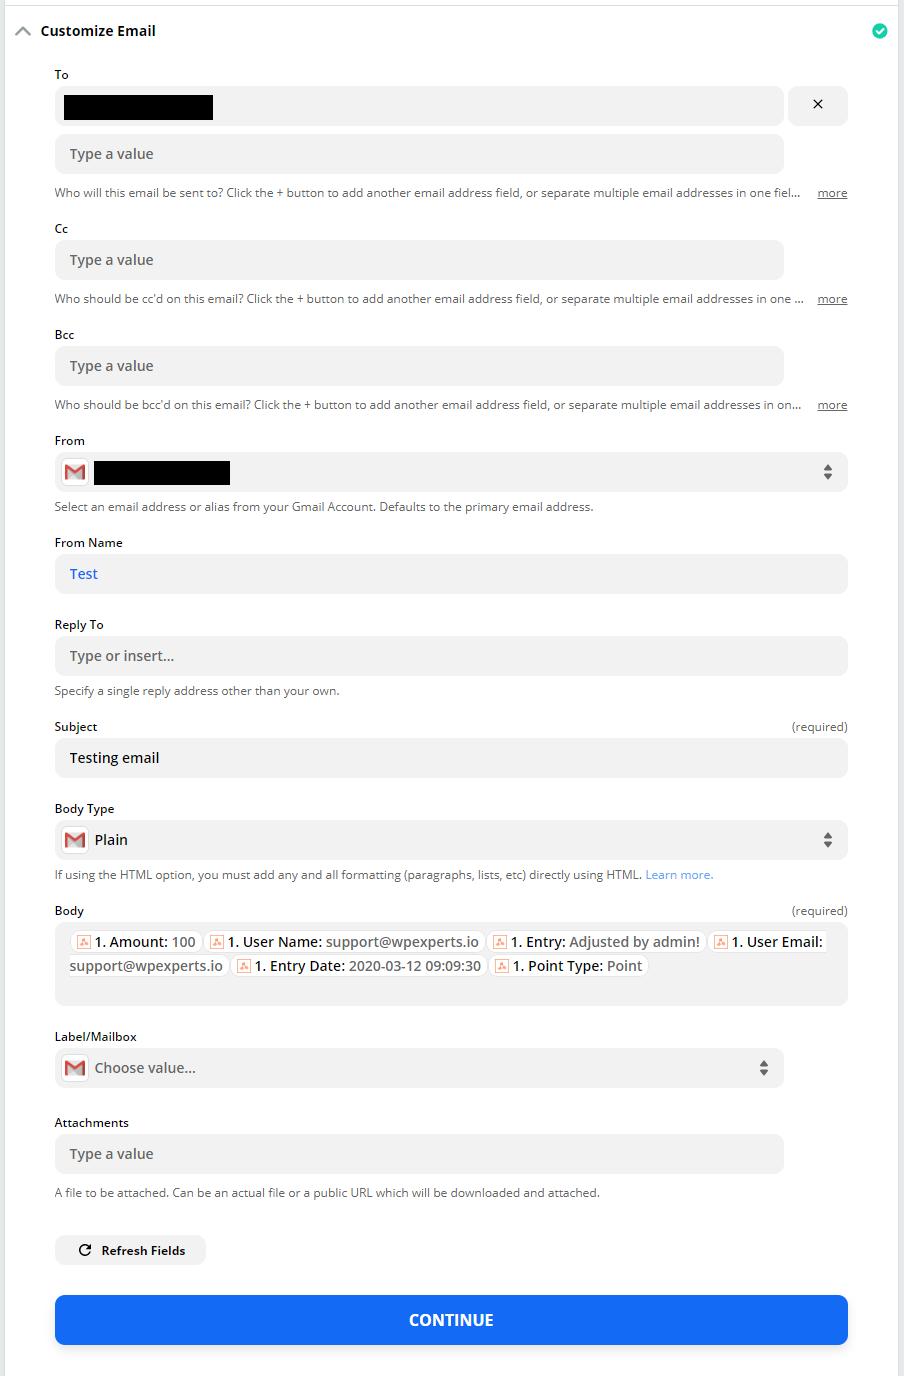
Select an action
- Search for the app you want to connect with myCred Zapier in the search bar. This will allow you to use the trigger events for those applications.
- The data will be reflected on the selected action (e.g. if the user selected Gmail or Google SpreadSheet, the data will be reflected there.)

- Fill out the form.
- Click Continue.
- Your Zap is complete and tested now. You can now turn it on for the automation process. So whenever a certain hook triggers action associated with it will be performed.