Zombaio
Zombaio
This gateway allows users to purchase points using credit cards.
The Zombaio gateway works a little bit different from the other gateways in buyCred. While your users nominate / select the amount of points they want to buy on your website, with Zombaio, they do this on the Zombaio website and not on yours.
This in turn results in the pending payment request for Zombaio transactions will not contain the amount of points the user requested to buy or how much that will cost. The point amount will become visible once payment has been confirmed by Zombaio and the amount has been deposited into the users account.
Gateway Setup
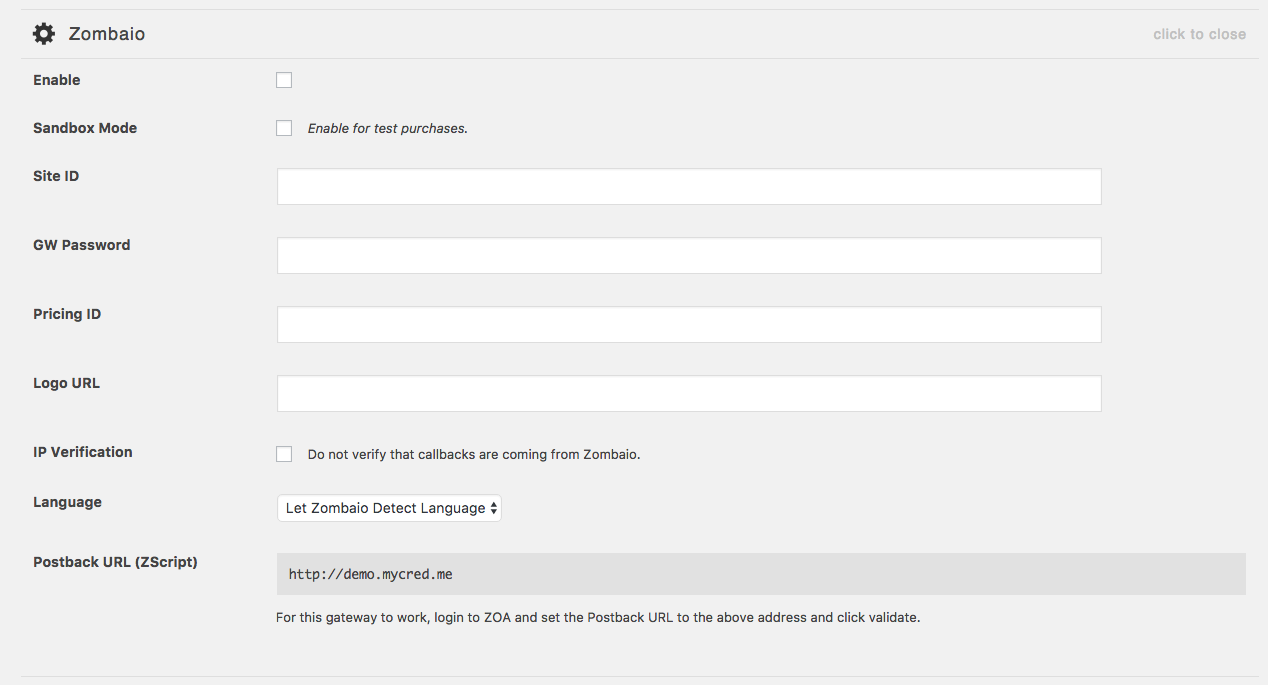
- Go to the myCred > Payment Gateways page in your admin area.
- Click on “Zombaio” in the list to view your settings.
- Select to enable the payment gateway.
- Enter your Site ID.
- Enter your GW password
- Enter your Pricing ID
- Enter a logo URL you want to use on the checkout page
- Select if you want to use the IP Verification feature (see below).
- Select the language you want to use for the checkout page.
- Copy the Postback URL (ZScript)
- Save.
IP Verification
This is an extra layer of security that you can enable for the Zombaio gateway, that checks all callbacks are made from a certain set of IPs. This feature is not guaranteed to work on all websites as some themes / plugins collide with this, especially if you use Zombaio in other plugins as well.
If you experience issues getting test transactions to complete or if Zombaio gives error messages, try disabling this feature (if enabled) and try again.
Setup Zombaio
- Your website setup in your Zombaio account.
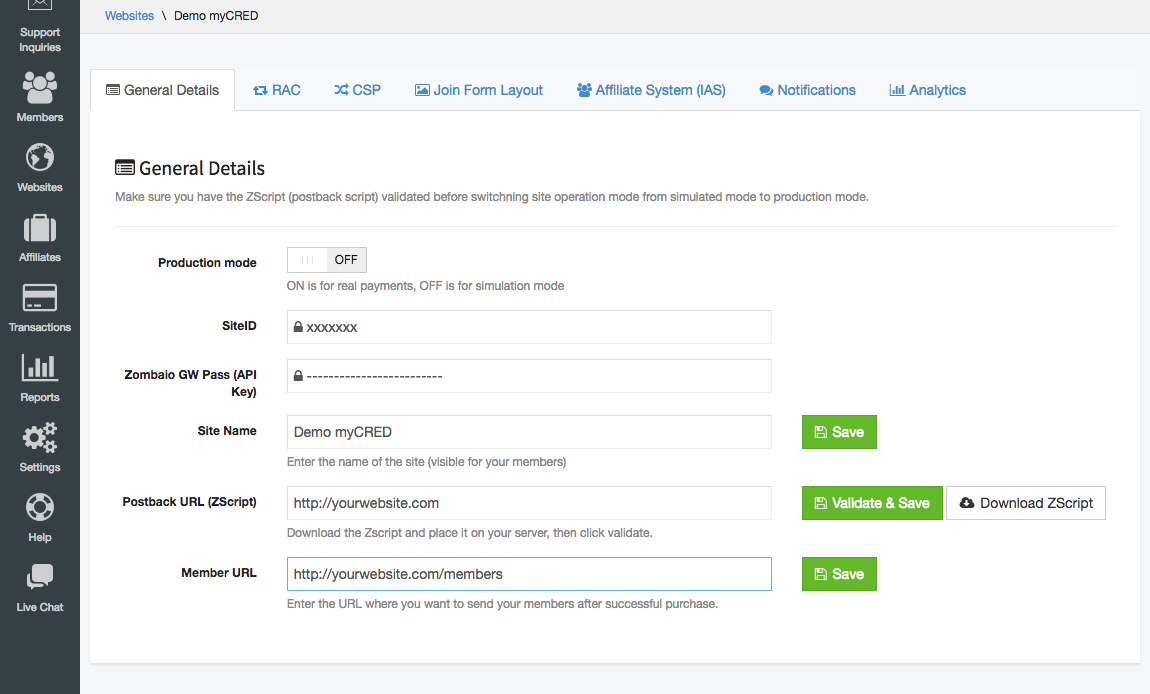
Following the above steps will make the buyCred gateway ready but we still need to make sure our Zombaio account is ready as well.
Access your Zombaio account and select your site under “Websites”. Under the “General Details” tab, you will find your SiteID along with other credentials. Here we need to enter the Postback URL (ZScript) we copied in step 10 from the above guide and click on the “Validate & Save” button.
When you do this, Zombaio will call your website based on the URL you entered and requests that the Zombaio gateway responds. You DO NOT need to download any scripts from Zombaio! The gateway has everything you need included!
In order for Zombaio to validate the URL the following requirements must be met:
- The Zombaio gateway is setup and enabled in your wp-admin area.
- You are not using a maintenance or coming soon plugin that prevents access to your website.
- You have entered the URL exactly as it was shown to you in your wp-admin area. Make sure no stray empty spaces exists in the end of the field.
- If your website uses HTTPS, the Postback URL must also be HTTPS.
If you experience issues validating and all the above mentioned requirements are fulfilled, make sure you disable any third-party Zombaio plugins you might have installed and enabled on your website.